





Milling in Woodworking
Definition and Explanation of Manufacturing Technology
Milling is a machining process: A rotating, multi-edged tool removes material as the tool and workpiece move relative to each other. In woodworking, the tool sometimes moves across the workpiece—as with a hand-held router—and sometimes the workpiece moves across the stationary tool, as with the router table and the spindle moulder.

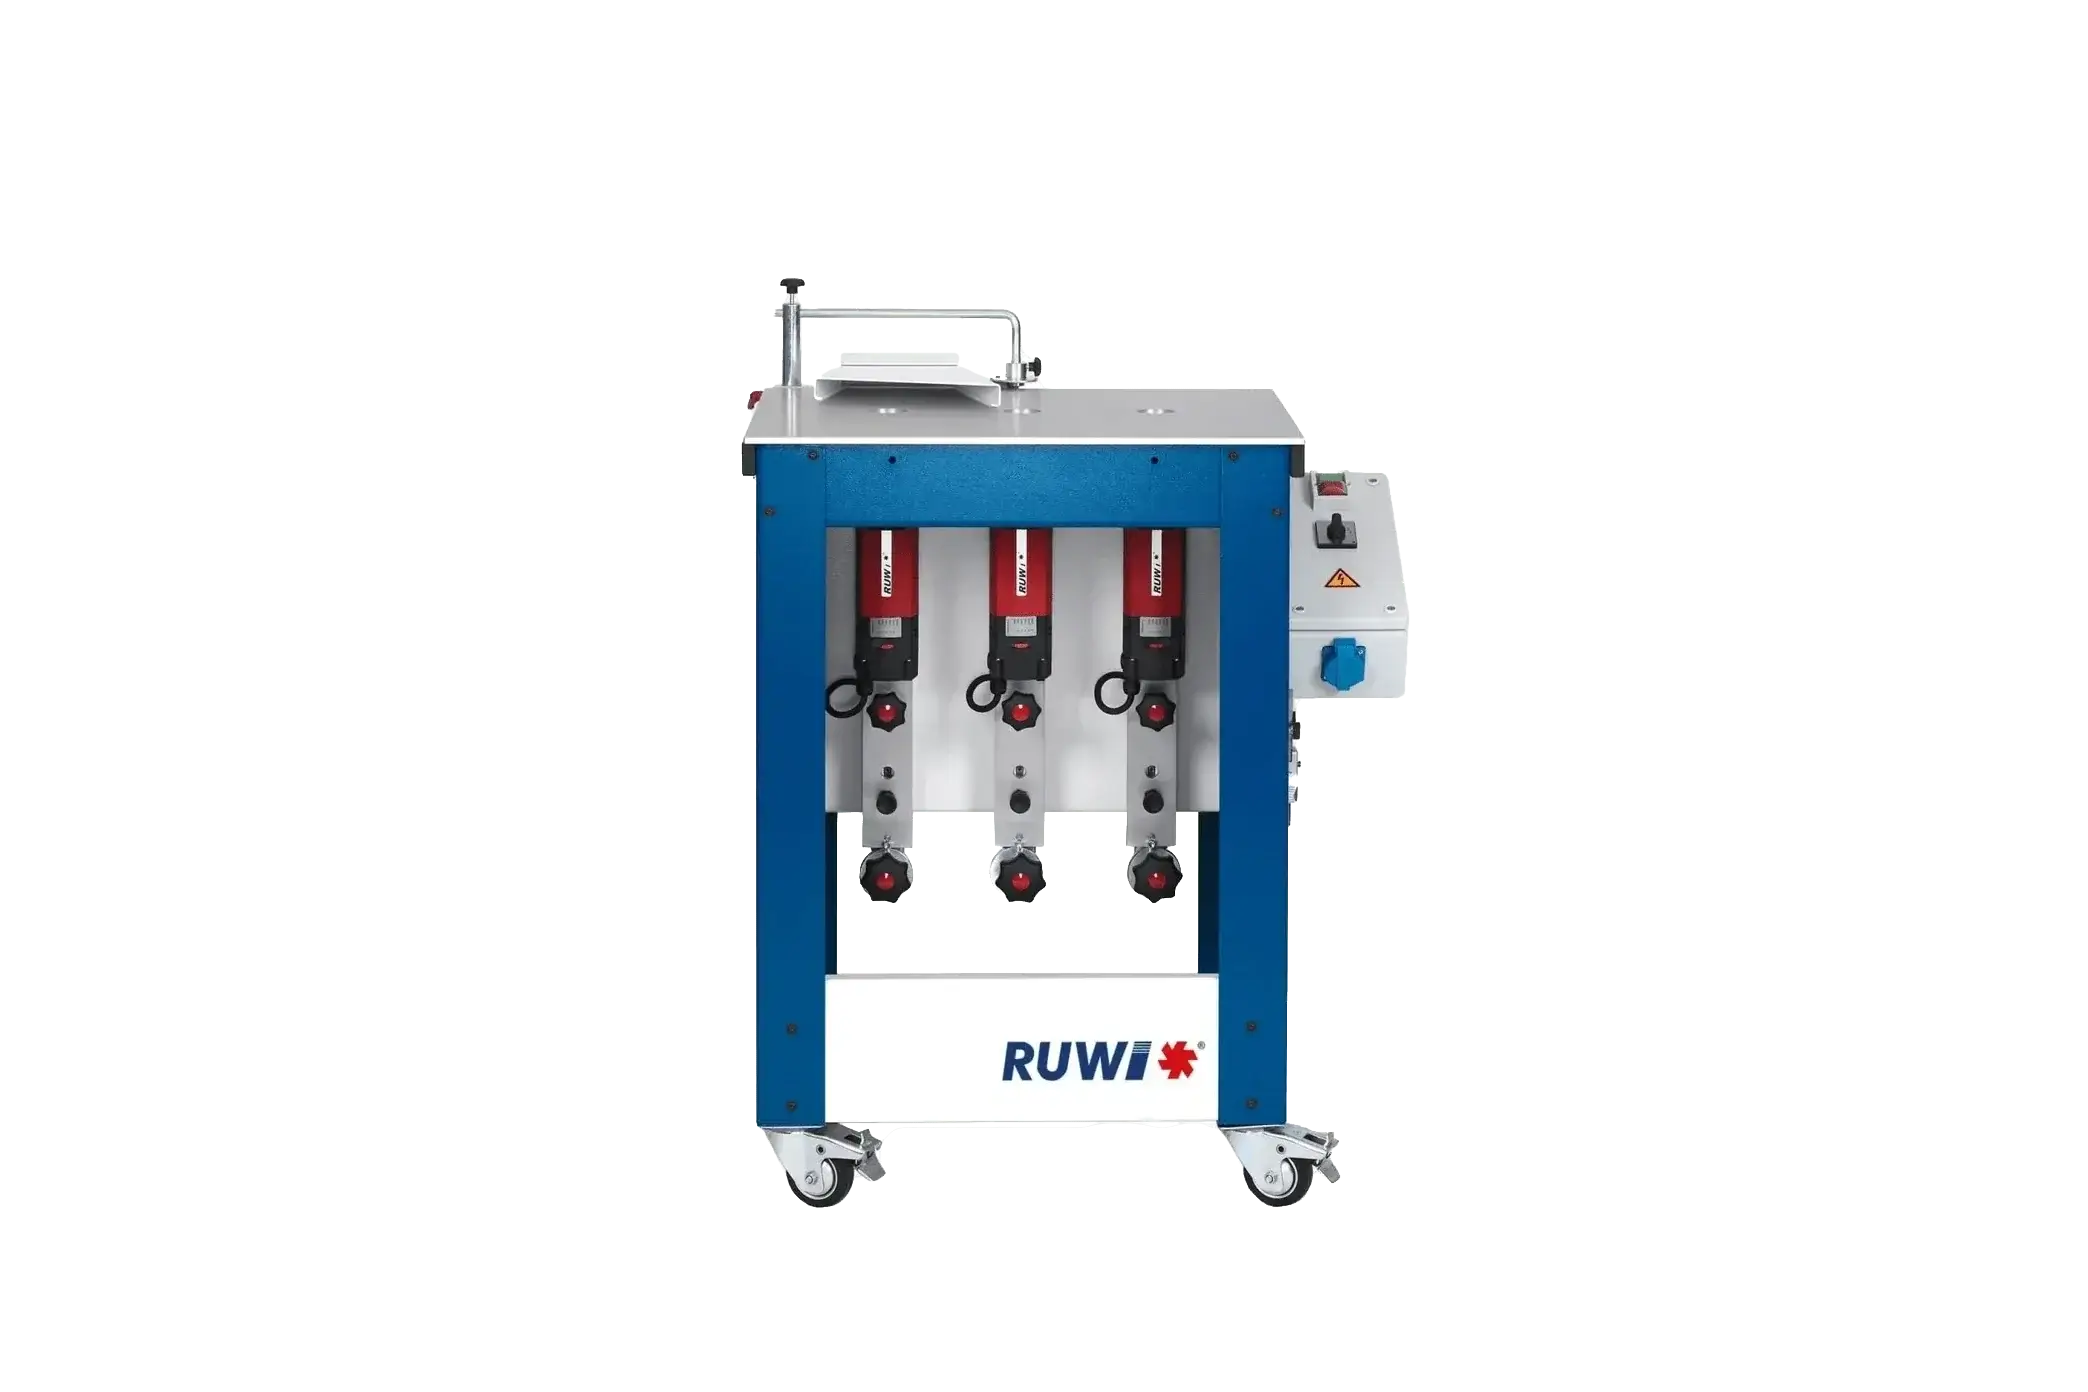
Chamfering on the RUWI router table
Grooves, rebates, profiles, pockets, entire surfaces—hardly any other process in the woodshop covers so many tasks. In this article, you’ll learn how routing works, what matters when it comes to speed, feed rate, and depth of cut, which tool is used for what—and why some rules are non-negotiable when working with a router.
Table of Contents
- Meaning: Milling Explained Simply
- What are the different types of milling used in woodworking?
- Technical Fundamentals of Milling
- Milling Tools for Wood Milling
- Safety When Milling
- Milling Materials Used
- Practical Applications: What Can You Mill?
- Common Mistakes in Milling
- Milling in Woodworking Trades
- Historical Background of Milling
Meaning: Milling Explained Simply
Milling is a machining process that removes material and shapes workpieces, allowing you to machine nearly all solid materials. Its defining characteristic is the circular cutting motion: The cutting edges are located along the circumference of a rotating tool and remove a chip with each revolution. This distinguishes milling from sawing, which cuts a workpiece only along a single line, and from drilling, in which the tool penetrates the material along its axis of rotation. The milling cutter works perpendicular to its axis—and can therefore follow any contour.
When milling, you remove material from a workpiece to create any desired contours, such as circumferential edges and profiles, slots, grooves, steps, pockets, or hole patterns. Even uneven or cracked surfaces can be planed. And strictly speaking, you mill more often than you think: even surface planers and thickness planers work with a rotating cutter shaft—from a manufacturing perspective, this is considered peripheral milling.
When it comes to wood routing, you can get by with machines that are relatively simple in design—but that doesn’t mean a spindle moulder is easy to operate. Few woodworking machines require as much knowledge about tools, guidance, and the direction of travel. That’s exactly what the next sections are about.
What are the different types of milling used in woodworking?
There are numerous types of milling, such as those classified by feed direction, material, or the desired shape. A key consideration is always whether to use climb or conventional milling—this decision determines safety.
Overview of Milling Processes
In milling, a distinction is made between manual and CNC processes:
- Manual routing: You move the workpiece or the router bit by hand. This can involve working with a hand router or guiding the workpiece on a stationary machine.
- CNC milling: Here, the workpiece is clamped into a machine and guided by an automated system. The toolpaths are generated by the software, and the feed is controlled mechanically and at a constant rate—which is why a CNC machine can also climb-mill, something that is off-limits when feeding by hand.
In the manual section, you can also distinguish between:
- Freehand routing: Using a hand-held router, guided by a guide ring, copying sleeve, or guide rail. You do not work freehand on a spindle moulder—there, the fence, guide ring, and arc stop provide the guidance.
- Jig Milling: You use a milling jig or template (for example, in face, form, or profile milling).
Milling Methods by Direction of Travel
Conventional (up-cut) milling: The cutting edge moves against the feed direction at the point of contact. Each chip starts out thin and becomes thicker as it exits—as a result, the cutting force acts against the direction of your push, the workpiece remains controllable, and you immediately feel it when something changes. When feeding by hand, this is the direction of operation—not a recommendation, but a requirement.
Climb milling: The cutting force and feed direction are in the same direction. The cutting edge penetrates immediately to the full chip thickness and pulls the workpiece toward the tool on its own. This self-feeding cannot be controlled during manual feeding—not even with practice. The article “Climb Milling” explains when and under what conditions climb milling is permissible.

3D unit on the RUWI router table with a rounding cutter
Technical Fundamentals of Milling
To mill, you need a milling machine. In woodworking, this is usually a router—either freehand or mounted upside down in a router table—or a spindle moulder. The result depends entirely on three interrelated factors: speed, feed rate, and depth of cut.
Rotational Speed and Cutting Speed
The cutting speed is the rate at which the cutting edge moves through the wood. It is determined by the router bit diameter and the rotational speed: The larger the diameter, the faster the outer edge of the cutting edge moves—and the lower the rotational speed must be. As a general guideline for the router:
- Up to Ø 25 mm: high speeds up to approximately 24,000 rpm
- Ø 25 to 50 mm: approximately 16,000 to 18,000 rpm
- Over Ø 50 mm: approximately 12,000 to 16,000 rpm—such diameters belong in the router table or on a spindle moulder, not in a hand-held machine
Two rules take precedence over all other guidelines: Never exceed the maximum speed specified on the tool. And if you’re unsure, choose the slower setting and do a test run on a scrap piece—it takes a minute, but a burned-out workpiece will cost you more.
Feed motion
The feed rate determines how fast the tool and workpiece move relative to each other. If the feed is too fast, the grain will tear, leaving a rough surface. Too slow is just as bad: the cutting edges will grind instead of cut, the wood will develop scorch marks, and the router bit will dull due to the heat. The goal is a smooth, steady feed without stopping—you can tell if the speed is right by the sound of the motor and the resistance you feel. Harder materials and larger router bit diameters require a slower feed rate.
Depth of Cut and Cutting Width
Milling the full depth in a single pass puts too much strain on the tool and the machine—and the edge will chip. As a rule of thumb for a router: cut no more than about half the cutter’s diameter per pass—in softwood, that’s about 4 mm for an 8-mm groove cutter; in hardwood, it’s more like 2 to 3 mm. The final pass removes only one to two millimeters—this is what produces a clean finish. If you’re routing straight through the material, such as with a slot, the router bit’s diameter determines the cutting width.
Pay attention to the grain direction
Wood is not a uniform material—the edge of the end grain tends to tear as the router exits. That’s why there’s a set order to follow when routing edges all the way around: first, the two end-grain sides across the grain, then the long sides. Any potential tear-outs at the corners are thus milled away right away in the second step. If you’re milling just a single cross edge, a sacrificial block—which you clamp flush against the exit point—will help.
Milling Tools for Wood Milling
The most important part is the router bit itself. There are hundreds of different designs and types—here are the ones you’ll encounter most often in the woodshop:
- Groove cutters: straight slots, cutouts, and pockets—the cutter most commonly found in the collet
- V-groove cutters: V-shaped grooves, lettering, and decorative lines
- Disc groove cutters: narrow grooves starting from the edge, for example, for loose tongues or biscuits
- Rebate Cutters: Rebates for back panels, bottoms, or glazing beads
- Chamfering cutters: Chamfering and breaking edges, usually at a 45° angle
- Rounding Cutters: Edge Radii in a Single Pass—from a Gentle Break to a Generous Radius
- Profile cutters: Decorative profiles such as coves or ogees
- flush trim bit: Mills protrusions flush with the surface—with a guide bearing, it’s also the tool of choice for jig work
- Finishing and Roughing Cutters: Surface and Shaping Operations—the roughing cutter removes a lot of material, while the finishing cutter refines the surface
- Lettering Cutter: Engravings, Lettering, and Fine Contours
- Drill cutter: penetrates vertically like a drill bit and then continues cutting sideways, for example, to create cutouts in a surface
- Milling cutters with indexable inserts or indexable cutting edges: Dull cutting edges are rotated or replaced instead of being resharpened—this ensures that the cutting edge geometry remains consistent throughout the entire service life
It’s worth taking a look at the cutting material: High-speed steel (HS) cuts very finely and can be resharpened to a fine edge, but it wears out quickly when cutting abrasive sheet materials. Carbide (HW) is the standard for solid wood and wood-based materials. Diamond-tipped tools (DP) last the longest and are particularly cost-effective in mass production. When clamping, the following applies: The shank should be inserted into the collet up to the mark provided by the cutter manufacturer—not shorter, but also not pushed all the way in, otherwise vibrations could cause the cutter to come loose. If there is no mark, the shank should fill the collet completely.
Choose the right tool for each step—it affects both the result and safety. You can read about which tools are actually allowed to be used on the spindle moulder in the next section.
Safety When Milling
Hardly any other machine in a woodshop requires as much knowledge about tools, the direction of operation, and workpiece guidance as the spindle moulder. The following rules are based on professional experience and the guidelines of the Wood and Metal Workers’ Compensation Association—they apply just as much in a training workshop as they do in a garage:
- Milling in the opposite direction: When using manual feed, milling is performed exclusively against the direction of rotation of the tool. The reason for this is explained above in the section on the direction of rotation.
- Approved Tools Only: On spindle moulders, only tools approved for manual feed may be used—identified by the markings “MAN” or “HANDVORSCHUB” in accordance with DIN EN 847-1 or by the BG-TEST certification mark. This also applies when working with a feed mechanism or a sliding carriage—both are considered manual feed. Tools marked “MEC,” on the other hand, must not be used on the spindle moulder.
- Check the condition of the tool: sharp, free of resin, securely clamped, and operating within the maximum speed limit. A dull milling cutter pushes instead of cutting—the workpiece becomes unstable and harder to guide.
- Guide Instead of Hold: The fence, the guide ring with an arc stop, or a template provide guidance. Keep the gap in the fence as small as possible and cover the cutter as much as possible.
- Never feed small workpieces freehand: Use spring hold-downs, a push stick, or a feed tray to keep your hands away from the tool. When feeding the workpiece forward, keep your hands flat on it and your fingers closed.
- Connect the dust extraction system: Wood dust irritates the respiratory tract, and dust from oak and beech is considered carcinogenic. A dust extraction system is mandatory in commercial settings—using a dust collector rated at least for dust class M —and is just as essential in a home workshop.
- Personal Safety: Wear ear protection and safety glasses; remove jewelry; wear close-fitting clothing—and do not wear gloves when using rotating tools, as they can get caught.
This overview is not a substitute for training or the operator's manual. However, it shows you what matters—and why experienced woodworkers leave nothing to chance when using a router.
Milling Materials Used
Woodworking machines are designed for wood and certain plastics; metal or mineral-based materials require specialized equipment. On a wood router, you typically work on:
- Solid wood: Softwoods like spruce are easy to mill, while hardwoods like oak or beech require sharp cutting edges and a smaller depth of cut.
- Wood-based materials: MDF, plywood, and particleboard—the adhesives they contain have an abrasive effect, which is where carbide really proves its worth in terms of service life
- Plastics: Depending on the material, use a reduced speed to prevent the cut edge from melting
- Light metals such as aluminum: only with tools and machines designed for this purpose—which is the exception in everyday workshop operations
Practical Applications: What Can You Mill?
Milling covers a wide range of applications in woodworking. Typical milling tasks include:
- Face milling: Leveling surfaces, such as smoothing rough wood or tree slices
- Sizing: Machining a Workpiece to Final Dimensions and Achieving the Desired Angularity
- Profile Milling or Profiling: Chamfering or rounding edges, or creating decorative profiles
- Structural Milling: Hole Patterns, Pockets, or Recesses in a Surface
- Groove Milling: Creating grooves and rebates, for example, for tongue-and-groove joints
Especially when using a milling jig or a router table you can achieve consistent results: the fence and the table guide the workpiece, and the set height remains the same throughout the entire run—the thirtieth workpiece will be just as precise as the first.

Milling Round Rods with a Router
Common Mistakes in Milling
Most inaccurate results can be traced to a handful of causes—and almost all of them can be corrected:
- Full depth in a single pass: this overloads the cutter and the machine, causing the edge to chip. It’s better to make several passes, with the last one being a fine pass.
- Climb feed: The tool pulls the workpiece in, and you lose control. With manual feed, you always use conventional (up-cut) feed—without exception.
- If the feed is too slow: burn marks in the wood, resin buildup on the cutting edges. Feed the tool through quickly and evenly, without stopping.
- A dull cutter remains in the machine: rough surface, increased effort, and an unstable workpiece. Sharpen or replace it as soon as the results start to decline.
- End grain was milled last: tear-outs at the corners. When milling all around, start across the grain, then along the grain.
- Working without a guide: Freehand, the cutter wanders off line. A fence, guide ring, or template guides the workpiece—not just your hand.
Milling in Woodworking Trades
Milling is one of the most important shaping processes in woodworking. You’ll find it in nearly all woodworking trades, such as:
- Carpenter or cabinetmaker
- Carpenters
- Toy maker
- Boat Builder
- Instrument Maker
- Staircase Builder
- Interior Designer
Milling is becoming increasingly important, especially in carpentry—for example, for precise tenons and mortises in beams. Whether it’s inlay work on a cabinet door or a tree slice on a surface milling jig—milling is used wherever shape and fit matter.
Historical Background of Milling
Rotating milling tools first appeared in mechanical engineering in the early 19th century. Milling made its way into woodworking shops with industrialization: As steam power and drive belts began to supplement manual labor, the spindle moulder became a staple of the carpentry shop—initially for profiles and grooves that had previously been laboriously cut by hand using profile planes. In the 20th century, the electric handheld router made the process portable; today, CNC machining centers complement the workshop in mass production. The principle has remained the same for over two centuries: a rotating cutting edge and a precisely guided workpiece.


