





Drilling a Hole in Wood
Drilling a precise hole in wood requires three things: the right tool, the correct speed, and a steady hand. This guide shows you, step by step, how to drill cleanly and safely—from marking the hole to finishing up.
Table of Contents
- What does the term “drilling” mean?
- Drilling into Wood: Choosing a Drill
- Types of Drills
- The Right Drill Bits for Wood
- Selecting Drill Bits by Material
- How to Drill a Hole in Wood Correctly – Step by Step
- Recommended RPMs
- Avoiding Common Mistakes
- Summary
- FAQ
What does the term “drilling” mean?
Drilling is a machining process: A rotating drill bit is inserted into the workpiece to create a round hole. In a cabinet shop, it is one of the most common operations, ranging from dowel holes and concealed hinge holes to through holes in beams.
Drilling into Wood: How to Choose the Right Drill
Three questions determine which machine to choose: What are you drilling, where are you drilling, and how often does the drilling need to be repeated? Hardwoods like oak or beech require more torque than spruce or pine. An adjustable speed is essential; otherwise, the values in the table below cannot be achieved. And for production runs with a defined depth and repeatable angle, a stationary machine is the way to go.
Types of Drills
Cordless and Corded Hand Drill
The cordless tool is ideal for assembly work and construction sites, while the corded tool is best suited for long, continuous drilling sessions in the workshop. For clean holes, both tools require the same things: adjustable speed and a smooth-running drill chuck.
Bench Drill / Column Drill
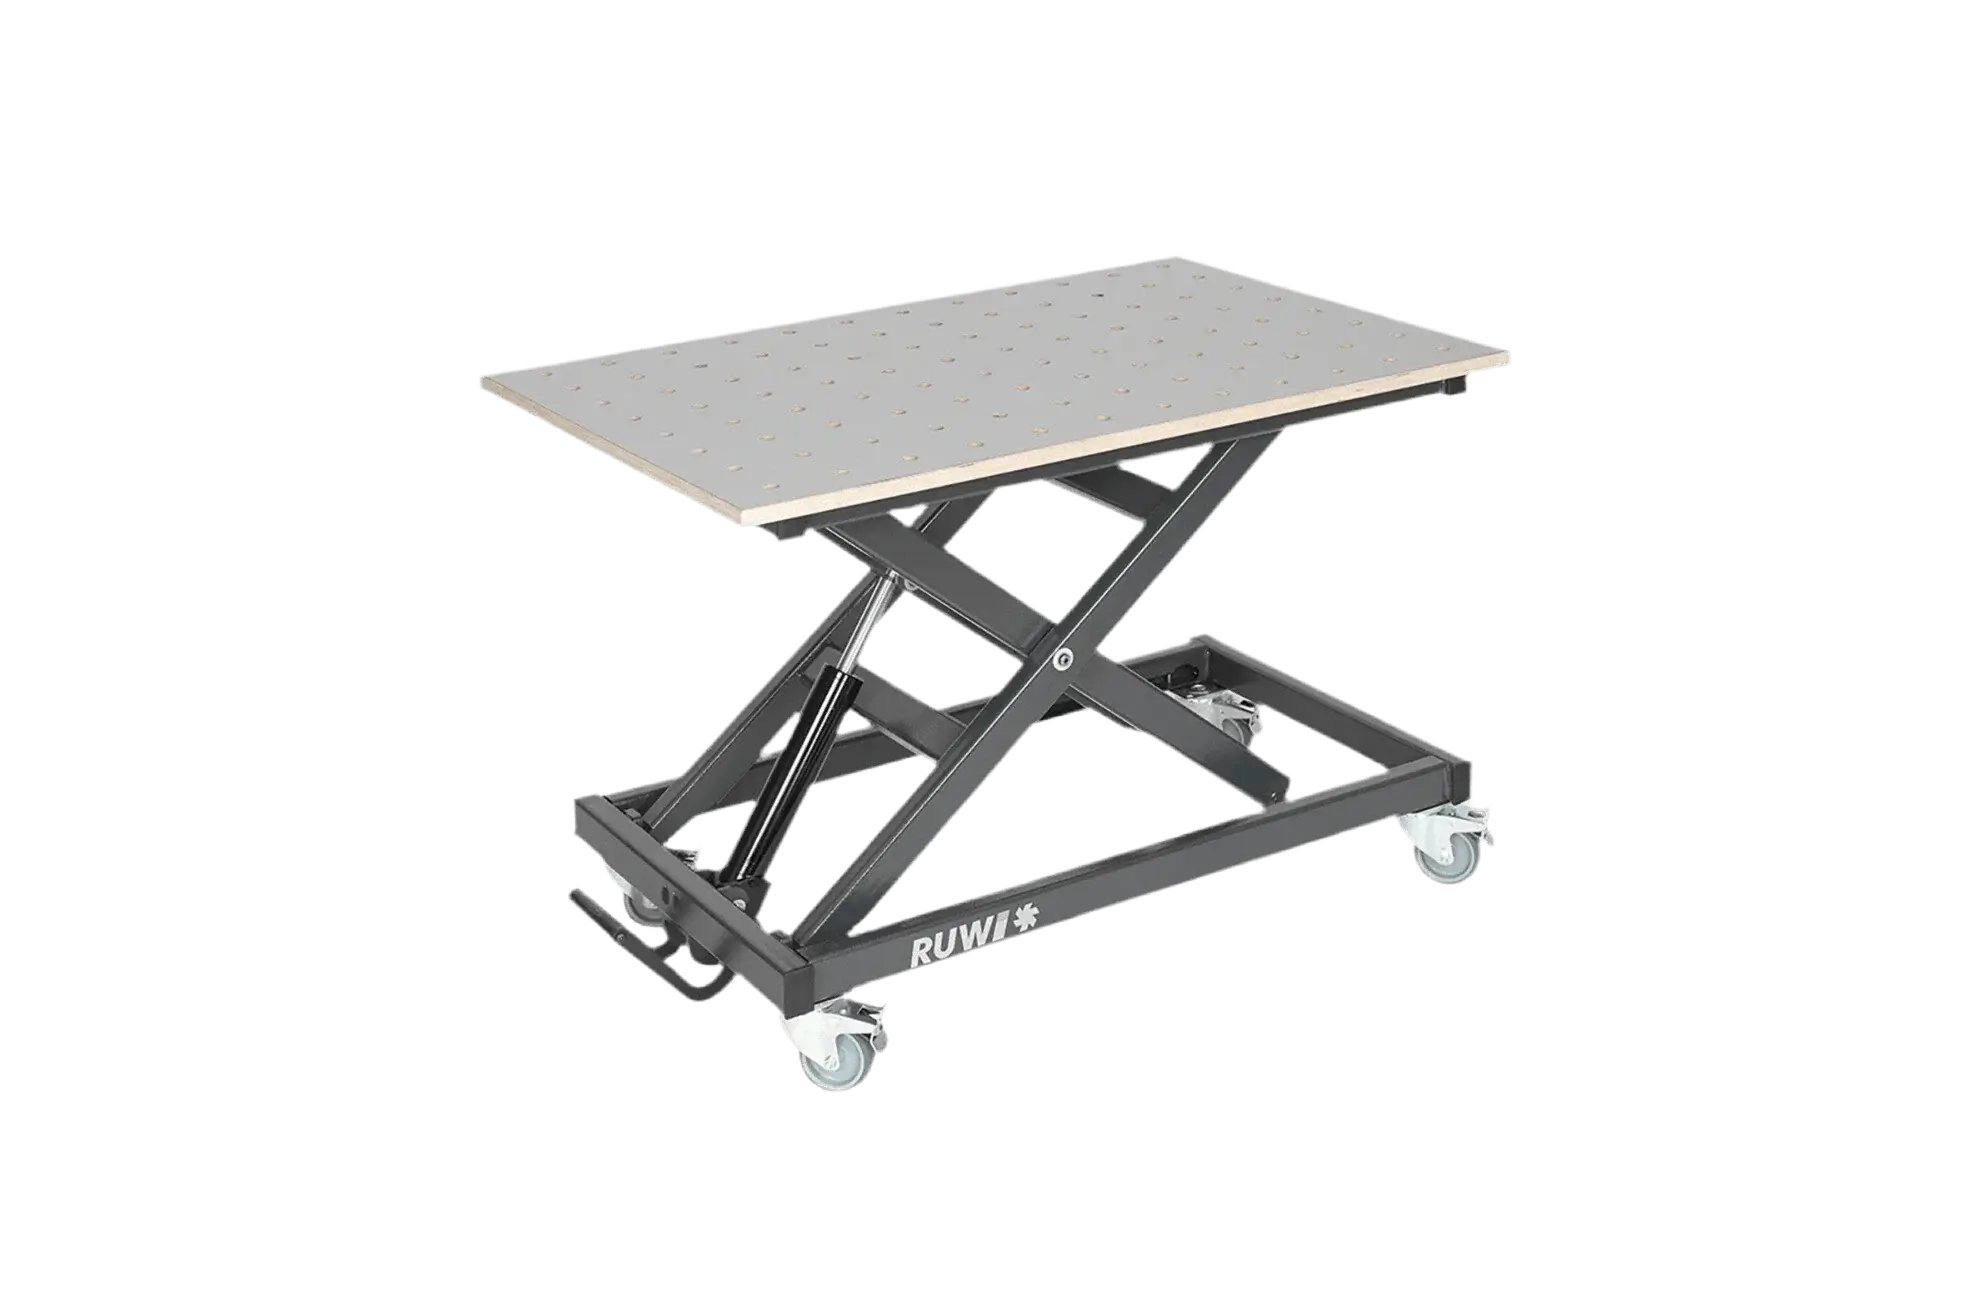
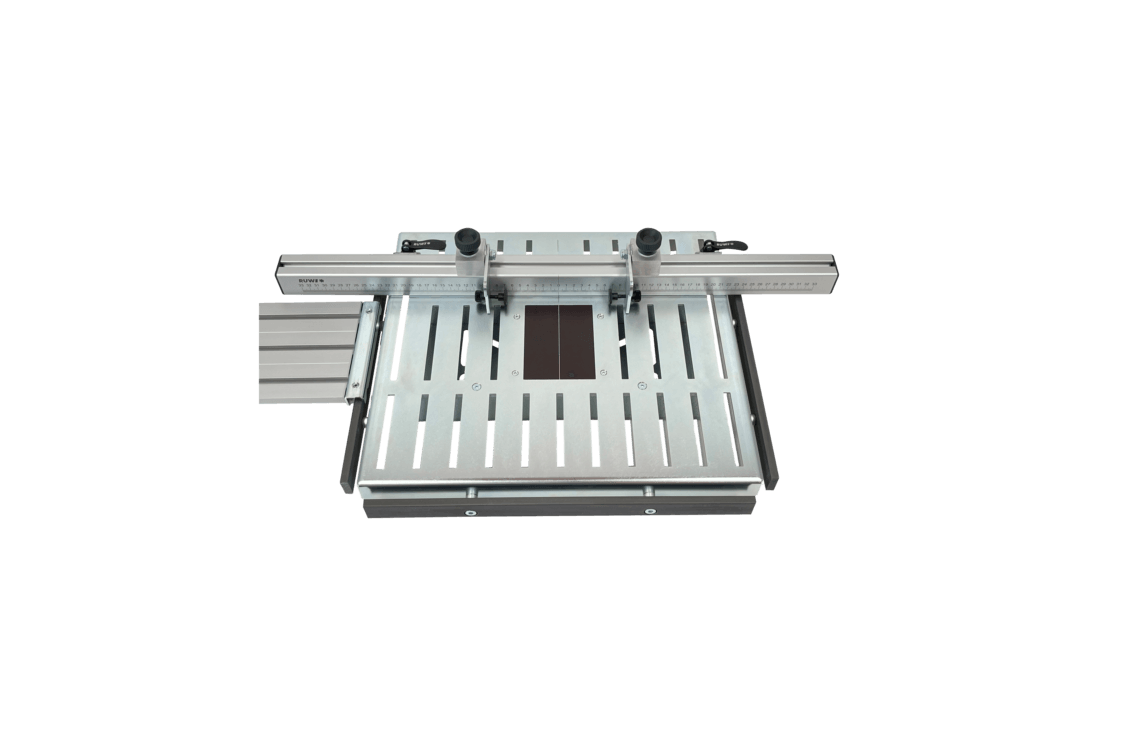
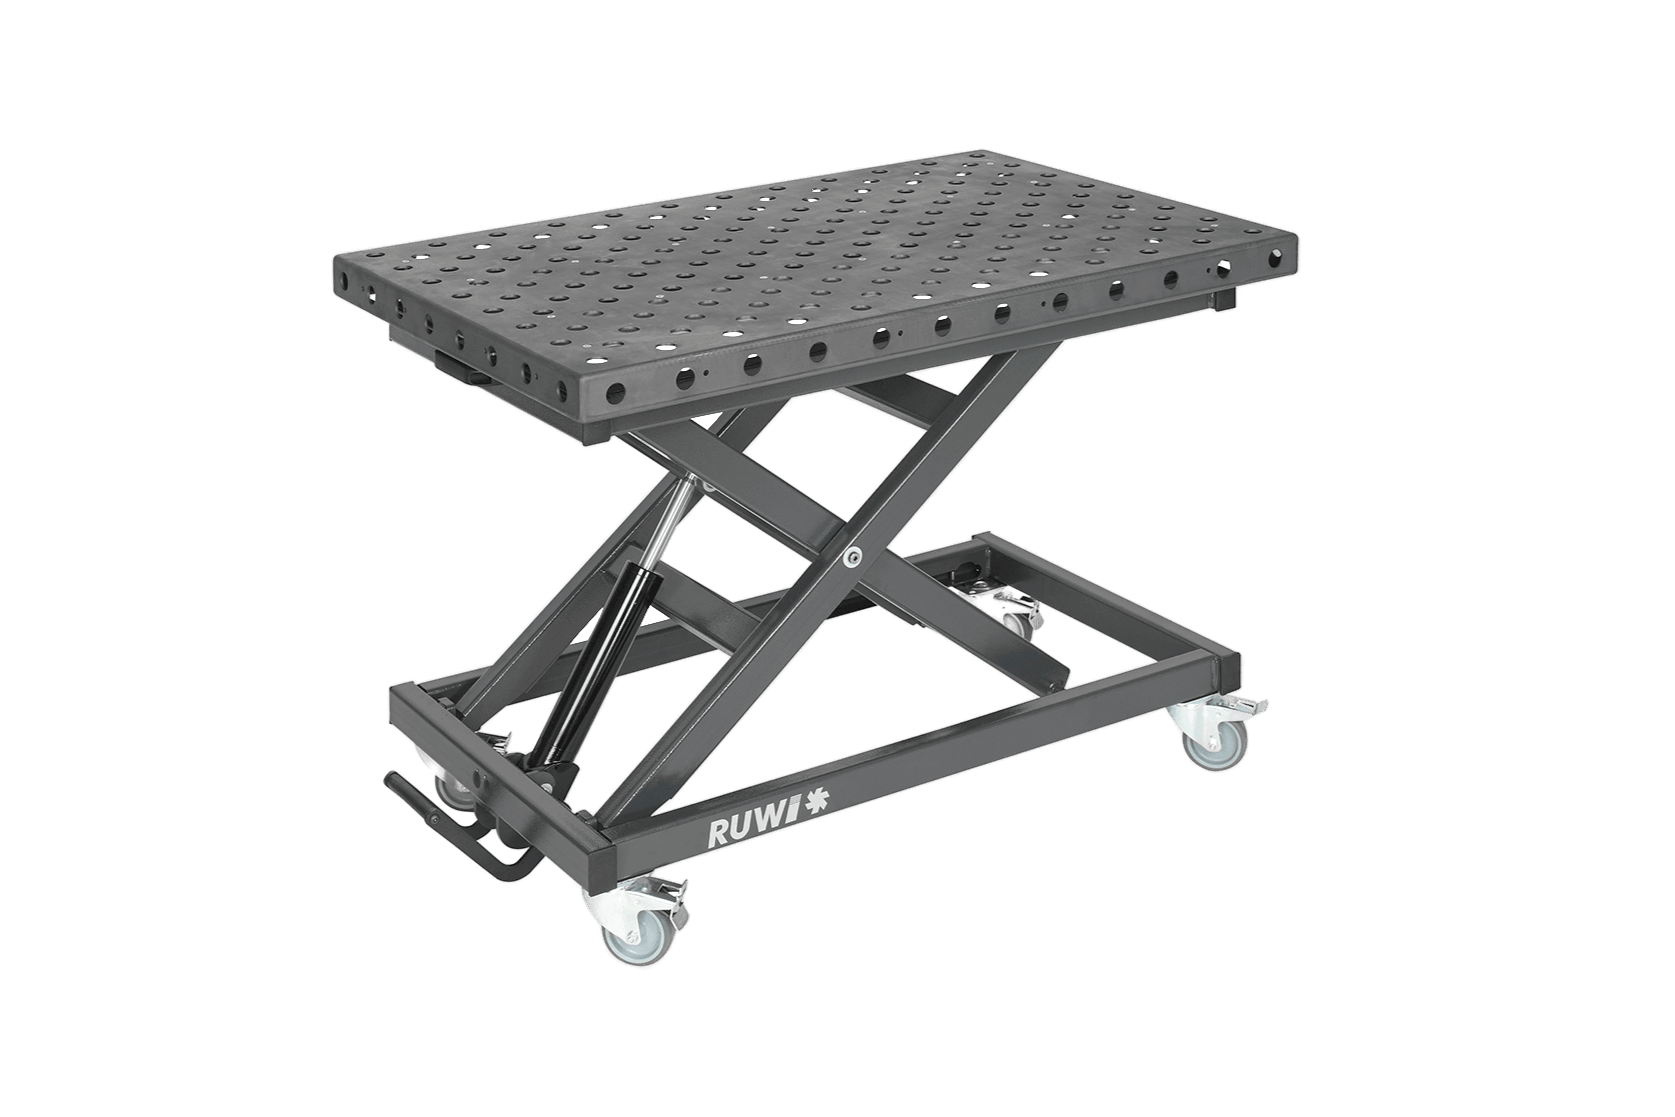
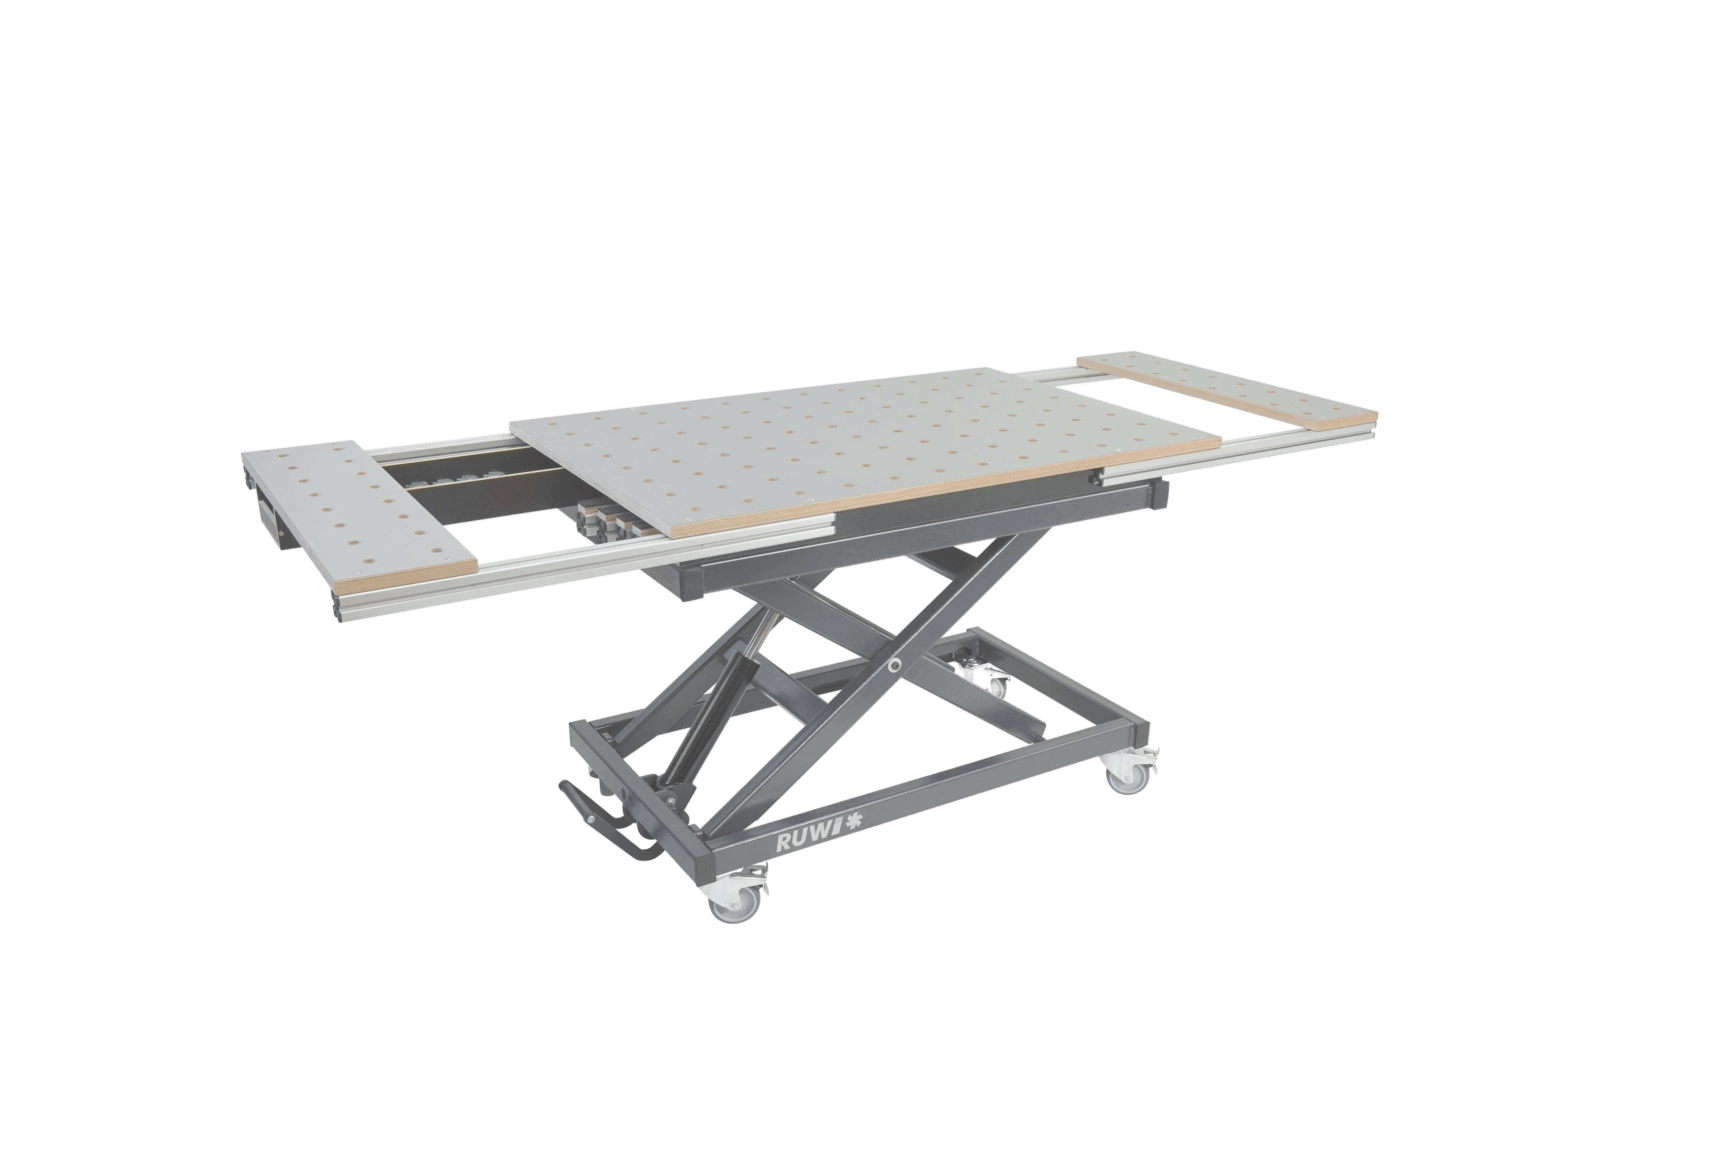
The drill press (also known as a bench or column drill press) is the centerpiece of precision drilling: a defined depth via the depth stop, repeatable angles, and the workpiece clamped to the table. If the machine table is not large enough, the RUWI drilling table expand the support and clamping options; long workpieces are supported by table extension .
Line boring machine
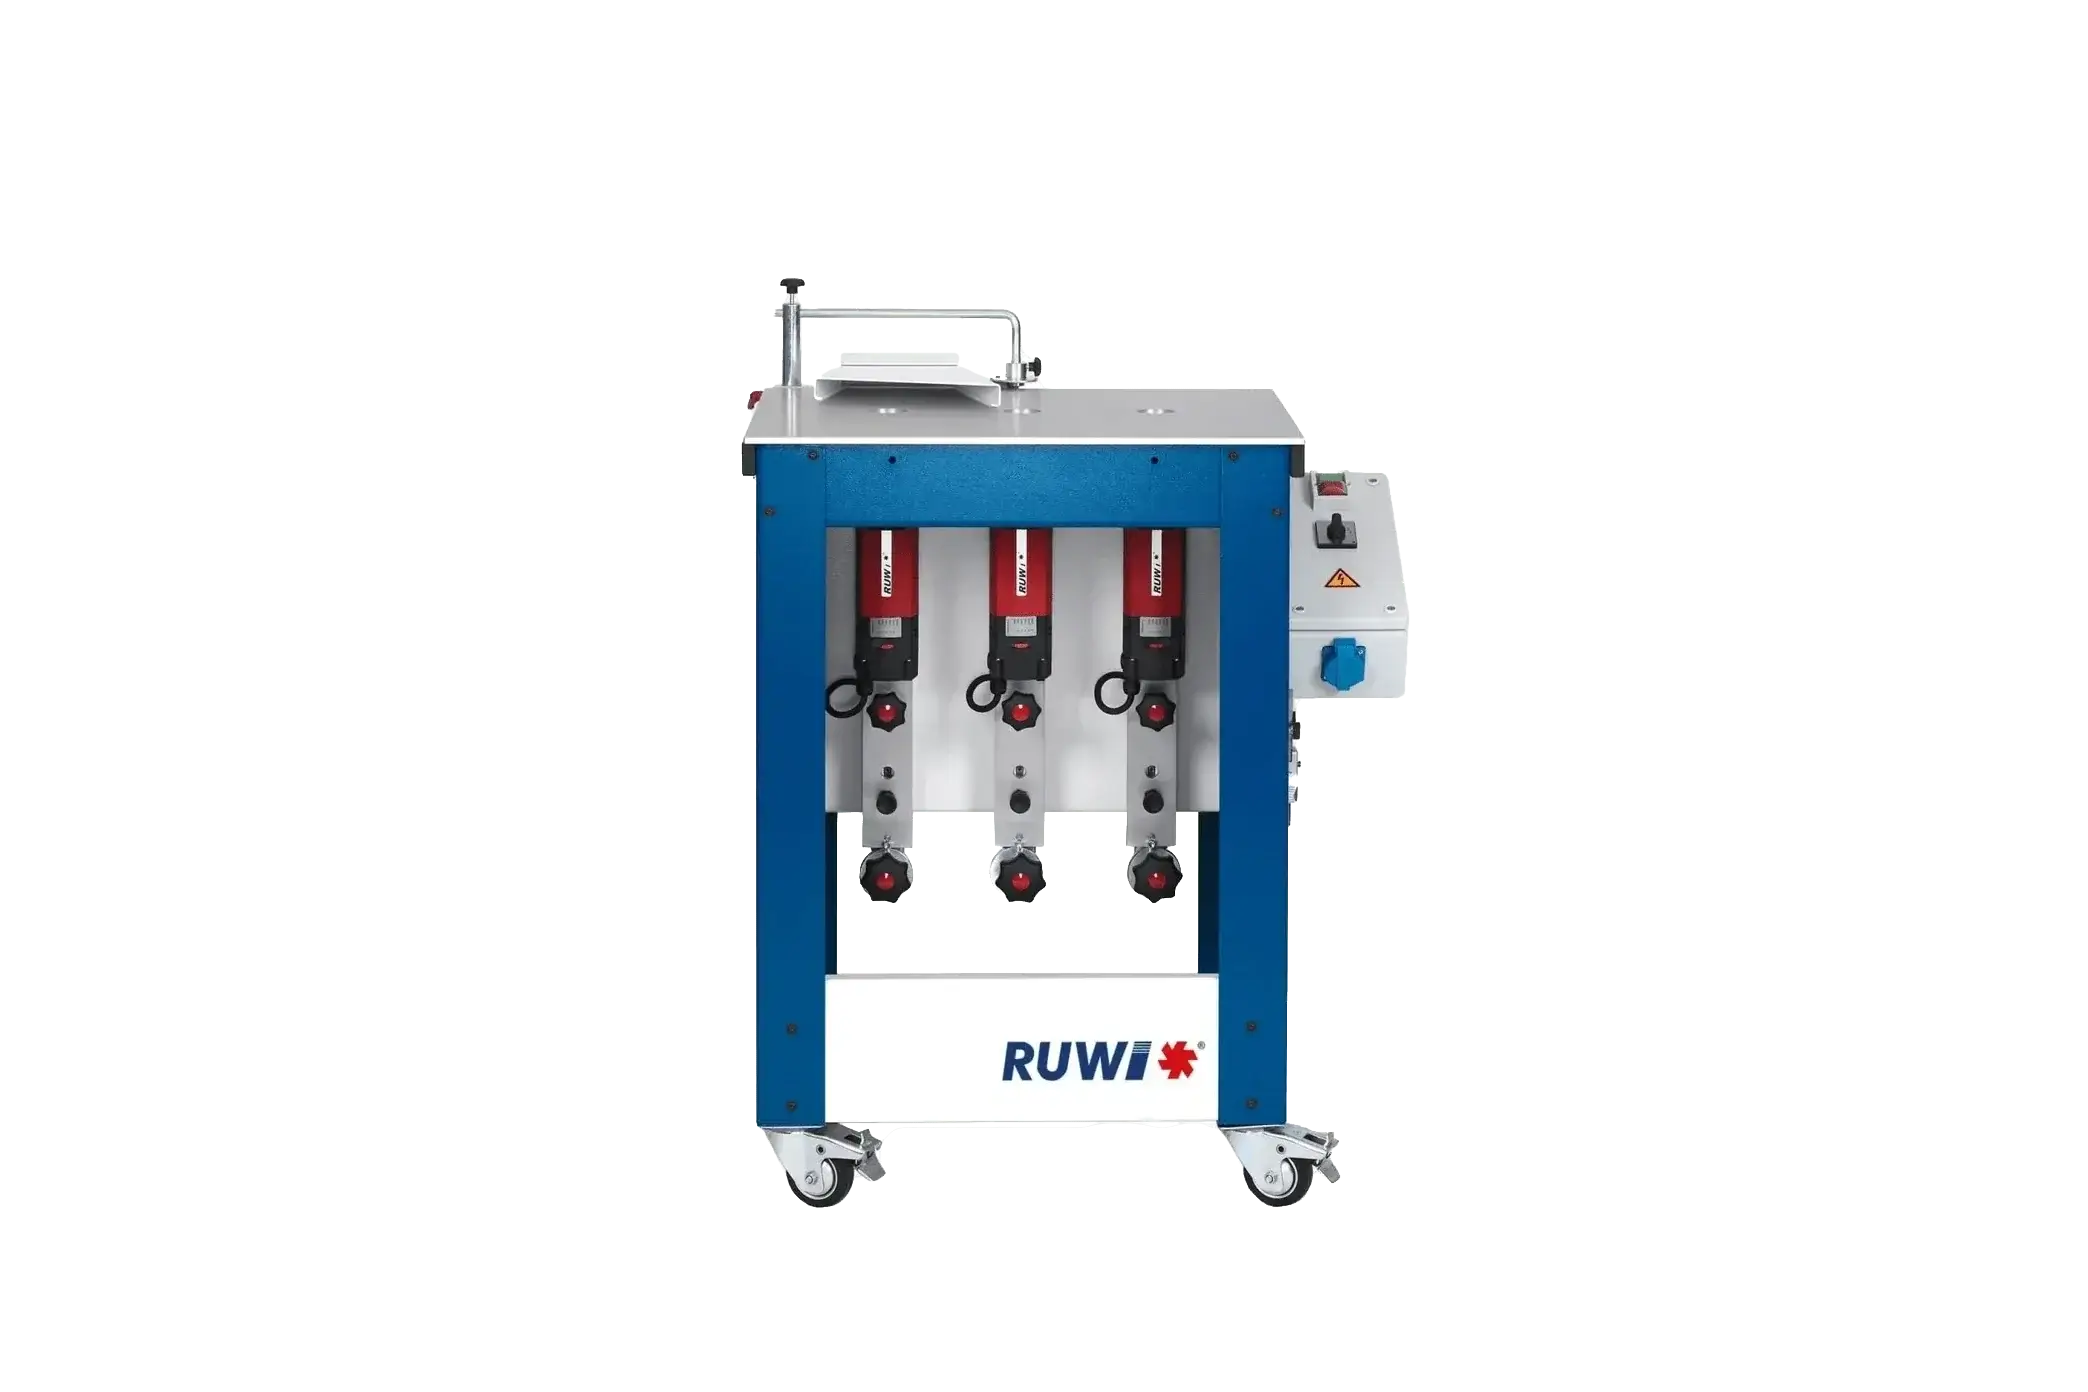
For furniture manufacturing: Multiple drill heads are arranged side by side in a 32-mm grid (System 32); a single stroke drills an entire row of holes. This is the standard for serial drilling.
For Special Cases
The angle drill, with its angled drill head, can reach places that a standard drill cannot, such as when working inside a cabinet. The mini drill drills fine holes in scale models.
The Right Drill Bits for Wood: Types and Applications
The drill bit determines the shape of the hole's edge. The main types and what they're used for:
Twist drill
The all-purpose drill bit for metal, wood, and plastic. The spiral flutes carry the chips out of the hole. However, without a center point, it tends to veer off course when starting the drill in wood.
Wood twist drill with centering tip
The standard for wood: The centering point keeps the drill bit precisely aligned with the mark, while the spurs sever the fibers at the edge of the hole before the main cutting edge clears the material. This ensures clean edges in everything from softwood to hardwood.
Forstner Bits
The tool for drilling precise blind holes with a flat bottom, typically used for setting cup hinges (standard size Ø 35 mm) or for drilling out knotholes. For large diameters, it should be used in a drill press, not a hand drill.
Plug cutter
Cuts round plugs and cross-grain discs for filling knotholes and gaps in the wood.
Auger Bit
For deep holes in beams and solid structural members. The threaded tip draws the drill bit into the wood on its own, and the deep spiral flutes clear chips even from long holes.
Hole saw
For larger through-holes beyond the range of Forstner bits—such as cable and pipe passages—a saw ring with a centering drill bit cuts only the perimeter, leaving the core intact as a disc. It therefore cannot drill blind holes, and the hole edge is rougher than with a Forstner bit. However, when used with a handheld power tool, it can handle large diameters without removing material from the entire surface. Work at low speed and guide the machine with both hands using the auxiliary handle: If the saw ring becomes jammed, the torque will be transmitted back to the machine.
Step Drills and Countersinks
The drill and countersink combines pre-drilling and countersinking for the screw head in a single operation, making it the tool for repetitive screw joints. Step drills feature multiple diameters arranged in a stepped pattern, for example, to create a through hole plus a countersink.
Selecting Drill Bits by Material
Softwoods
Spruce and pine are easy to drill, but they tear out just as easily. Sharp cutting edges and a center point are crucial to ensure that the soft fibers are cut cleanly rather than torn out.
Hardwoods
Oak and beech place greater demands on the tool: a sharp wood twist drill with a centering point, a lower RPM (see table), and minimal pressure. For deep holes, the auger drill truly shines in chip removal.
Sheet Materials
MDF and particleboard tend to fray at the surface. Brad point bits with spurs and Forstner bits produce the cleanest edges here; a sacrificial board helps on the exit side.
Painted and Coated Surfaces
For painted wood and coated cabinet fronts, the key is proper positioning: Apply painter’s tape over the drill hole, mark the spot on the tape, and start drilling at a low speed to prevent the drill bit from slipping and the paint from chipping. Use a sharp drill bit with a centering tip, place a scrap piece of wood underneath on the exit side, and, for visible cabinet fronts, test-drill on a scrap piece first.
How to Drill a Hole in Wood Correctly – Explained Step by Step
What You'll Need for Your Project
- Pencil
- Painter's tape or adhesive tape
- Folding ruler or measuring tape
- Drill and matching drill bit
- Safety glasses and hearing protection
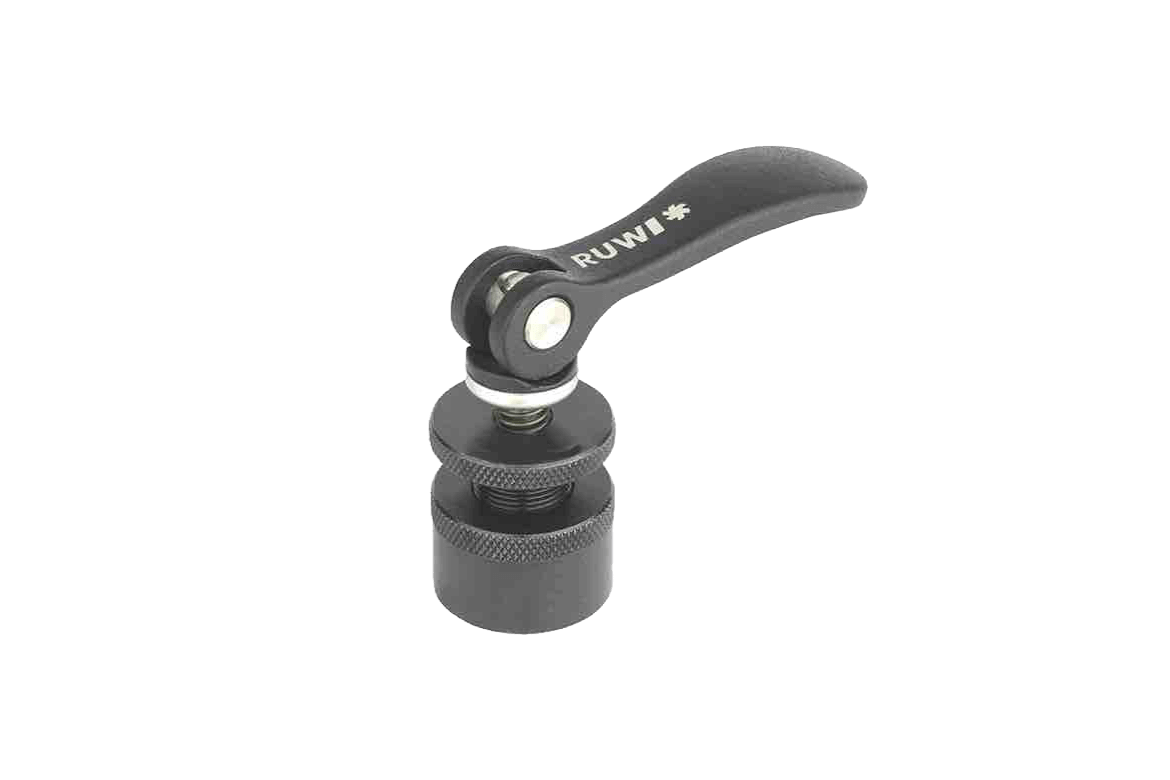
- Screw Clamps
- Sacrificial board (scrap wood)
- Vacuum cleaner or extraction system
- ladder or step, if necessary
Step 1: Gather the tools and materials
Keep everything within easy reach: a pencil, a tape measure, painter's tape, safety goggles, clamps, and a sacrificial board. That way, you can drill straight through in one go without having to stop to look for anything.
Step 2: Choose a drill bit and a drill
Select the drill bit type and machine based on the material, diameter, and drilling depth (see above). Make sure the machine has sufficient power and an adjustable speed.
Step 3: Mark the drilling location and secure the workpiece
Mark the drilling location with a pencil. For delicate surfaces, apply painter's tape first and mark on top of it. Then secure the workpiece with screw clamps so that nothing slips.
On smooth surfaces, a piece of painter's tape not only helps with marking, but also provides the drill with a secure grip when you start drilling.
Practical Tip
Step 4: Adjust the drilling depth and speed
Set the speed (see table below) and, if available, the depth stop. When drilling through, place a sacrificial board underneath: it supports the fibers on the exit side, keeping the back side clean.
Tip: Base your decision on the drill bit's diameter and the material: Larger drill bits and hard materials require lower speeds, while smaller drill bits and soft workpieces can handle higher speeds. As a rule of thumb, it's better to start a little too slow than too fast.
Recommended RPMs
The table shows recommended speeds in RPM based on wood type and drill bit diameter. These values apply to standard twist drill bits; you can easily adjust them depending on the quality of the drill bit and the machine.
Approximate RPM Values
| Drill Diameter (mm) | Softwood (such as spruce, pine) | Hardwood (such as oak, beech) | Panel materials (such as plywood, MDF) |
|---|---|---|---|
| 3 mm | 2,000–3,000 rpm | 1,500–2,000 rpm | 1,800–2,500 rpm |
| 6 mm | 1,500–2,000 rpm | 1,000–1,500 rpm | 1,200–1,800 rpm |
| 10 mm | 1,000–1,500 rpm | 800–1,200 rpm | 900–1,300 rpm |
| 15 mm | 800–1,200 rpm | 600–1,000 rpm | 700–1,100 rpm |
For diameters greater than 15 mm, the general rule applies: the larger the diameter, the lower the speed. For large diameters, such as concealed hinge holes (Ø 35 mm) and hole saws, follow the manufacturer’s speed recommendations and start at the lower end of the range.
Step 5: Safety Precautions When Drilling
Wear safety goggles to protect yourself from flying chips, and avoid wearing gloves when using open drills and routers, as they can get caught and cause serious accidents. Be sure to wear tight-fitting clothing and tie back long hair so it doesn’t get caught in rotating parts. Always keep your work area tidy, ensure there is enough space, and use a non-slip surface so you can move around safely.
Connect dust extraction wherever possible; to learn about the role of dust class M in the workshop, read the article “Extracting Wood Dust.”
Step 6: Drill a hole in the wood
With a hand drill: Position the drill exactly on the mark and start at a low speed to prevent the drill bit from veering off course. Then gradually increase the speed and apply just enough pressure so that the drill bit draws itself into the wood. For deeper holes, lift the drill slightly every now and then to allow chips to escape and prevent the drill bit from overheating.
Using a drill press: Securely clamp the workpiece to the table and select a speed appropriate for the type of wood. Lower the drill bit slowly and carefully using the hand lever, applying only light pressure to avoid damaging the material. Lift the drill bit briefly during the process to allow chips to escape and prevent overheating—this will help you drill a clean hole in the wood.
Step 7: Check the drill hole and make any necessary adjustments
Remove the shavings from the drill hole and check that the hole is at the desired depth and in the correct position. If necessary, smooth out any sharp edges with a countersink or sandpaper.
Tip for Quick Depth Adjustment
Mark the desired drilling depth on the drill bit with a piece of tape. Be sure to wrap the tape against the direction of rotation so that it doesn't come loose on its own while drilling. As soon as the tape reaches the surface, you'll know you've drilled deep enough—without needing any additional measuring tools.
Common Mistakes When Drilling—and How to Avoid Them
Error, Explanation, and Tip for Avoiding It
| Error | Explanation | Tip for Avoiding This |
|---|---|---|
| Inaccurate Marking | Minor deviations when marking can result in inaccurate or misaligned holes. | Mark the drilling location with a pencil, scriber, or center punch, and check the position beforehand. |
| Inadequate securing | A workpiece that slips out of place compromises accuracy and safety. | Secure the workpiece firmly with screw clamps or a vise. |
| Incorrect RPM | Spindle speeds that are too high or too low can cause overheating or result in poorly drilled holes. | Adjust the speed to match the material and drill bit diameter: use higher speeds for soft materials and small drill bits. |
| Excessive pressure | Too much pressure can break the drill bit or damage the material. | Apply only light pressure and let the drill do the work on its own. |
| Wrong Drill Bit | Using the wrong drill bit can lead to poor results or damage to the material. | Choose the drill bit based on the material (for example, a wood drill bit for wood, a metal drill bit for metal). |
| Overheating | Without chip removal, heat builds up: The drill bit becomes dull and discolors the wood. | Lift the drill bit occasionally to allow chips to escape, and select the speed according to the table. |
| Lack of protective equipment | A lack of protection increases the risk of injury from chips. | Wear safety goggles, avoid wearing gloves around rotating parts, and keep the work area clean. |
| Drilling Without Pre-Drilling | Large diameters without preliminary work can cause the material to splinter. | When drilling large-diameter holes in hard woods, pre-drill with a smaller drill bit first. |
Summary
Measure, clamp, set the speed according to the chart, test drill on a scrap piece: that’s all it takes to make a clean hole in wood. The drill bit type determines the edge, the sacrificial board determines the exit side, and for batches with a defined depth, the drill press is the way to go.
FAQ
When should a drill bit be replaced or sharpened?
You'll notice it when you have to apply noticeably more pressure, loud drilling noises occur, and the drill holes become uneven. A dull drill bit also overheats more quickly and can cause increased smoke or sawdust.
What should I do if the drill bit gets stuck or jams?
Turn off the machine immediately and unplug it before carefully reversing or loosening the drill bit. Then check whether the drill bit is damaged or dull, and reduce the speed if necessary. Also, be sure to secure the workpiece firmly to prevent it from tilting again.
Can I drill at an angle? If so, what's the best way to do it?
For hand drills, a swivel drill stand is helpful, while a tiltable drilling table or a drilling jig works well with a drill press. Alternatively, you can drill a hole in a scrap piece of wood, cut it to the desired angle, and then use it as a guide for the actual drilling.


