


Routing curves in wood - rounding wood edges in 5 steps
It's this easy: Perfectly milled rounded edges using a router or router table
Rounding edges is one of the most common woodworking operations. It not only improves the look of furniture and workpieces but also makes them safer and more pleasant to handle. Sharp edges are processed to be less pointed and therefore less prone to causing injury.
This 5-step guide shows you how to professionally round wood edges with a router – from preparation to execution. Whether you're a hobbyist, woodworker, or a pro like a cabinetmaker or joiner, you'll find the information you need here.

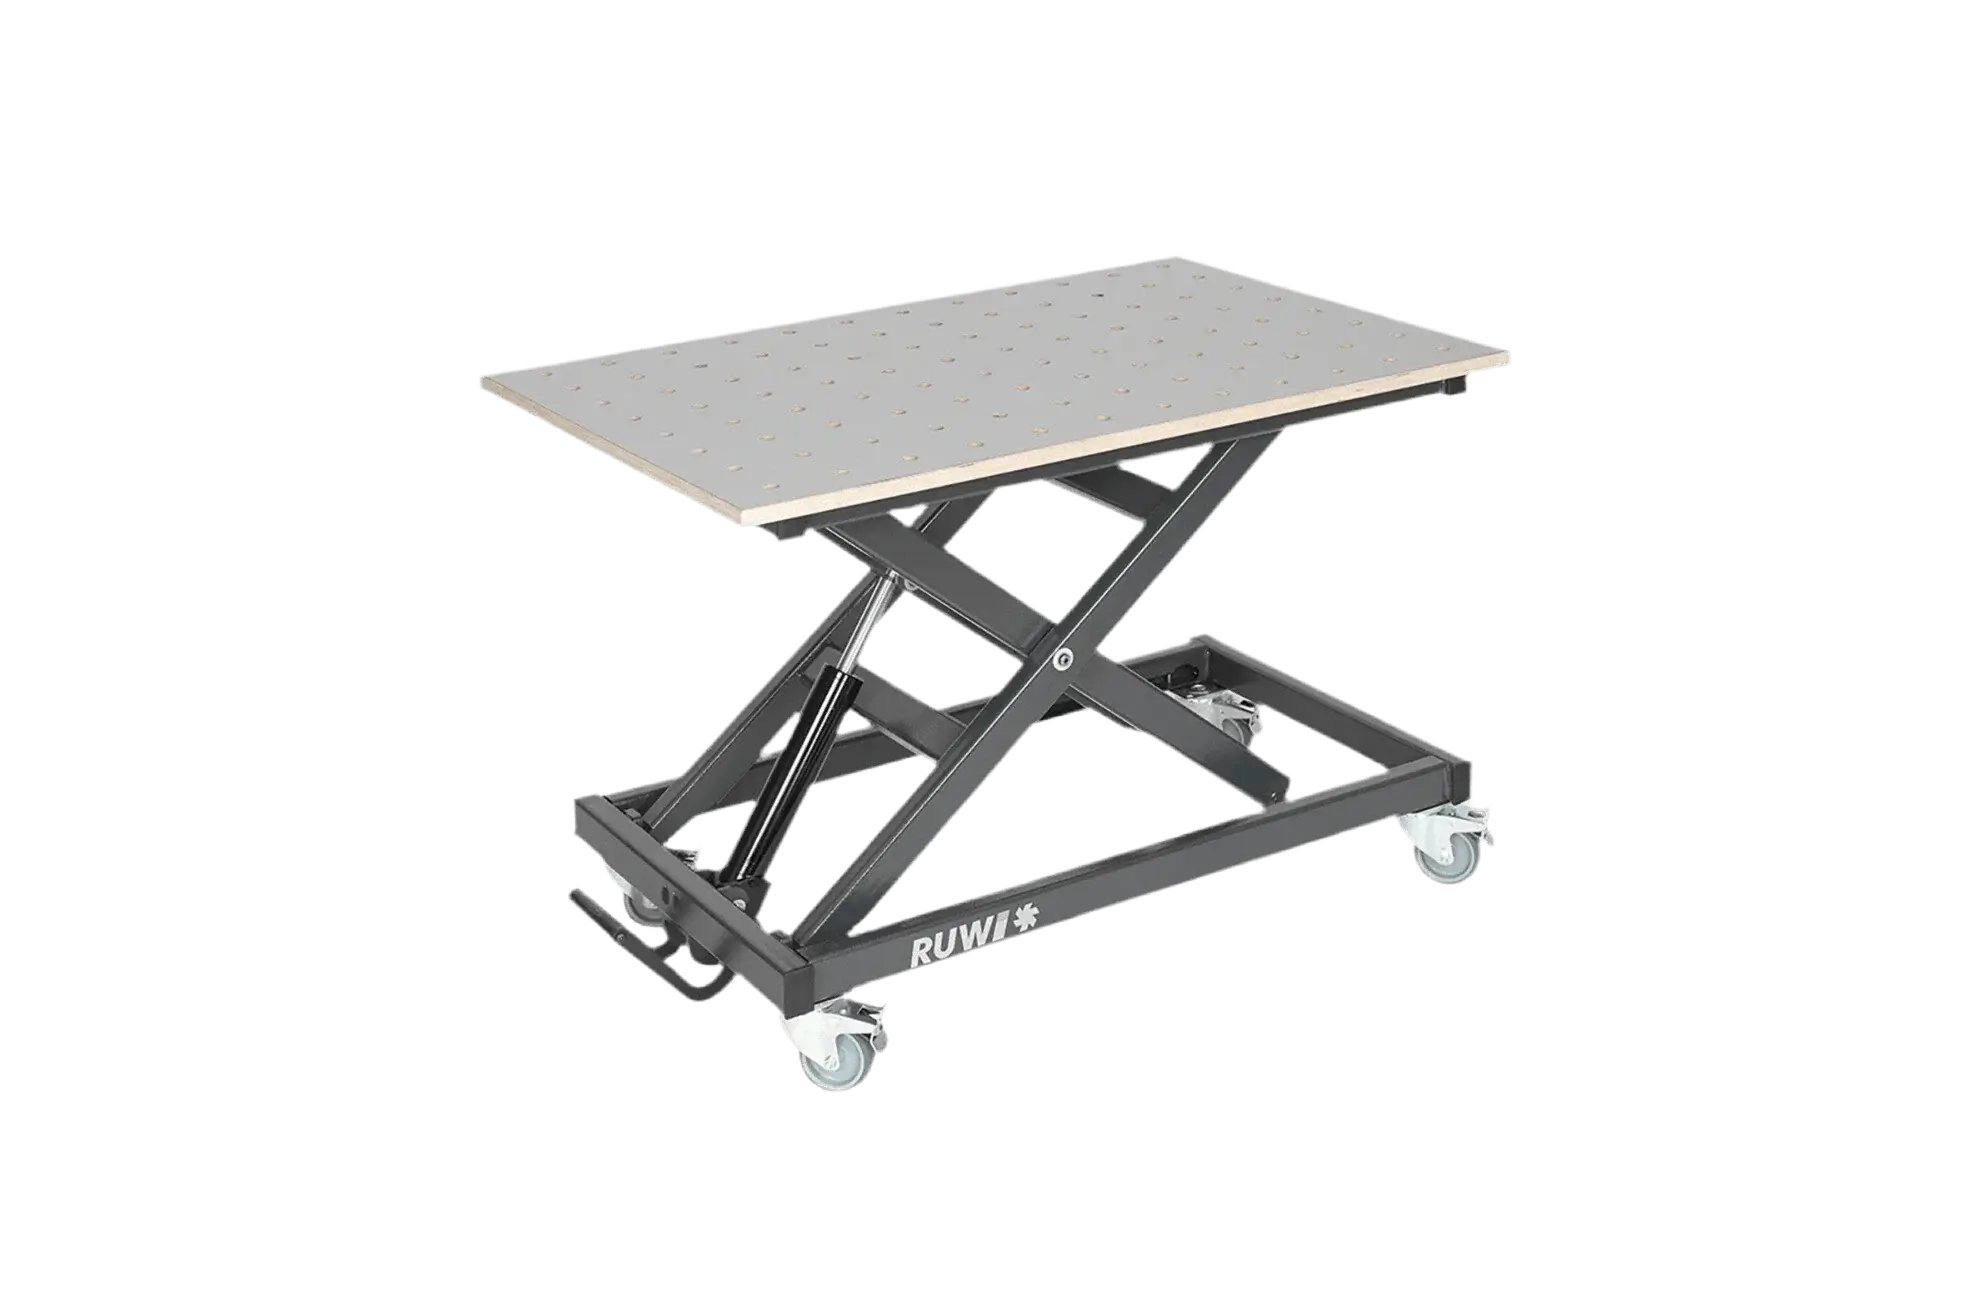
Milling Curves onrouter table
Table of Contents
- Important facts at a glance
- Preparation
- Guide to routing a curve
- Tips for improving the routing result
- Machines and tools for routing curves
- What other types of circular routing are there?
- FAQ
Important facts at a glance
Preparation: Decide which machine and rounding bit are best suited for your project.
Execution: Pay attention to the correct setting of routing depth, speed, and routing direction.
Post-processing: Also, make sure to allocate enough time and the right expertise for the finishing touches.
Preparation: What do I need to rout a curve in wood?
Round routing opens up many possibilities to transform your workpiece visually and tactilely. Our step-by-step guide will walk you through it, from preparation to execution.
Router or router table: Both machines are suitable for rounding edges. Which one you choose depends on your personal preference and the specific requirements of your project.
Router Bit: When milling a curve on a wooden part, selecting the right router bit is crucial. Use various router bits in different sizes to achieve the desired curve – from small edge breaks to large radii. There are also special tools like the Doppelabrund- und Fasenfräser R2, which lets you work on two edges simultaneously.
Clamping device: When using a hand-held router, clamping tools such as a 200-mm Bessey screw clamp with clamping bolt and clamping jaws are essential for positioning your workpiece securely and precisely. An even safer method is to use a router table, since you can always keep an eye on the tool. In addition, a tool guard allows you to safely round off even the smallest parts.
Protective Equipment: Working with a router or router table the proper protective gear. Therefore, always wear safety glasses and ear protection. Depending on the material and tool, a dust mask may also be advisable.
Make sure all your tools and materials are in perfect condition before you start rounding over. Thorough preparation not only ensures a better result but also your safety during the work process.
Material list
- Tilt-proof or non-slip base, or a workbench
- Workpiece to be Rounded Over
- Material for a Test Cut
- Sandpaper
Tools
- Handheld router table or router table
- Radius router bits, quarter-round router bits, or rounding router bits
- Clamping tools
- Sandpaper or sanding block
- Dust extraction, PPE (Personal Protective Equipment)
Guide to routing a curve
In this step-by-step guide, we'll show you how to create router table curves in your workpiece using a router or a router table . From selecting the right radius size to checking and finishing the routed surface, we'll walk you through the entire process and help you achieve optimal results.
Step 1: Defining and setting the desired radius size
You should choose the rounding size based on appearance and functionality. A minimum requirement is often an R2 rounding cutter for breaking edges, to soften sharp edges. For items like children's toys, a larger radius (≥ R5) is recommended, making the toy more tactile and easier to grip. This also reduces the risk of injury and increases lifespan, as chipping of small parts is minimized.
Make sure the machine is turned off and unplugged while you are using the tool. When clamping it in, make sure the rounding tool collet shank the collet up to the mark on shank .

Selection of router bits for rounding
Step 2: Setting the routing depth
If you want to round curved edges, we recommend a rounding router bit with a bearing. The bearing traces the contour and guides the router bit smoothly along the curved edge. For straight workpiece edges, you can also use a router bit without a bearing by guiding the workpiece along the fence of the router table or the parallel fence of the handheld router. In both cases, though, it's important to set the routing depth correctly.
The cutter's radius should be flush with the machine table. If the cutter extends too far, it creates a step; if it doesn't extend enough, a small edge forms at the transition. You can adjust the cutter height using a digital setting gauge or on a test piece until the outermost edge of the cutter just touches the wood surface. A test cut will show you if you have the right setting.
Tip: Sometimes you might want to deliberately set the rounding router bit a bit deeper to achieve a special decorative edge look (the 'German bead'). Try out different settings to find the look you're after.
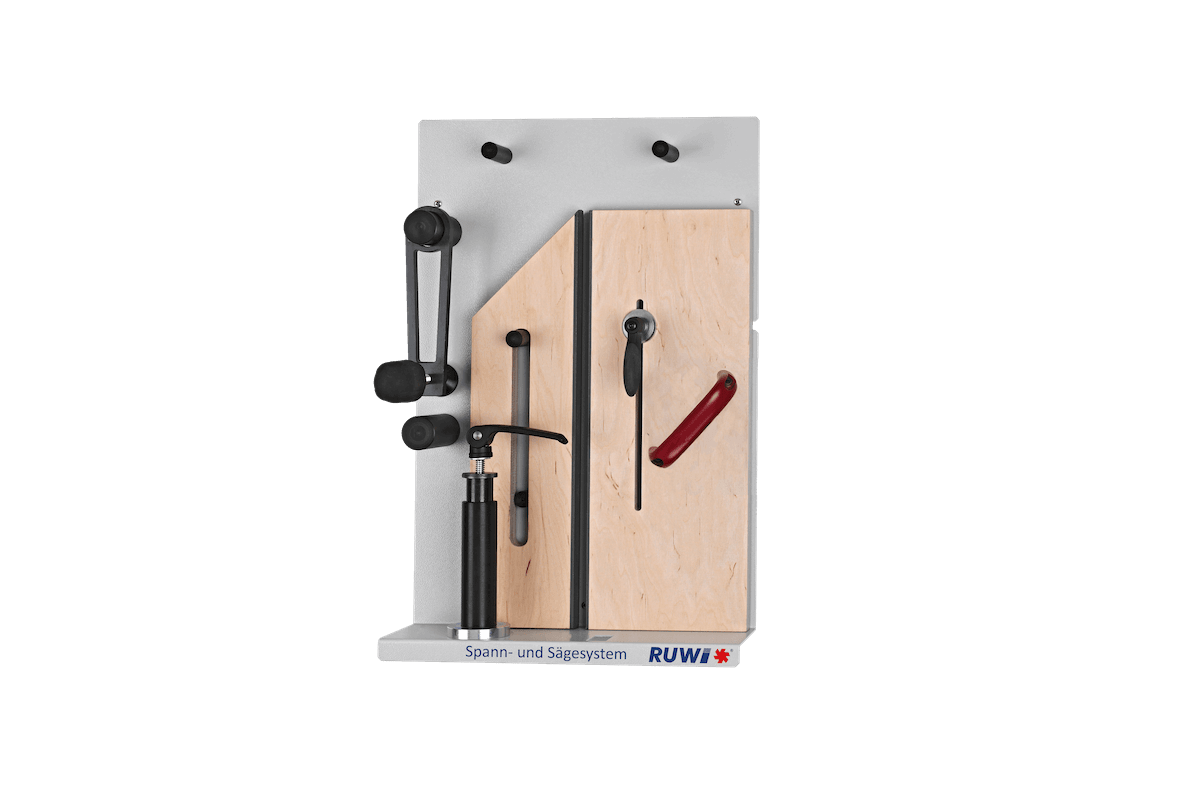
Step 3: Clamping and safety devices
To round off the edges of the workpiece safely and precisely, you should clamp it securely. Use screw clamps, quick-release clamps, or clamping jaws. To prevent indentations in the wood, place a shim between the workpiece and the clamp. For heavy workpieces, it may be sufficient to place them on a support rail with a non-slip surface. Then you can rout all around it without a clamp getting in the way. However, make sure the workpiece doesn’t slip.
If you're router table the wood on router table , you should use a tool guard. Onrouter table , yourouter table safely round even tiny pieces, such as wooden jewelry. Plastic spacer rings minimize the gap between the workpiece and the rounding bit and maximize the contact surface.
Note: Remember to use dust extraction and always wear your PPE (hearing protection, dust mask) when working with machines and tools.

Router rounding a workpiece edge
Step 4: Rout the rounding
Once you've carefully set the routing depth and attached the clamping or protective devices, you can start the actual routing process. First, check if the correct speed is set, then switch on the machine. You'll usually rout in conventional routing, and only rarely and with great caution in climb cutting. Make sure you understand the differences between climb cutting and conventional routing to grasp their advantages and disadvantages.
You can find more information on milling processes in our lexicon article on conventional milling.
Guide the router bit along the edge with even pressure and at a steady speed. When using a hand-held router, it’s especially important to make sure the router doesn’t tilt. On router table , the workpiece router table on a large surface area, so you guide the workpiece (rather than the machine).
Tip: With the right rounding bit on router table , you router table even easily turn a square strip into a round rod. It’s best to look for a video on“routing round rods.”

Routing curves with a handheld router
Step 5: Checking and finishing
Carefully inspect your routed workpiece for any irregularities or unevenness. Make sure the curve is uniform and cleanly executed. If you spot any irregular depressions (chatter marks), your guide bearing might be dirty, or your feed rate was too high. Trying a slightly slower speed can often help.
You can carefully smooth out minor imperfections and the transition from the curve to the flat surface with 120 to 180 grit sandpaper. Make sure to wear a protective mask to shield yourself from wood dust.
Once you're done routing, clean your router bit and check it for any damage. If needed, get the tool sharpened.
Tips for improving the routing result
- Practice makes perfect: Start by routing on a practice piece to get a feel for the machine before you tackle your final project.
- Router bit quality: The quality of your router bit can significantly impact your work. Look for durable cutting edges to get better results.
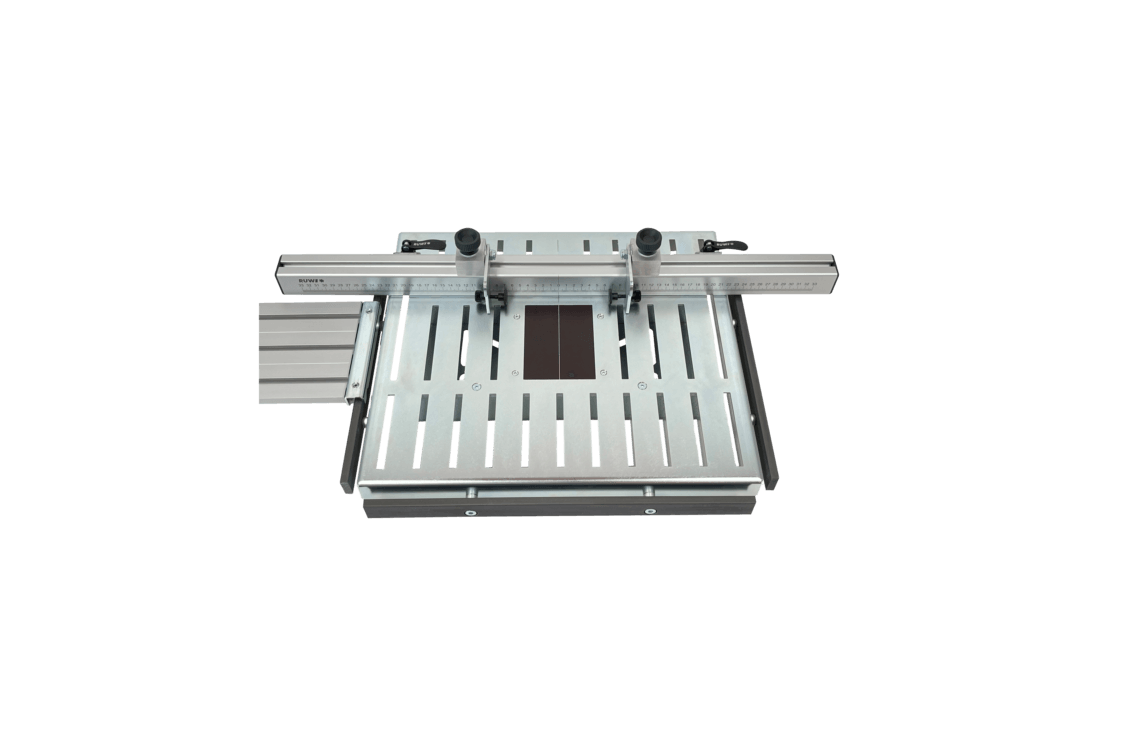
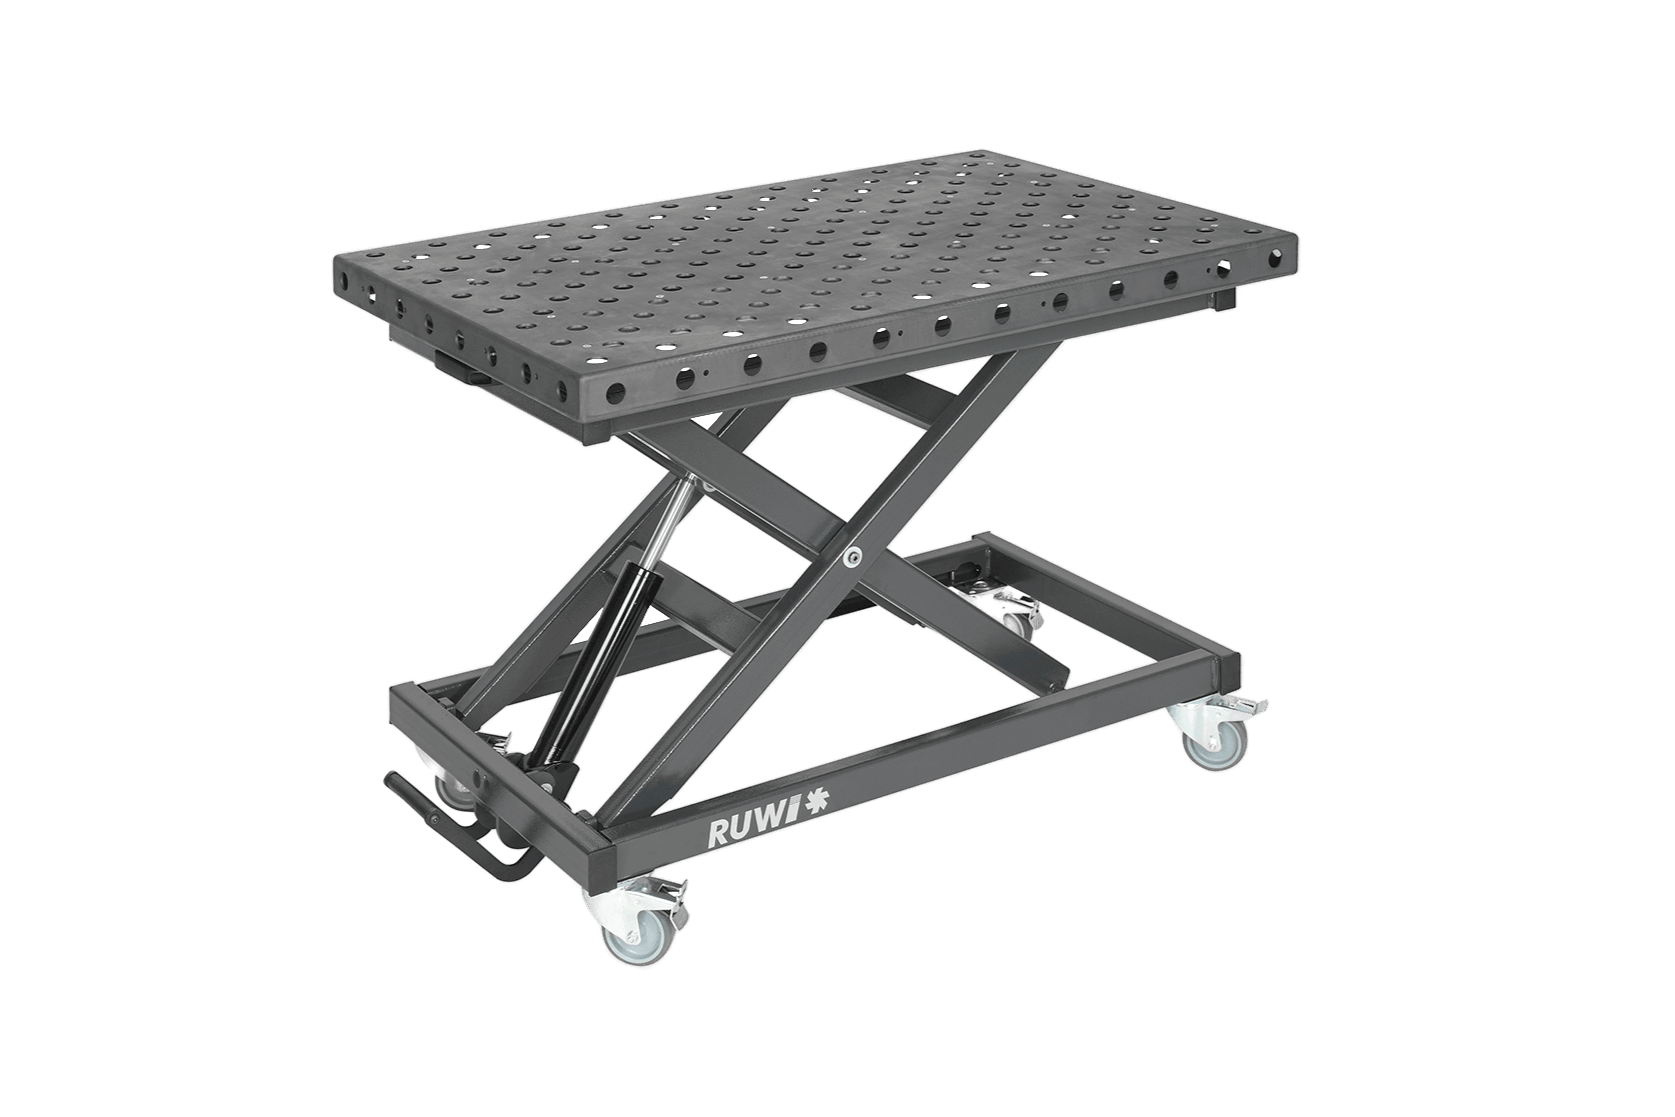
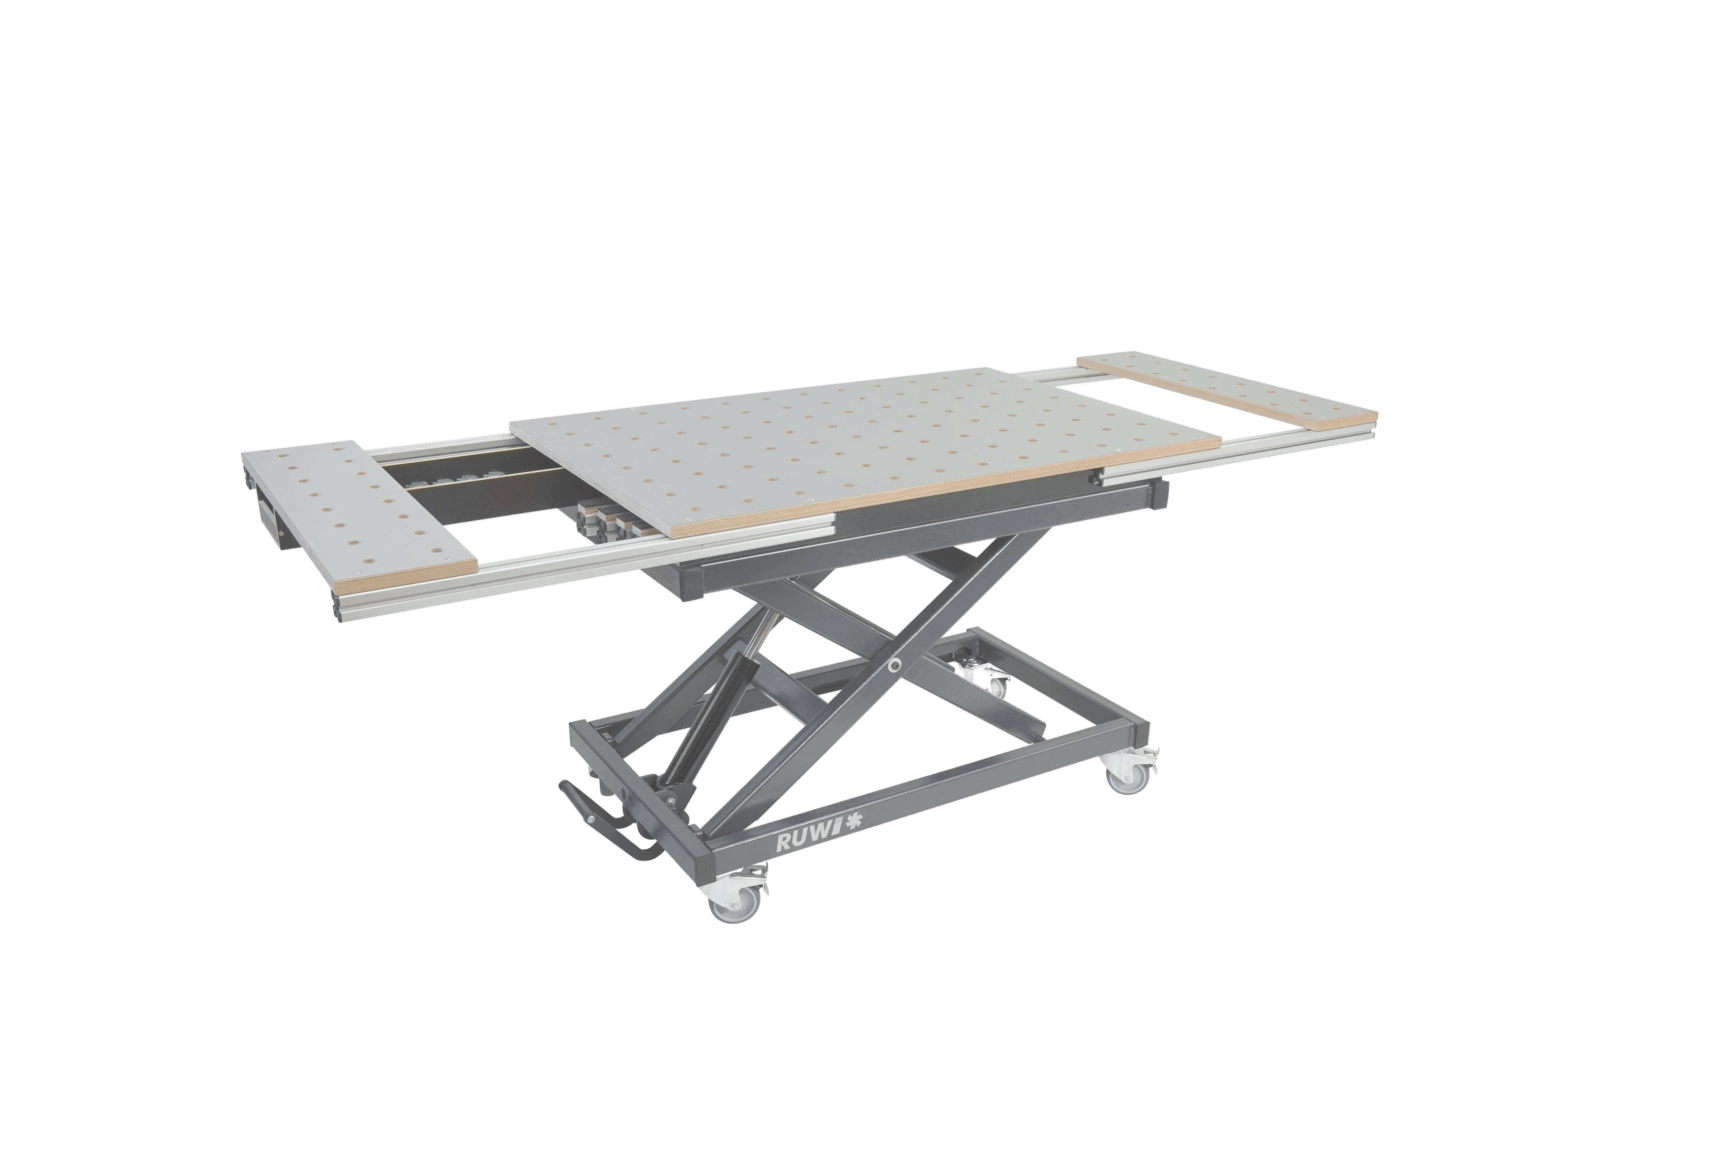
- Adequate support surface: For larger workpieces, a table extension can help increase the support surface.
- Preventing tipping: Extend the base of your handheld router by screwing a Plexiglas plate (around 25×25 cm) underneath it. Alternatively, place material of the same thickness parallel to the edge to ensure the router rests stably.
- Multiple passes: For large curves, it's better to route in two to three passes to minimize chip load and get a cleaner result.
- Care and Maintenance: Clean your router bits and router after each use. Check for sharpness and read the operating manual to ensure everything runs smoothly.
Machines and tools for routing curves
Choosing the right woodworking machine depends on the project type and size, as well as the desired profile size and precision:
- Handheld routers: Great for smaller projects or if you need flexibility. They're portable, perfect for on-site work, for example. This category includes edge routers or laminate trimmers, specifically designed for edge processing.
- router tables: Ideal for larger projects or when you need repeatable precision. They're used by DIYers, woodworkers, and educational institutions alike. With professional solutions like therouter table , yourouter table safely and quickly.
- Stationary router tables or CNC milling machines: For complex or serial routing tasks – especially in professional settings.
- Sanding machines (e.g., belt sanders): Suitable for rounding edges, but they do require practice. They're good for organic shapes.
- Hand planes: If you prefer the classic approach and are skilled enough, you can also manually plane a curve.

Therouter tables and Premium

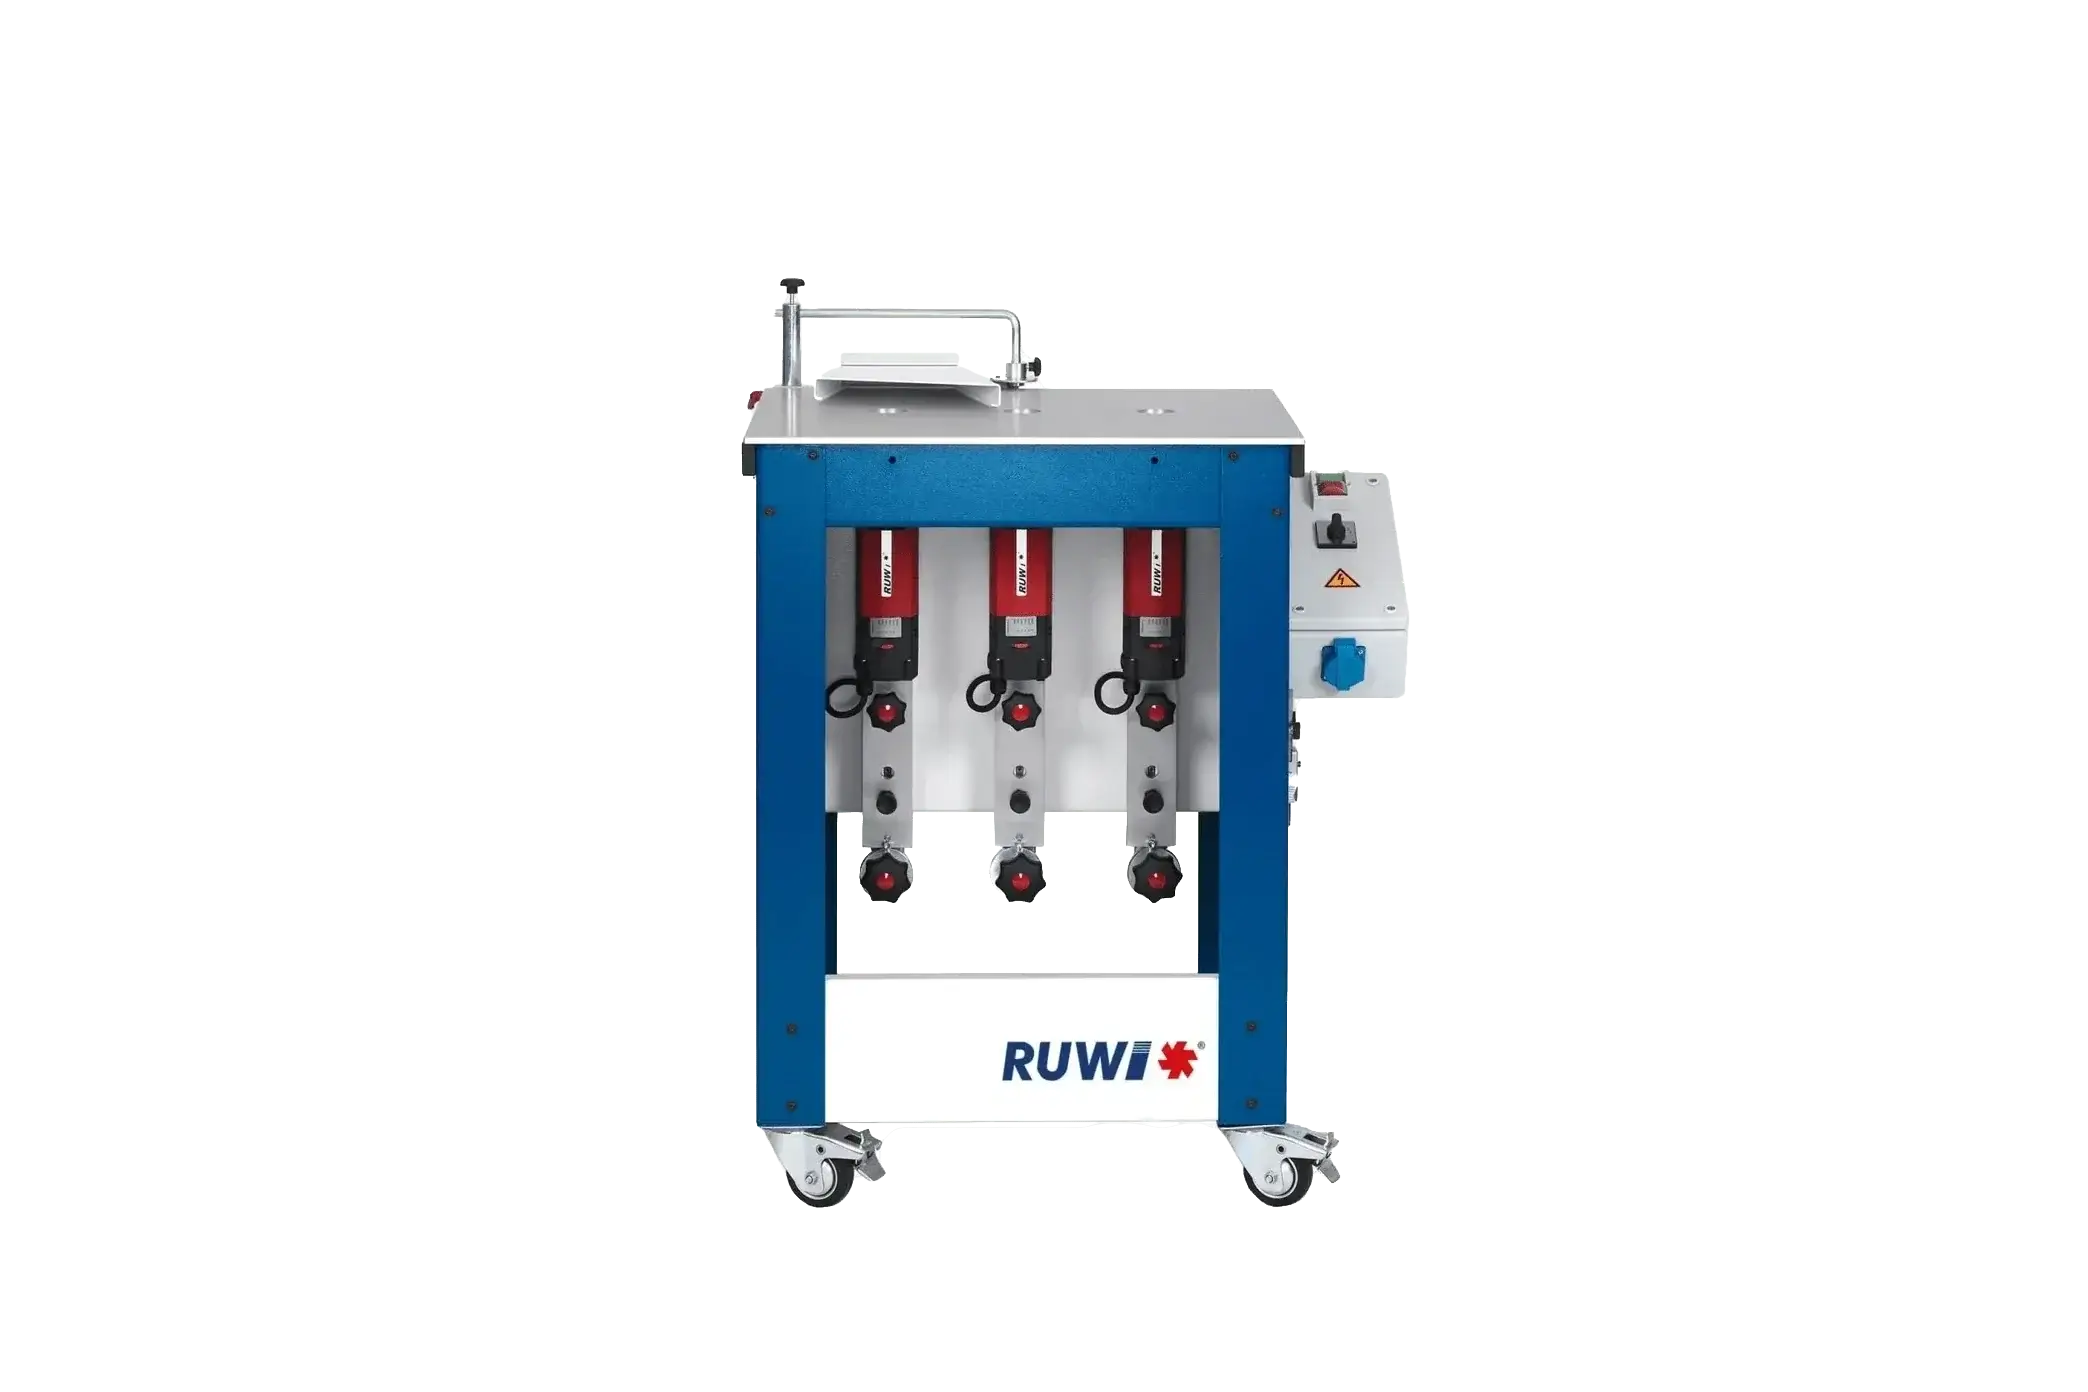
Edge sanding machine as an alternative to routing
What other types of circular routing are there?
Besides the common 'edge rounding,' there are other types of radius routing:
- Routing a rounded corner: This is when you round the outside corners of a surface, like a tabletop.
- Routing instead of drilling: This is when you want to route a hole in a workpiece, for example, for a round sink cutout in a kitchen countertop.
FAQ
Why does the curve have brown spots or burn marks in some areas?
This can happen due to excessive speed, too slow a feed rate, or a dull cutter. Too much friction generates heat, which can burn the wood. So, make sure to use an appropriate speed, a brisk feed rate, and sharp tools.
Why is the routed roundover profile uneven or rough?
If the guide bearing is dirty or the workpiece isn't clamped properly, you might get chatter marks or unevenness. A feed rate that's too high can also lead to chatter marks. Clean the guide bearing, adjust the speed, and clamp the workpiece securely. For slight roughness, you can finish with fine sandpaper.
How can I make a dowel?
To make a round rod, you’ll need a square strip whose cross-section matches the radius of your router bit. Example: A round rod with a 16 mm diameter requires an R8 quarter-round router bit and a 16×16 mm strip. For an R12.7 mm bit, you’ll need a 25.4×25.4 mm (2×12.7 mm) strip. This is easier to do on router table a clamping device than freehand with a hand router.
What's the right roundover radius for my workpiece?
That depends on your desired look and the function. A small radius (e.g., R2) looks subtle, while a larger radius (≥ R5) makes the edge more tactile. It's best to test on a scrap piece to see what you like most.
How do I set the correct speed for my router table?
You should never exceed the maximum RPM (check the specification on the router bit). You can route softwoods at lower speeds, while hardwoods often need more power. Too high a speed leads to heat and burn marks, and too low a speed results in chatter marks. It's best to try different settings on a scrap piece.


