





Milling Wood
Grooves and rebates, chamfers, and radii; profiles and template contours —hardly any other woodworking technique offers you as many shapes as routing. All of these are created using a rotating, multi-edged tool—whether in a hand-held router, a router table , or a spindle moulder.
This guide walks you through the basics: What role does wood play? How do you find the right router bit? Which machine is best suited for which task—and what preparations do you need to make before you start cutting? For each specific routing task, we’ve included links to our step-by-step instructions at the end.

Milling with a Handheld Router
Table of Contents
- What to Look For
- Choosing the Wood
- Selecting a Milling Tool
- Selecting a Milling Machine
- Work Planning
- Step-by-Step Instructions
- Tips and Tricks
What do you need to keep in mind before milling?
Before you start milling wooden parts, it's worth taking a quick look at five points:
- Know your wood: Hardness, grain direction, and resin content determine the choice of tools, speed, and feed rate.
- Choose the cutter based on the task and material—sharp, clean, and approved for your machine.
- Decide whether the task is best suited for a hand-held router, a router table , or a stationary machine.
- Clamp the workpiece securely and wear safety glasses, ear protection, and a dust mask.
- Connect the dust extraction and keep the work area free of tripping hazards.
Choosing the Right Wood
As a general rule, you should first base your choice of wood on the appearance and intended function of the workpiece. However, different types of wood have different properties that can make milling easier or more difficult and affect the final result.

A variety of wood types to choose from
Hardwood
Hardwoods such as beech, oak, maple, ash, cherry, and walnut are popular in furniture making. However, you should use a sharp router bit and adjust the cutting speed accordingly, as hardwood puts more strain on the machine. Clamp the workpiece very securely and always work with the dust extraction system turned on.
Softwood
Softwoods such as pine, spruce, fir, or larch are easier to work with but are sensitive to pressure when clamped. A shim or rubber pad prevents pressure marks. Softwoods and resinous woods are prone to scorch marks if the spindle speed is too high and the feed rate is too low. The spindle speed depends primarily on the cutter diameter: the larger the cutter, the lower the spindle speed. For the surface finish, a sharp tool and a consistent feed rate are more important than any adjustment to the spindle speed.
Wood-based materials
MDF, multiplex, and particleboard are often less expensive than solid wood and have consistent properties. However, their binders act like fine abrasives on the cutting edge—carbide cutters last significantly longer here than HSS cutters. In addition, wood-based materials generate a lot of fine dust, so effective dust extraction is essential. Adjust the cutting speed to prevent overheating and rapid tool wear.
Choosing the Right Milling Tool
Choosing the right milling cutter is crucial for the quality of the milling results and the service life of both the tool and the machine. Pay attention to the cutter type, diameter, and material to ensure it is suitable for your project, the wood, and the machine.

Selection of cutters at RUWI router table Classic Performance

Selection of milling cutters at RUWI router table Premium
Types of Milling Cutters and Their Applications
- Groove cutters: For grooves in various widths, commonly used in furniture and cabinet making.
- flush trim bit: To remove excess material so that it is flush (for example, on templates).
- Chamfering cutters: For chamfering or “breaking” edges at various angles and sizes.
- Rounding cutters: For rounding edges or decorative profiles, available in various radii.
- Slot cutters: For tongue-and-groove joints, edge grooves, Lamello.
- Profile cutters: Decorative profiles, often used for furniture fronts and decorative elements.
It’s also worth taking a look at the markings: According to EN 847-1, milling tools for manual feed are marked “MAN”—only these are suitable for router tables, spindle moulders and routers. Tools marked “MEC” are intended for machines with mechanical feed, such as CNC machines.
Materials Used in Milling Cutters
- HSS (High-Speed Steel): Relatively inexpensive and more fracture-resistant, but with a shorter service life.
- HM (cemented carbide or tungsten carbide): Longer service life and higher cutting speed, but more brittle and more expensive.
- Diamond-tipped (DP): Very long service life when machining abrasive sheet materials, but expensive—typically used in CNC and industrial applications.
Conclusion: For most projects involving solid wood and particleboard, carbide is the only way to go: It lasts many times longer than HSS and can also withstand the abrasive binders found in particleboard.
Choosing the Right Milling Machine
CNC milling machine
Computer-controlled machines perform milling operations according to a program. Their strengths lie in repeatability, free-form shapes, and mass production. For one-off pieces, the process involving drawings, programs, and setup is often more time-consuming than simply using a spindle moulder.

CNC Milling Machine for Woodworking
Spindle Moulder
With a vertical tool shaft, a spindle moulder can be used to perform a variety of machining operations: chamfering and rounding edges, creating grooves and rebates, and making tongue-and-groove joints. A feed mechanism improves workpiece guidance—but it is considered a manual feed, and milling is performed in the opposite direction.

Stationary Spindle Moulder
Router
You bring the hand-held router to the workpiece—on the construction site, next to the installed kitchen, or to any workpiece that’s too large for a table. This allows you to create edge profiles, work with templates, and rout grooves right on the object. The catch: Since you’re guiding the machine freehand, any slight tremor in your hand will show up in the cut.

Routers on a Clamped Workpiece
Underfloor milling machine or router table
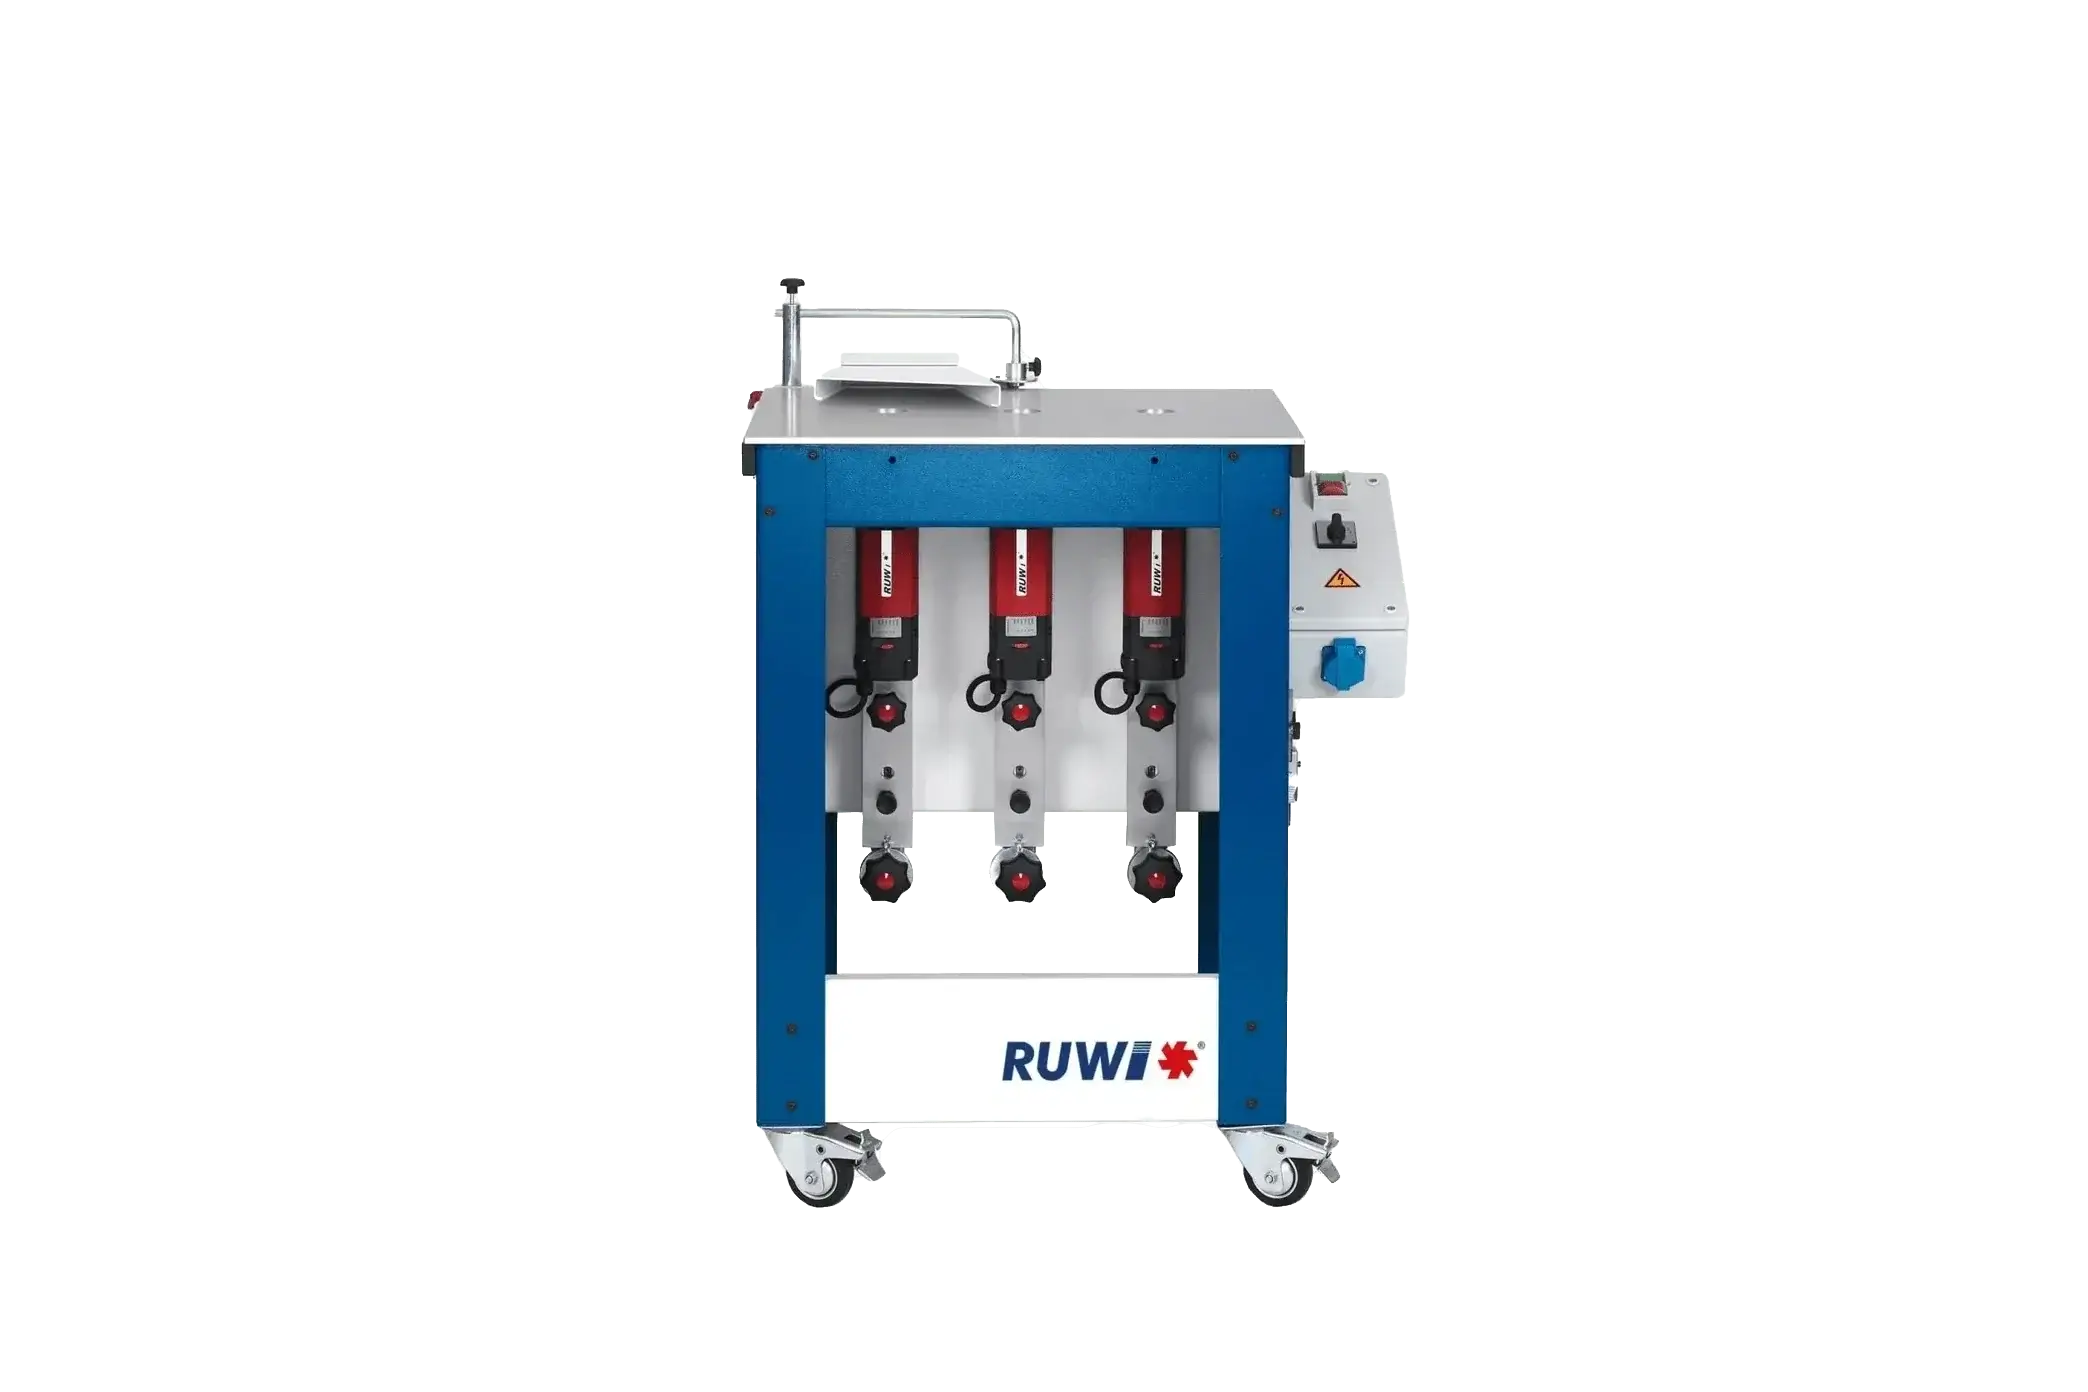
Here, the tool protrudes through the tabletop from below. Using a fence, pressure aids, and templates, you guide the workpiece with both hands—which gives you greater control, especially when working with small parts and narrow strips. Professional models like the RUWI router table extract dust both above and below the table top.

RUWI router tables Classic and Classic Performance
Chain mortiser
Chain mortising machines cut mortises—the elongated recesses into which the tenon of the mating piece will later fit. A continuous chain with cutting teeth works its way into the wood. In carpentry and timber construction, this is the quickest way to create traditional wood joints; strictly speaking, it is a mortising process rather than a milling process.
Conclusion: The rule of thumb for choosing: If the workpiece is large or built-in, the machine goes to the workpiece—that’s where the router comes in. If the workpiece is manageable, it goes to the machine—to the router table or the spindle moulder, where you guide it with both hands.
Work Planning
Prepare the workpiece
Plane or sand your board before routing so that subsequent sanding does not distort the routed profile. Also, markings are easier to see on a smooth surface.
Choosing the Right Milling Tools
Check your cutters for sharpness and cleanliness. If they are worn, this can result in rough cuts or even damage to the wood and the machine. Insert the cutter into the collet at least up to the mark—but not all the way until it touches the collet base; there should be a few millimeters of clearance.

Choosing the Right Cutter for the Project
Settings on the Milling Machine
Pay attention to the spindle speed, cutting depth, feed direction, and feed rate. Checking the user manual for your machine and tool will help you determine the correct settings.
Important: Never exceed the maximum speed indicated on the milling cutter.

Adjusting the cutter height on the router table
Safety Precautions
Wear safety goggles, ear protection, and a dust mask; avoid loose clothing and jewelry to prevent them from getting caught in the machine. Clamp the workpiece with clamps or clamping devices instead of just holding it in place, and connect the dust extraction system before the first chip falls—wood dust is harmful to the lungs, and oak and beech wood dust are considered carcinogenic. A tidy workspace free of trip hazards is essential.
Step-by-Step Instructions
In our articles, you'll find detailed instructions for individual routing tasks: routing grooves, rounding edges, creating profiles, and face milling with a router. The overview of routing methods explains the underlying principles—what routing methods are available and how they differ.
Tips and Tricks
Making Multiple Identical Parts with a Router
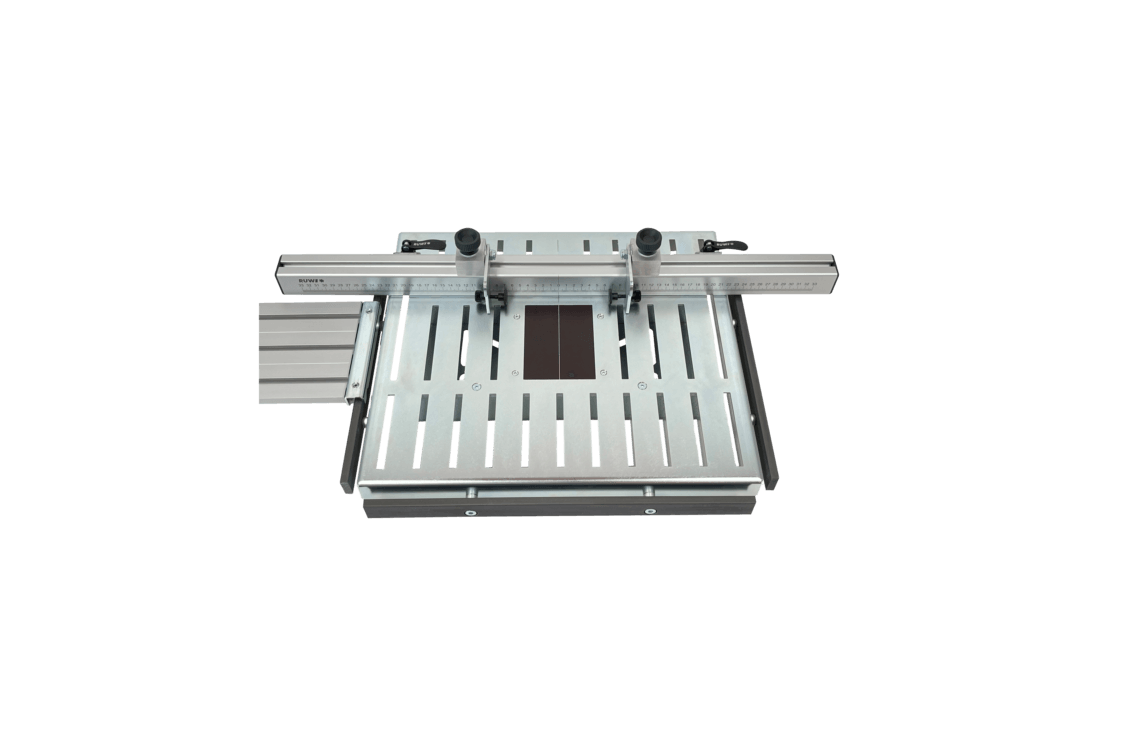
Create a template from sturdy material (such as plywood) and secure it to the workpiece. A flush trim bit precisely copies the template’s outline onto the blank. Or use a guide ruler and folding stops (such as those available at RUWI router table ) for repeatable positioning.
Care and Maintenance of the Router
Keep the router clean after each use, especially the ventilation slots and moving parts. Check the condition of the router bits regularly and sharpen or replace them as needed. This will help maintain performance and precision.
Feed direction: Conventional milling during manual feeding
When feeding by hand, milling is done in the opposite direction of feed. The cutting edge moves toward the feed at the point of contact, the cutting force acts against your direction of push, and you maintain control over the workpiece. On the router table and the spindle moulder, the workpiece therefore moves from right to left along the fence.
In contrast, during climb milling, the cutting force acts in the feed direction: the tool pulls the workpiece toward itself. This self-feeding action cannot be controlled manually. The article “Synchronous Milling” explains when and under what conditions synchronous cutting is permissible.
Preventing Wood Dust
Use a high-performance dust collection system and position the router and workpiece so that chips are directed toward the dust collector. Ensure that hoses and connections are airtight. The RUWI router table collects dust above and below the tabletop; connection Ø 120 mm, approximately 170–230 m³/h at 20 m/s. The dust collection system is DGUV-certified.


