


Milling Profiles with a Router and router table How to Mill Perfect Profiles
Profile routing allows you to add a shape or contour to workpieces, either on the edge or on the surface. In woodworking, profile routing plays a central role. That's why it's important to know what you need for it and how it's done. In this guide, we'll dive into the variety of machines and tools that are essential for profile routing with a router table.

Profile Routing in Wood
Table of Contents
- Key facts at a glance
- Definition: What is profile routing?
- Procedure: Step-by-step guide
- Tips for improving the routing result
- What machines are available for profile routing?
- What tools are available for profile routing?
- What materials are suitable besides wood?
- FAQ
Key facts at a glance
- Selection: Determine the right machine and the appropriate tool.
- Safety: Correct handling and protective measures.
- Optimization: Even feed rate, correct speed, sharp tool.
Definition: What is profile routing?
Profile routing is a milling process where the bit's contour (or profile) is transferred directly onto the workpiece. This is done for aesthetic, tactile, or even structural reasons.
Profile Routing for Optical or Haptic Reasons
- Wooden toys – edges are rounded to reduce the risk of injury
- Handrails and stair railings – a well “grippable" or ergonomic profile
- Decorative edge profiling gives your workpiece a unique look.
Profile Routing for Structural Reasons
- slot and Spring Profiles in Flooring
- Glue joint router bit to increase the gluing surface
- Counter profile for a frame door
- slot for fully extendable wooden drawers

Milling a round rod on router table
Procedure: Step-by-Step Guide for Profile Routing
Step 1: Select the right machine
Handheld router: You guide the router bit over the workpiece, which gives you a lot of flexibility.

Handheld Router for Mobile Applications
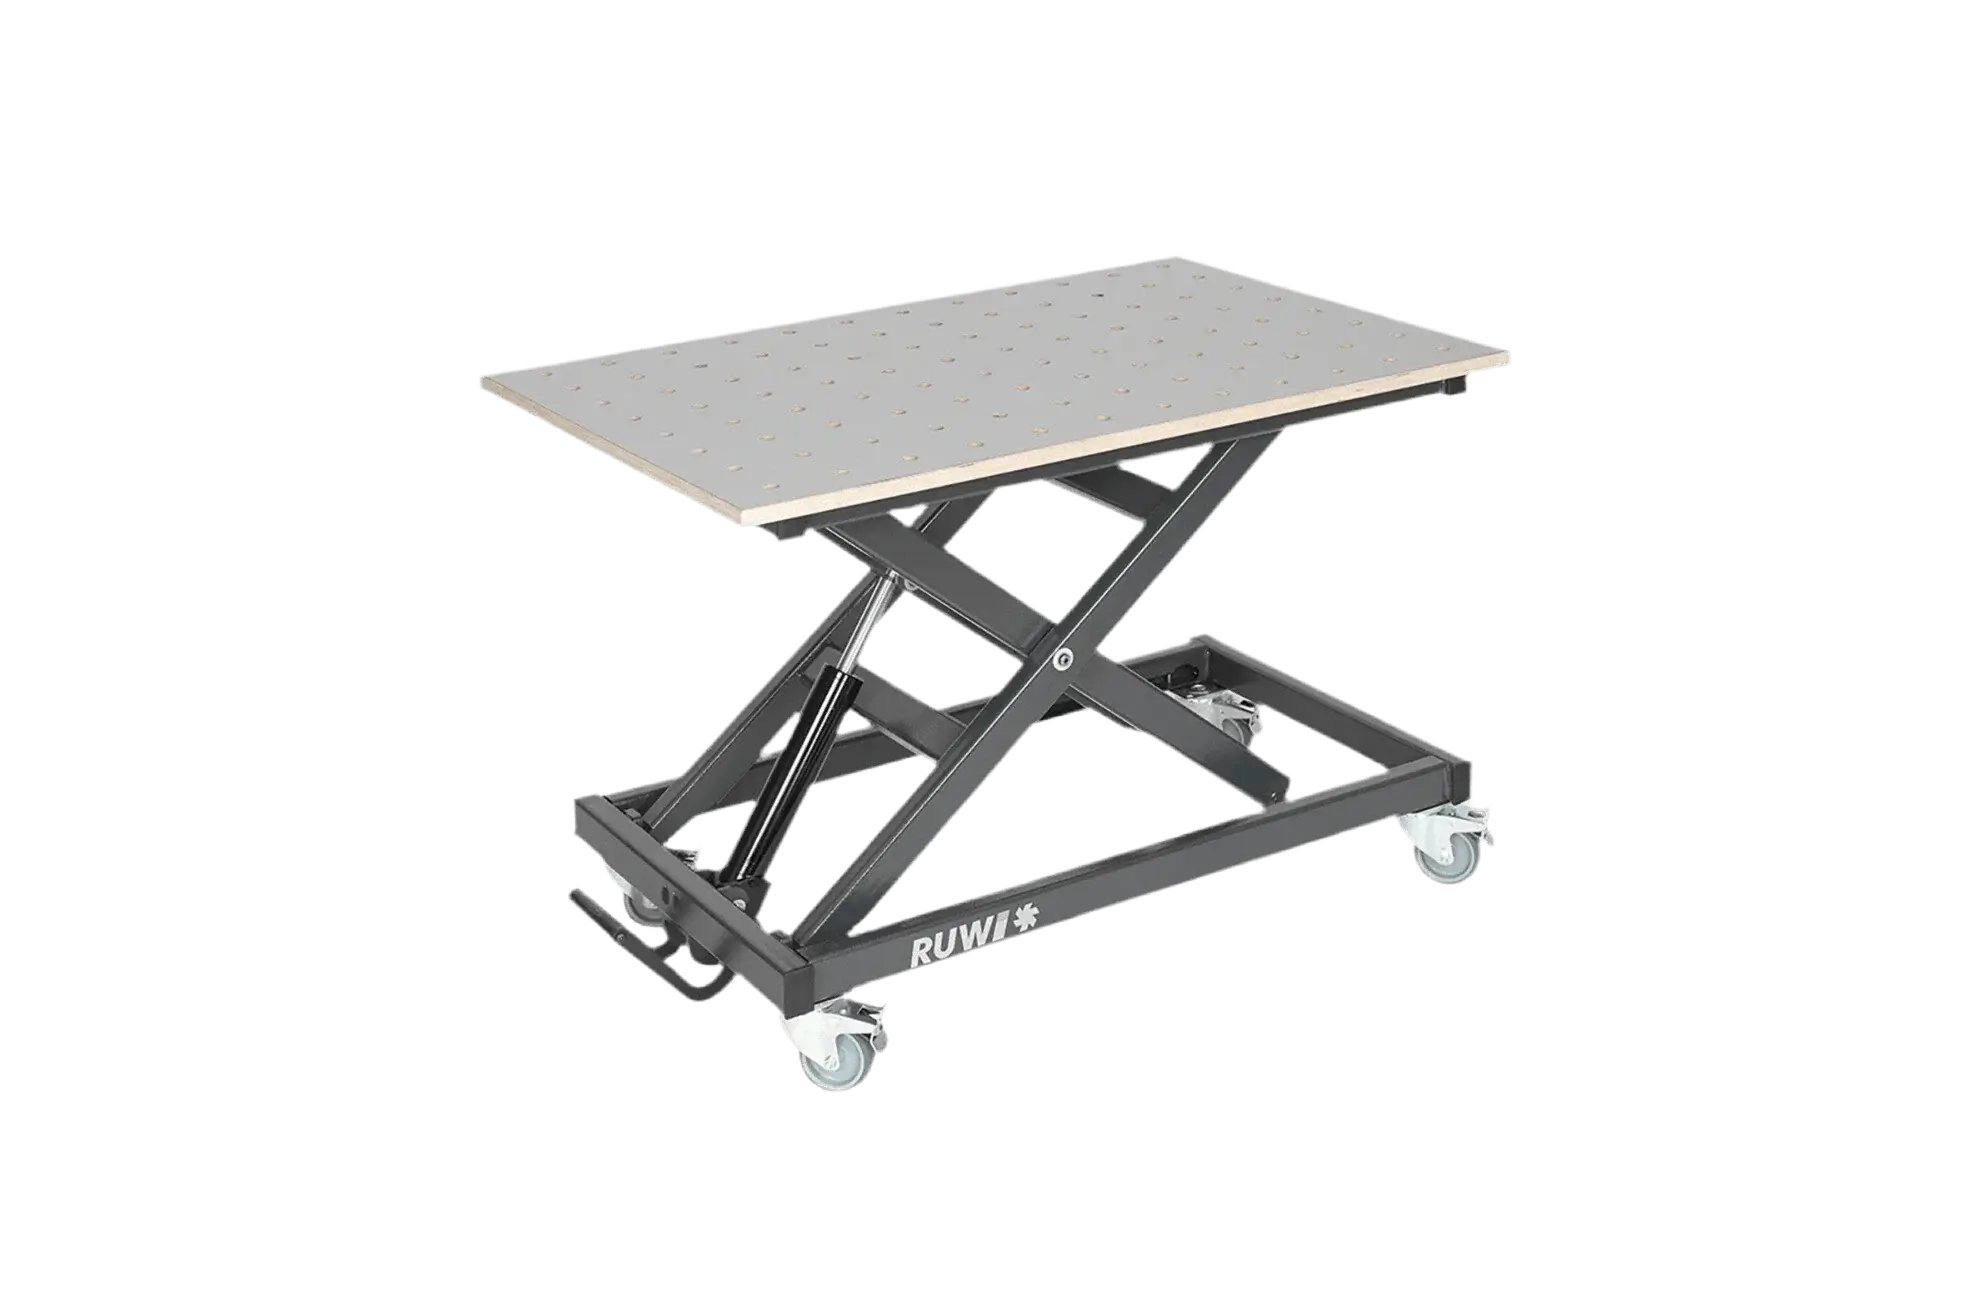
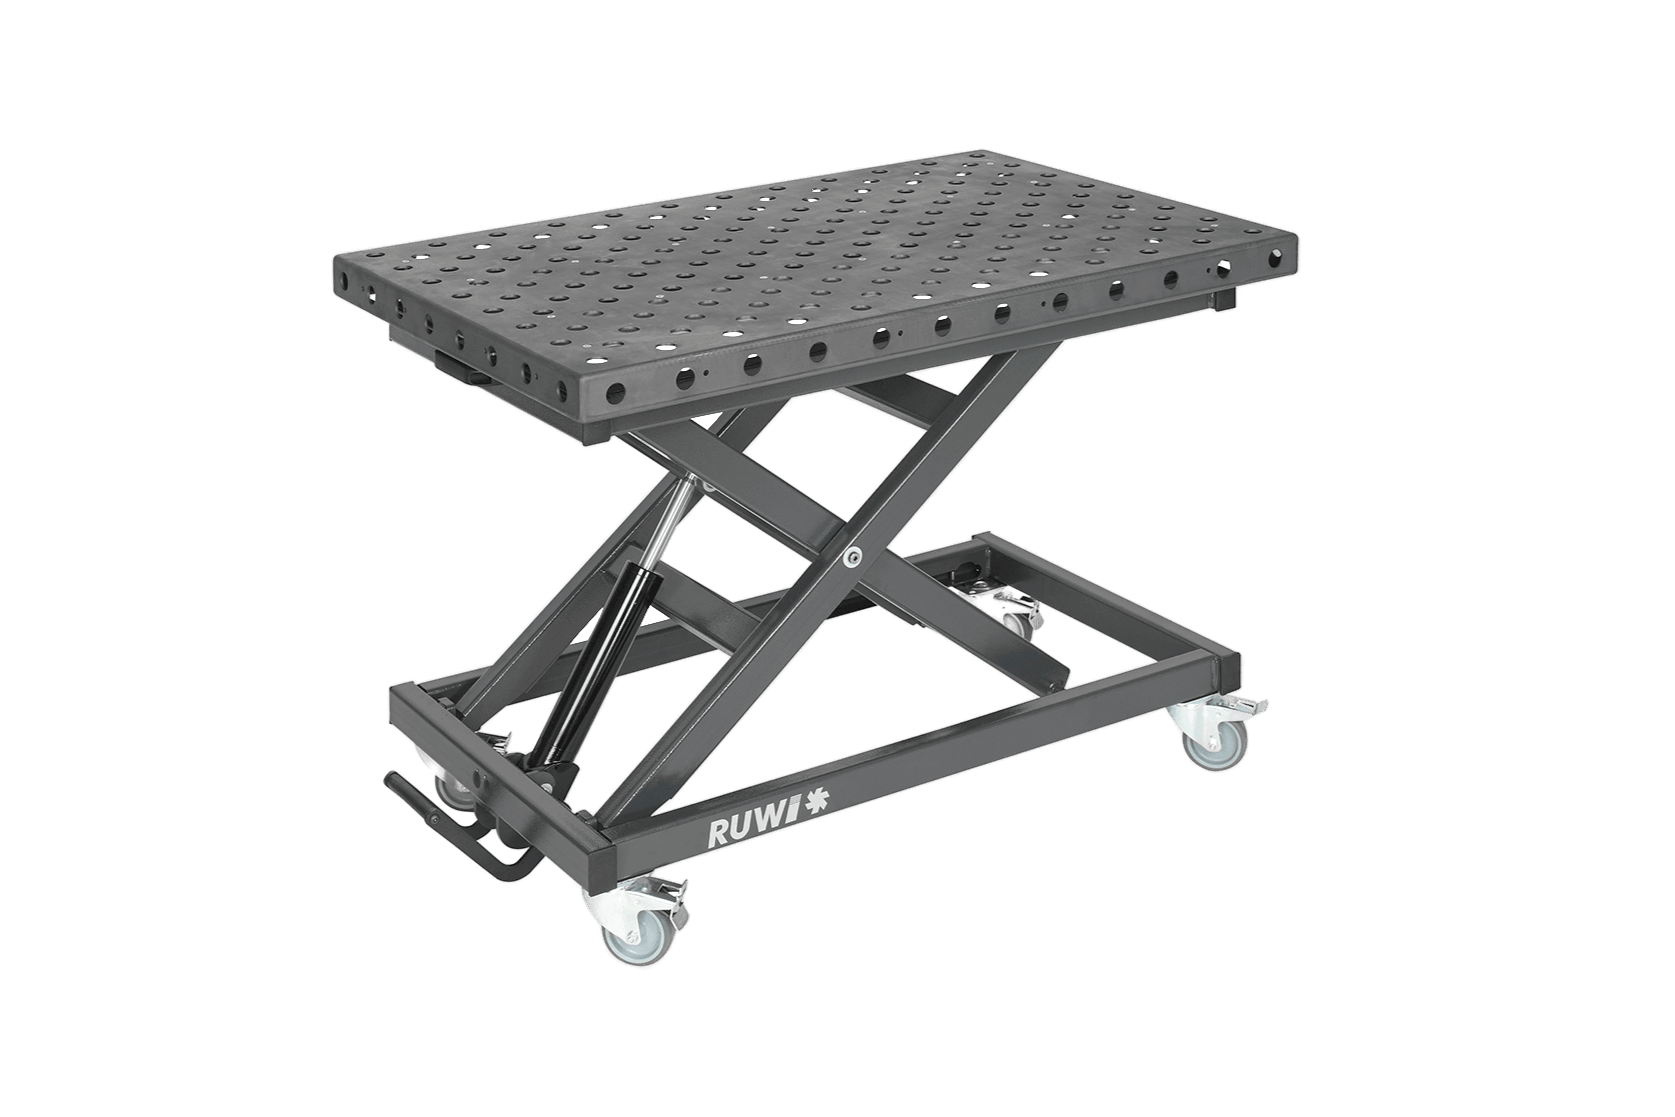
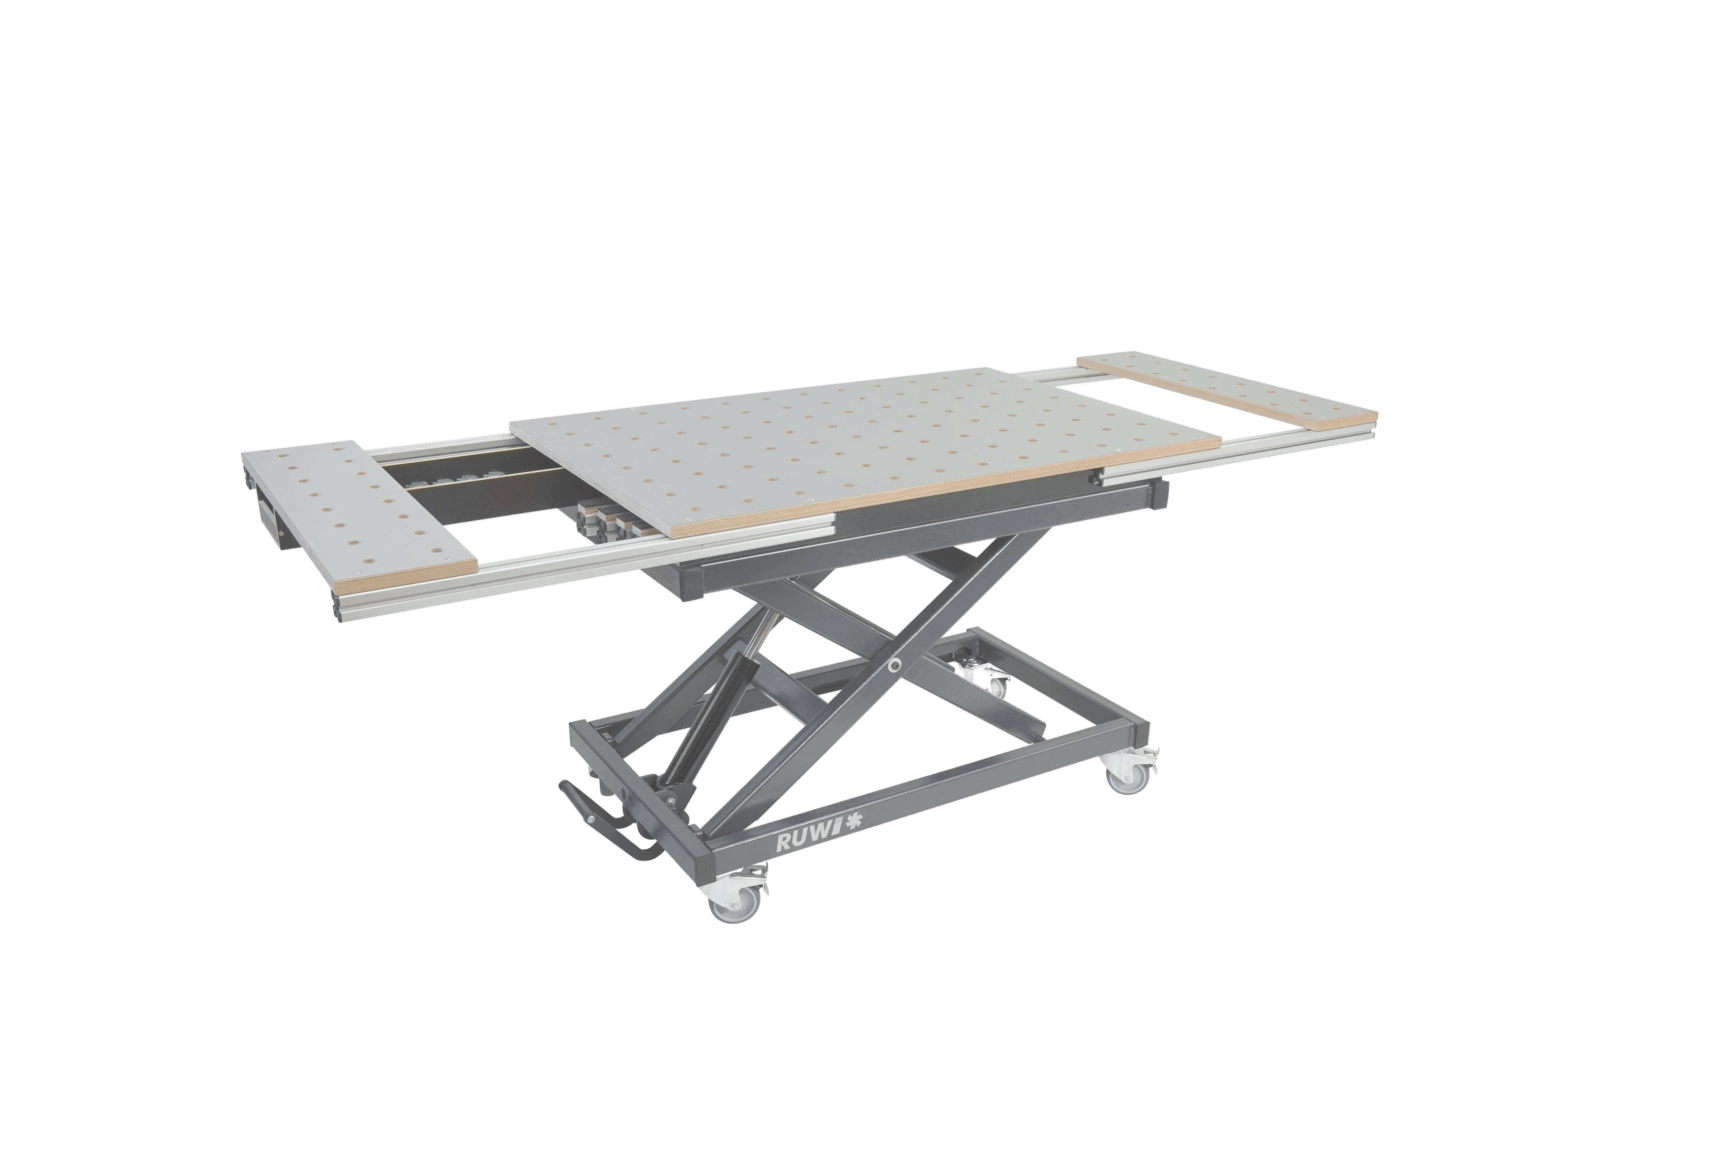
Router table: A stationary platform with a built-in milling motor. You move the workpiece over the stationary machine. This means high stability, a clear view of the tool and therefore precise results. A table extension can be useful for large parts.

Therouter tables Performance and Premium
Discover it now in our online store: Are you looking for a high-quality router table? In RUWI, you’ll find a variety of models to suit your needs.
Step 2: Tool selection and machine setup
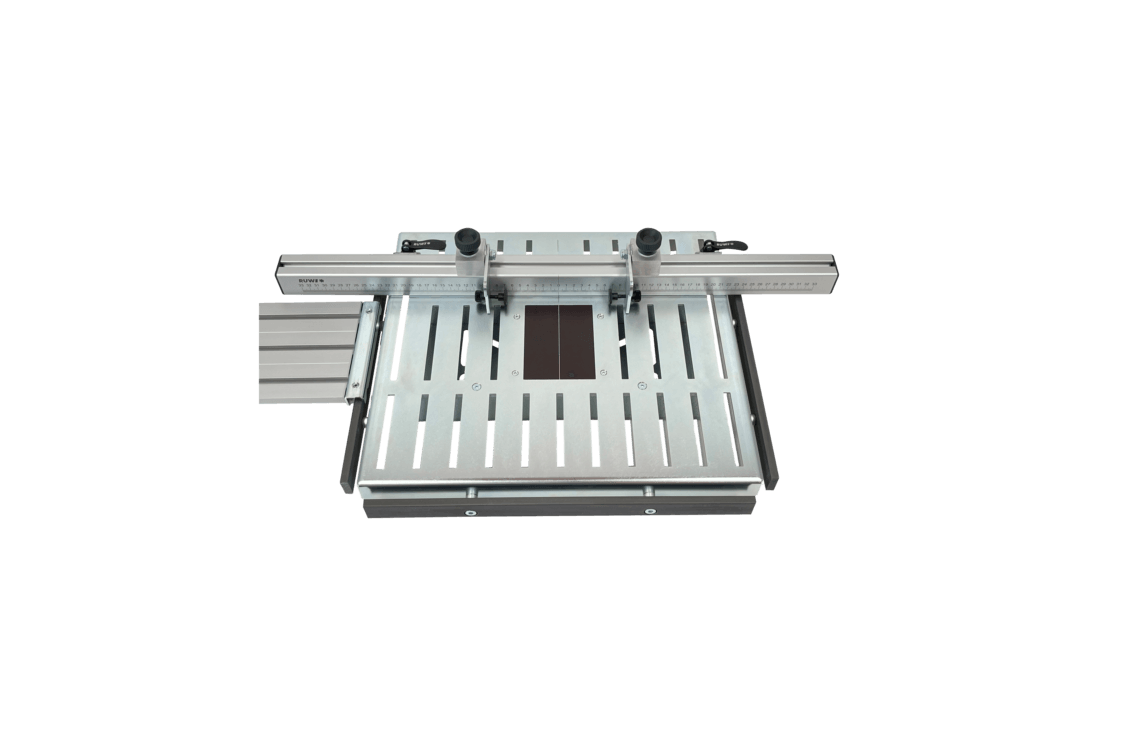
Choose the right milling tool for your project. Pay attention to the collet size, tool diameter the maximum allowable speed. For curved parts, a milling cutter with guide ball bearing is suitable. For linear milling or if you want to mill the profile into the surface, you can work at router table a guide rail or use a hand-held router with a guide rail.
Securely insert the tool into the collet up to the mark. Make sure the milling depth, speed, and direction of rotation are correct before you begin.

Selection of profile cutters for different applications
Important: Always follow the manufacturer's instructions for your machines and tools.
Step 3: Work safety
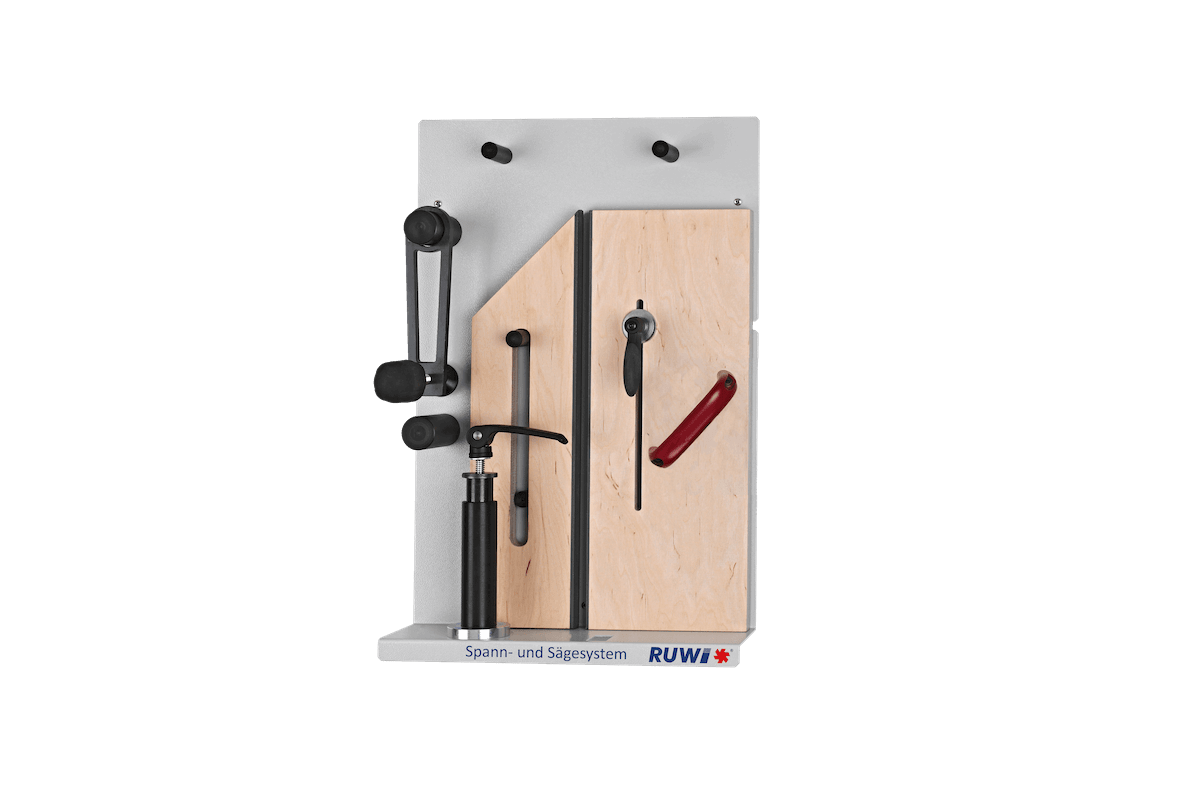
- Workpiece clamping: An unsecured workpiece can snag and cause injuries. Clamp your workpiece securely.
- Hearing protection: Protect your hearing from the noise.
- Eye protection: Wear safety glasses against chips and dust.
- Dust mask: Prevents inhaling wood dust.
- Clothing and jewelry: Avoid loose clothing, no jewelry.
You can find more information from the Wood and Metal Trade Association (Berufsgenossenschaft Holz und Metall) under 'Working with the Hand Router'.

Routing with the hand router
Step 4: Routing
Secure the workpiece firmly and, ideally, connect a dust collector to the machine. Hold the router with both hands. Whether you’re routing by hand or on a router table: If possible, route in the opposite direction to achieve the best results and prevent injuries. A steady feed ensures a clean cut.
Note: If the motor's RPM drops, you should first take a smaller cut. Only a few router motors have control electronics that compensate for RPM fluctuations.

Routing a rounding with the router
Step 5: Check and readjust
It's always a good idea to do a test cut to check your routing depth and speed settings. Adjust them if needed.
Step 6: Router bit maintenance and care
Clean your tool after each use. You should sharpen or replace dull router bits to consistently achieve flawless results.
Tips for improving the routing result
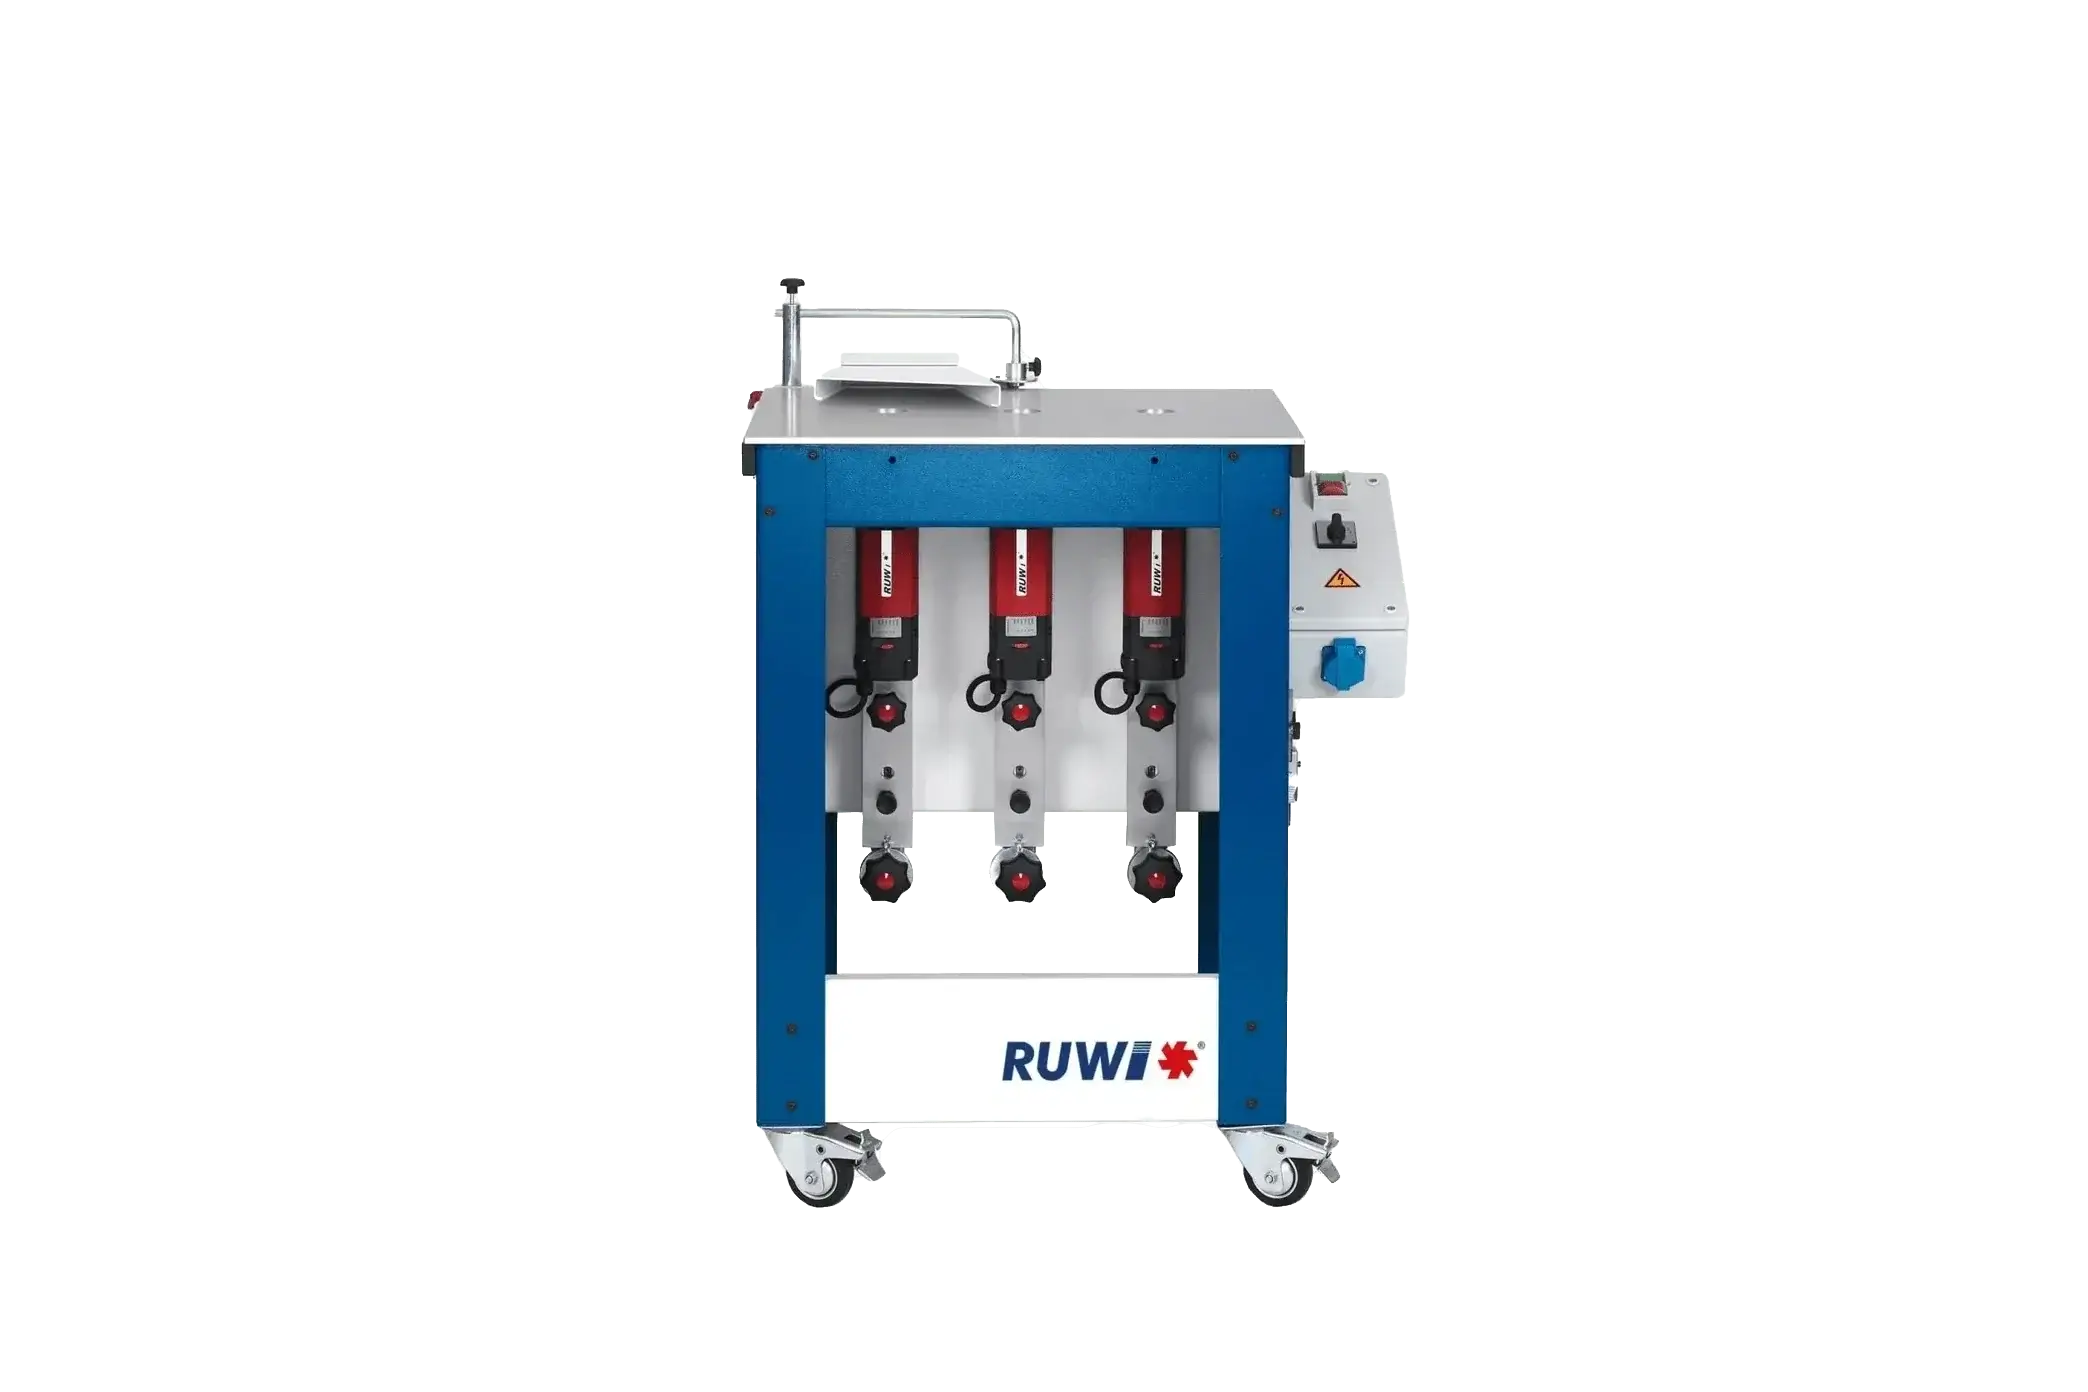
- Optimize spindle speed: Depending on the wood type and cutter diameter, a different spindle speed may be necessary. Hardwoods often tolerate a lower spindle speed, while softwoods may need more. Too high a spindle speed with too low a feed rate can cause burn marks.

Speed controller on the RUWI
- Observe maximum speed: Never exceed the maximum speed indicated on the router bit.
- Test run: Test on a scrap piece to make sure your routing depth and speed are correct.

Setting the router bit height
- Sharp Tools: A dull router bit can cause tear-out and burn marks. Keep your router bits sharp or replace them in time.

Checking the profile cutters
What machines are available for profile routing?
Depending on the material, workpiece size, and whether it's single-piece or series production, various machines are suitable:
- Handheld Router: A mobile, compact machine, very versatile (DIYers, woodworkers, tradespeople).
Hand router for flexible applications
- router table: Flexible and precise, with short setup times (for ambitious woodworkers, craftsmen, and industry).

RUWIrouter table for Precision Work
- Stationary spindle moulder: Powerful edge profiling with manual or mechanical feed (for ambitious woodworkers and craftsmen).

Stationary spindle moulder with mechanical feed
- CNC machine: Flexible profile routing with diamond profile cutters, on the edge or on the surface (for craftsmen and industry).

CNC machine for profile routing with diamond cutters
What tools are available for profile routing?
- Rounding over bits in various sizes and radii
- Chamfer bits in various designs
- Cope and stick router bits (a set of two matching tools)
- Milling tools for slot tongues
- Jointing and dovetail router bits
- Ogee router bits
- Quarter round router bits
- Cove router bits
Tip: Profile router bit sets are often more affordable than buying individual profiling tools. Compare offers from different manufacturers.
What materials are suitable besides wood?
Even though routers and profiling tools were primarily developed for wood, you can also process plastics or certain easily machinable metals. The key is to choose the right profile router bit and an appropriate speed.
FAQ
What exactly is profile routing?
With profile routing, a specific shape or contour is routed into a piece of wood using special profile router bits, for example, a roundover, a chamfer, or a more complex profile.
How do I choose the right profile router bit for my project?
That depends on your desired look, feel, or function. Make sure the router bit fits your machine and is suitable for the material you're working with.
What is the difference between a router and a router table?
A router is a portable machine that you guide over the workpiece—perfect for flexible applications or mobile construction site work. A router table , on the other hand, router table stationary: The router motor is built in, and you guide the workpiece over the stationary tool. This often allows for greater precision and safety.
How often should I sharpen my profile router bit?
That depends on how often you use it and the material you're working with. If you notice wear or a decrease in cutting quality, it's time to sharpen or replace it. For heavy use, router bits with insert knives can be a good option.
What do climb routing and conventional routing mean?
With climb milling, the cutter and workpiece move in the same direction, while with conventional milling, they move in opposite directions. Conventional milling usually gives you cleaner results and is safer because the tool isn't 'pulled into the workpiece'.


