


Cutting slot Wood with a Router—Here's How
Milling slots wood is an important skill for any ambitious woodworker. slots you to fit pieces together and join them precisely. With a router, you can mill these slots into wood slots and cleanly. In this guide, we’ll show you step by step how to do it—from preparation and the materials and tools you’ll need to valuable tips for perfect results.

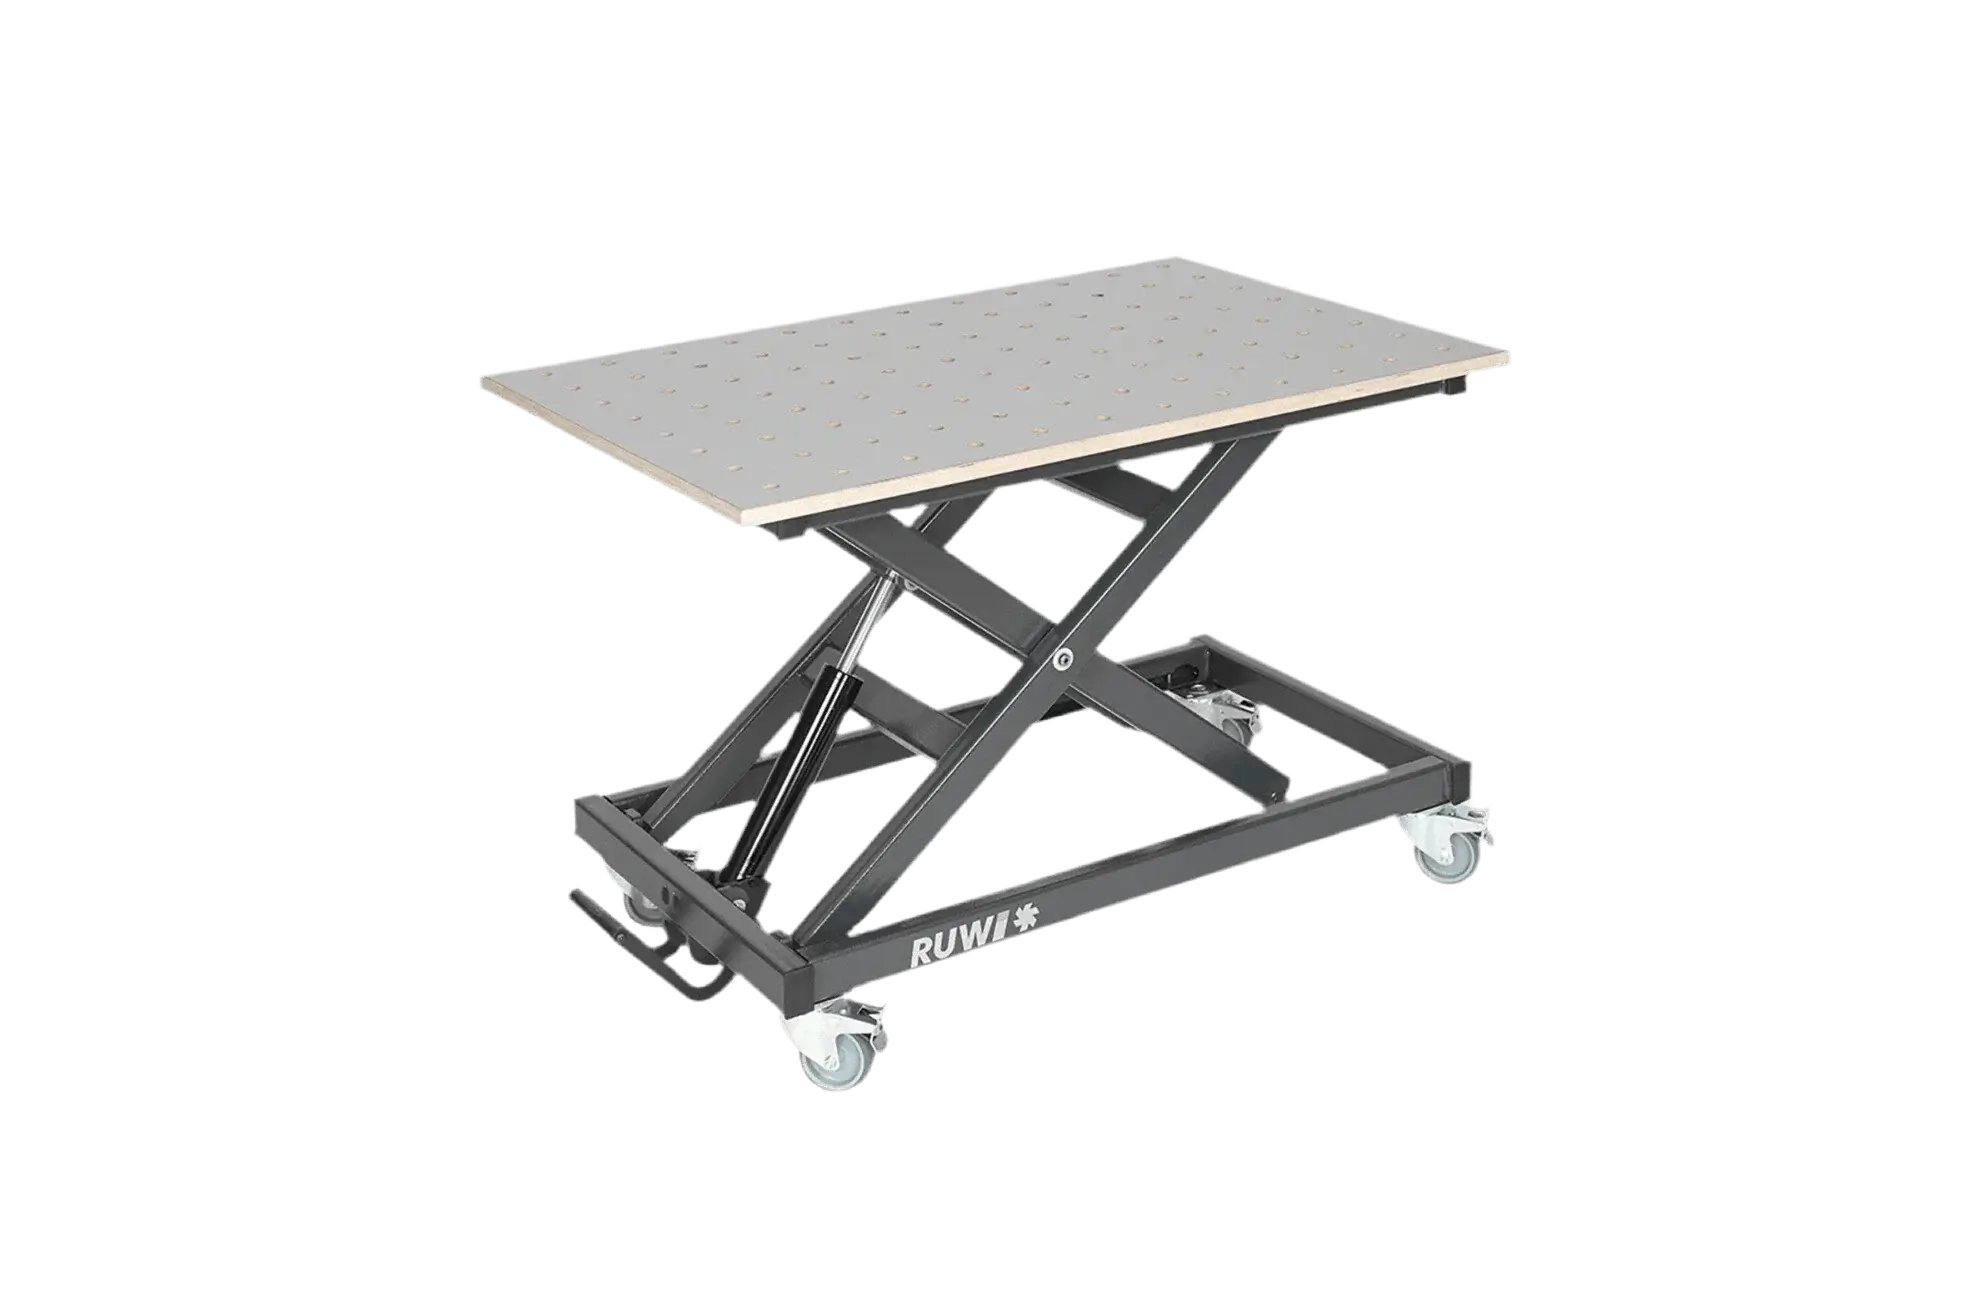
slot onrouter table
Key facts at a glance
- Preparation: Define the slot its function, shape, and intended use.
- Tool Selection: Choose the appropriate tool based on size, position, and material.
- Safety: Always observe safety measures when setting up the routing machine and during routing.
Table of Contents
- Key facts at a glance
- Definition: What is a slot?
- How do I slot a slot ?
- Preparation: What do I need for routing grooves?
- Instructions: Milling slot Wood
- Which machines and tools are best for grooving?
Definition: What is a slot?
Slot milling is a specialized milling process in which you mill an elongated groove (slot) into the workpiece to fulfill specific functions or requirements. Often, the slot accommodate another component, such as a back panel, a bottom panel, or a spring. Aesthetic and design considerations also play a role—for example, to make fronts appear sleeker or to visually separate components (slot, decorative grooves).
How do I slot a slot ?
To mill a specific slot a wooden surface, you’ll usually need a slot cutter (end mill) and a stop or template that defines the path of the slot. A disc groove cutter (Lamello cutter) is particularly well-suited for slot a slot along a straight or curved edge. For this, you use either a guide ring or a stop as a guide.
Preparation: What do I need for routing grooves?
Make sure your workpiece is secured and won't slip during routing, either by clamping it down or ensuring it's non-slip. The tool you pick (whether it's a grooving bit or a disc grooving cutter) needs to match the groove you want to create and the material you're working with. Also, always check for compatibility with your machine (shank diameter, speed range). And don't forget to use dust extraction and personal protective equipment (PPE)!
Material list
- Tilt-proof or non-slip base, or a workbench
- Workpiece to be Grooved
- If applicable, a component that is slot into the slot
- PPE (Hearing Protection, Safety Glasses, Dust Mask)
- Dust extraction or vacuum cleaner
Tools
- Handheld router table or router table
- shank or disc-type groove cutters
- Caliper, tape measure, or folding rule
Instructions: Milling slot Wood (6 Steps)
Here, we'll show you a concise step-by-step guide on how to mill a slot a wooden board using a router table and a 12-mm shank groove cutter.
Step 1: Choose the right router bit
Choosing the right cutter is crucial. Select a slot cutter or disc slot cutter that provides the diameter and depth you need. Consider whether you want to create the slot a flat surface or along an edge. Make sure it is compatible with your machine (shank diameter, maximum speed) and suitable for the material you’ll be milling.

Tool compartment with different grooving bits

Grooving bit in action
Step 2: Set up the router bit on the machine
- Make sure the router is switched off before you change the cutter.
- Open the spindle holder (hold the spindle with an open-end wrench, loosen the collet nut, or use the spindle lock).
- collet the cutter into the collet up to the mark (everything should be clean and free of debris).
- Tighten the clamping nut firmly and check if the cutter is securely seated.
- Only then can you switch the router back on.

shank ready for clamping

Tightening the collet
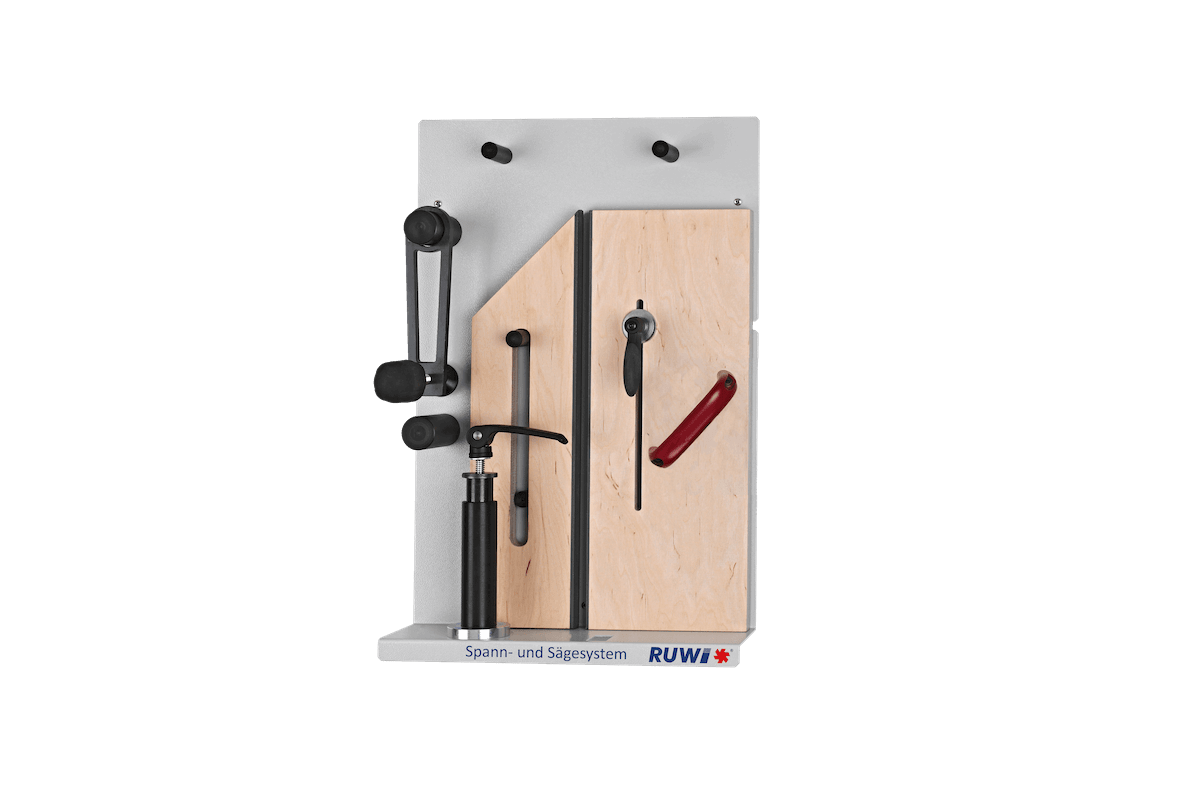
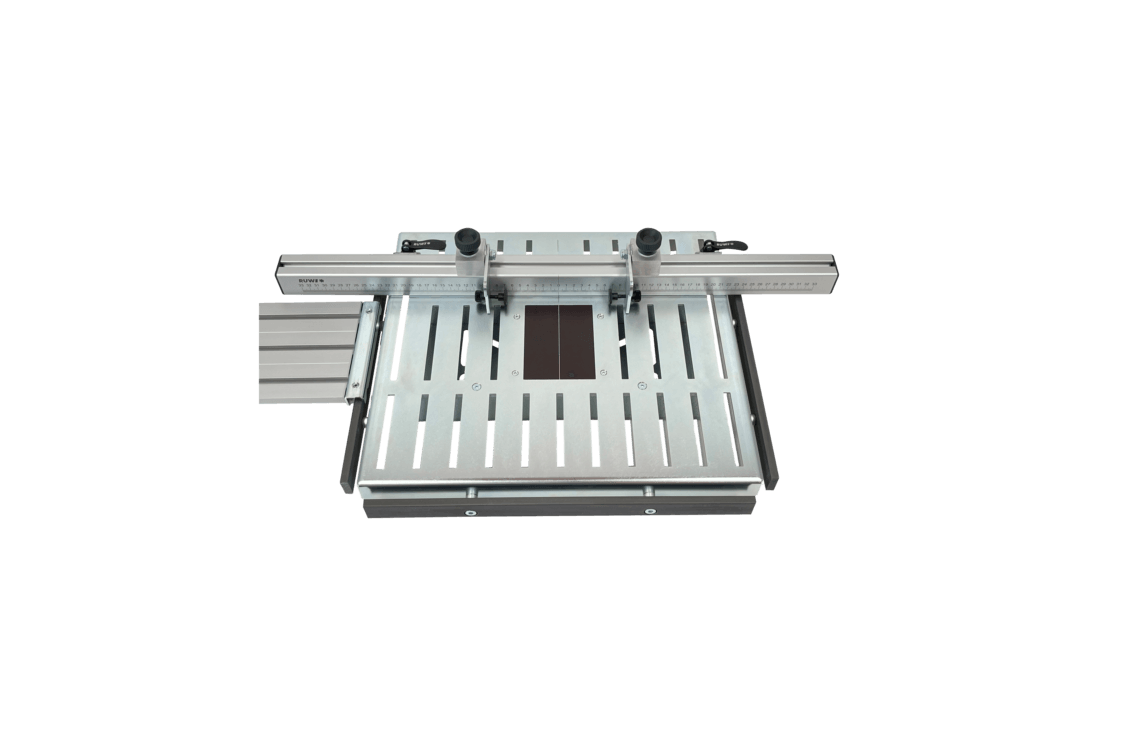
Step 3: Adjusting the fence jaws
On a router table , you router table loosen the clamping jaws on the guide rail and adjust them so that your workpiece is guided without too much play. Then slide the entire guide rail to the correct depth and secure it. This prevents the workpiece from tipping or getting caught.

Securing the positioned fence jaw
Step 4: Setting the cutter height
Use a depth gauge or measure and mark the desired slot depth on the workpiece. Set the cutter to rout exactly this depth. Always do a test cut to check the settings and adjust them if necessary.

Setting the routing depth on the workpiece
Step 5: Mill slot the wood
Mount a tool guard and connect dust extraction. Wear your PPE (safety glasses, hearing protection, dust mask). Keep hands and fingers away from the danger zone. Guide the workpiece along the fence at a consistent speed. Too slow a feed rate causes burn marks, while too fast a feed rate stresses the tool and motor and can lead to grooves or tear-outs. To ensure the workpiece lies securely, you can attach a hold-down clamp or an additional wooden strip to the fence jaws.
Tip: Always mill in conventional milling mode. Climb milling increases the risk of accidents.

Starting groove routing at the fence

slot with a constant feed rate
Step 6: Result and conclusion
After the first pass (preferably on a test piece), check the slot dimensional accuracy and surface quality. If necessary, adjust the settings and mill again. With the right machine, the right tool, and a little practice, you’ll achieve clean and precise slot milling.

Result of the completed slot
A clean routed groove as the final result
What machines and tools are available for groove routing?
Machines
- Handheld router: Mobile, versatile for many groove routing applications.
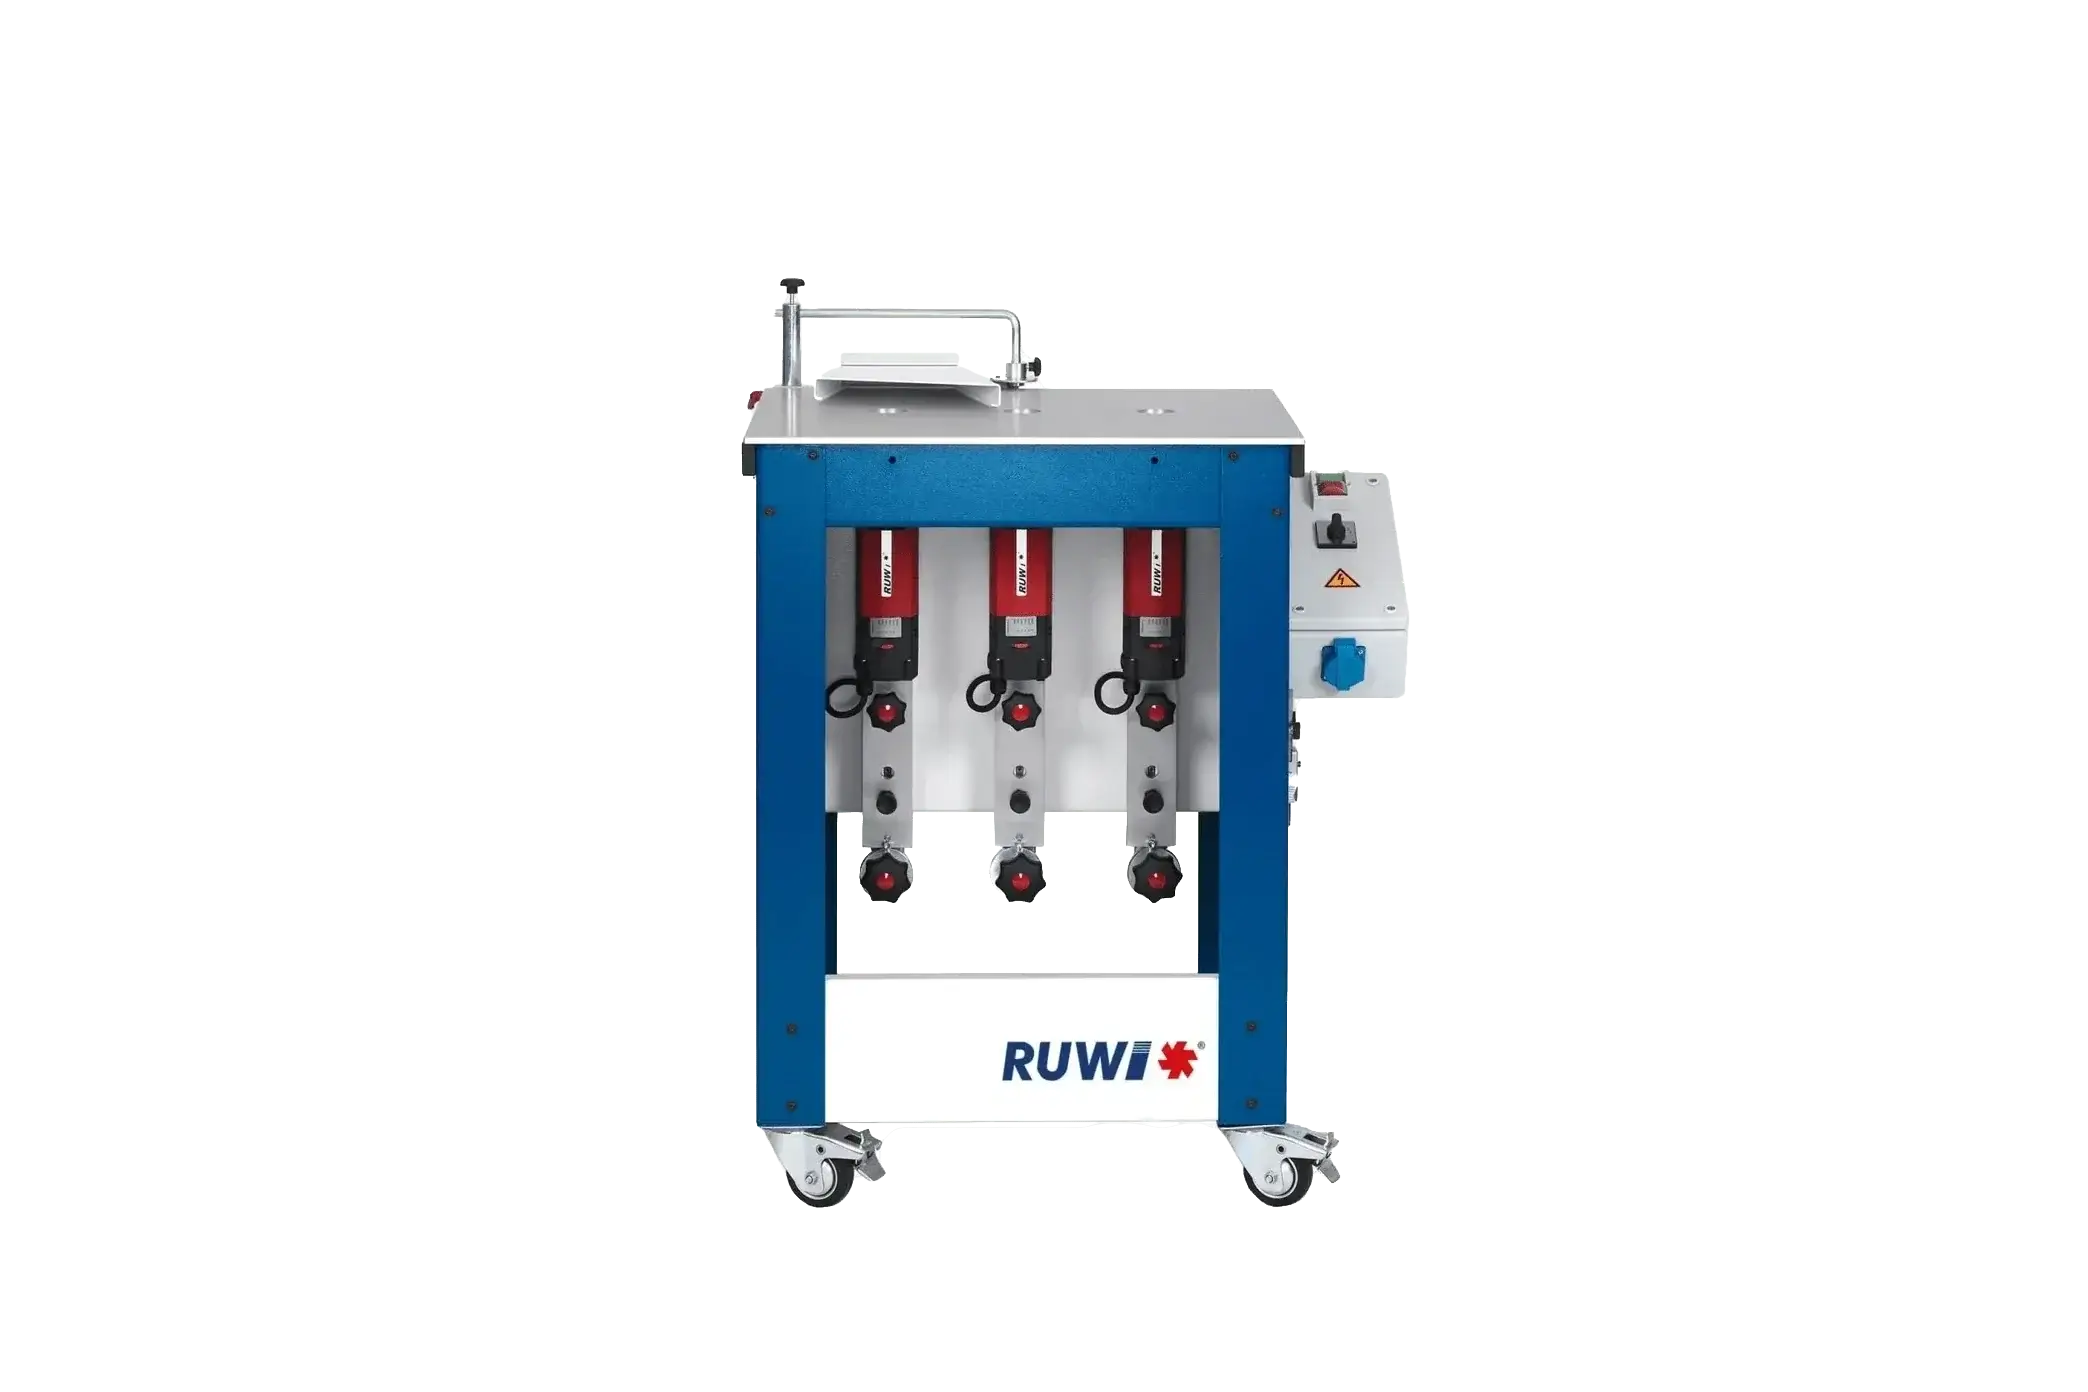
- Router table: Repeatable precision, more stable guidance, good view of the tool.
- CNC Router: Great for high-precision and serial grooving work.
- Table Router: Stationary and powerful, especially for large workpieces.
Tools
- Slot cutter: Various groove thicknesses, some with a pilot bearing (for example, Lamello sizes).
- shank: Various shank and cutter diameters, with two, three, or more cutting edges; some are face-cutting (ground on the end face) and others are flank-cutting.
- slot: For screw guides, slot nuts keyhole hangers.
- slot: For lettering, decorative grooves, or highlighting joints.
- Round-over groove cutters or cove cutters: For decorative grooves, drainage channels, juice grooves, grip profiles, or handrails.
Tip: Router bit sets from different manufacturers are often more affordable than buying individual router bits. Make sure to check for matching shank diameters and speed ranges.


