

Quick Guide to the Carpenter's Workstation
A good carpenter's workspace doesn't just happen by chance. It is the result of careful planning, good organization, and many small lessons learned from day-to-day workshop life.
Ergonomics
Your working height determines how well and efficiently you work. Rule of thumb: The surface of the workbench should be roughly at the level of your wrist when you’re standing relaxed. Do finer assembly work at a slightly higher height, and more strenuous tasks like planing at a lower height.
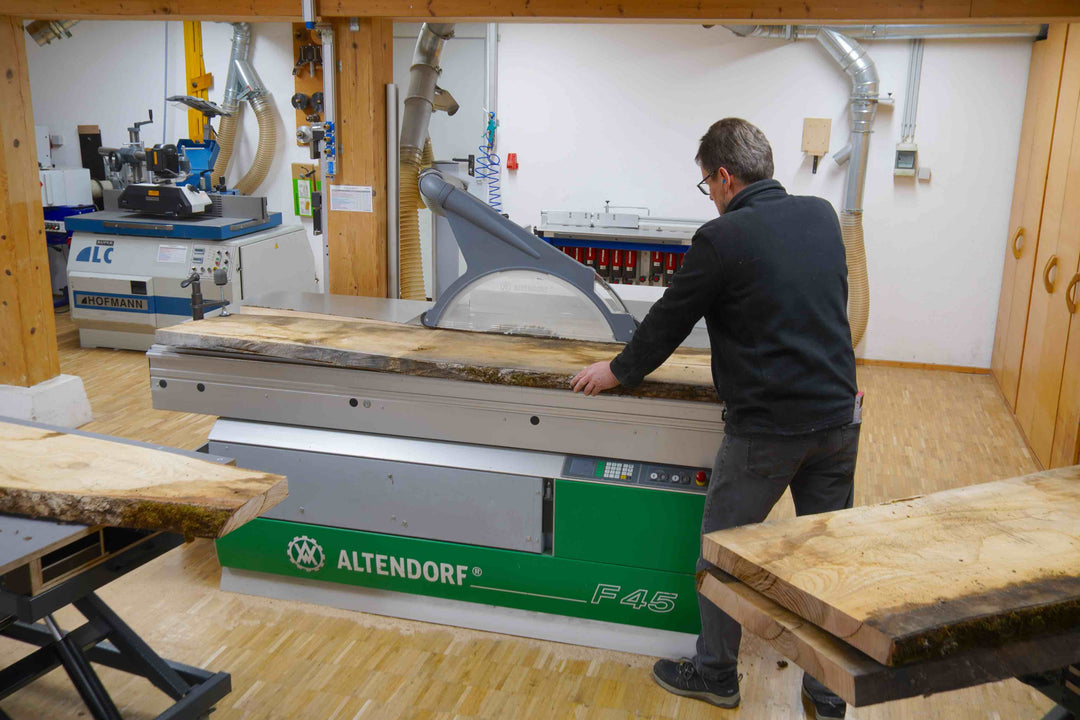
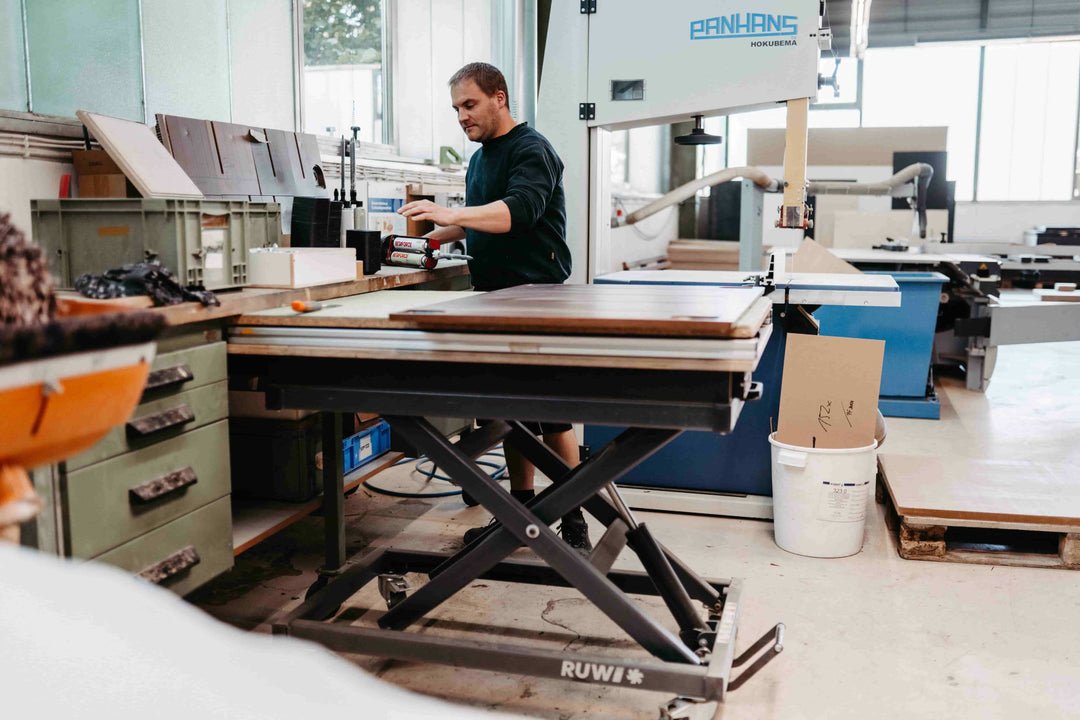
A real-world example from our own workshop:
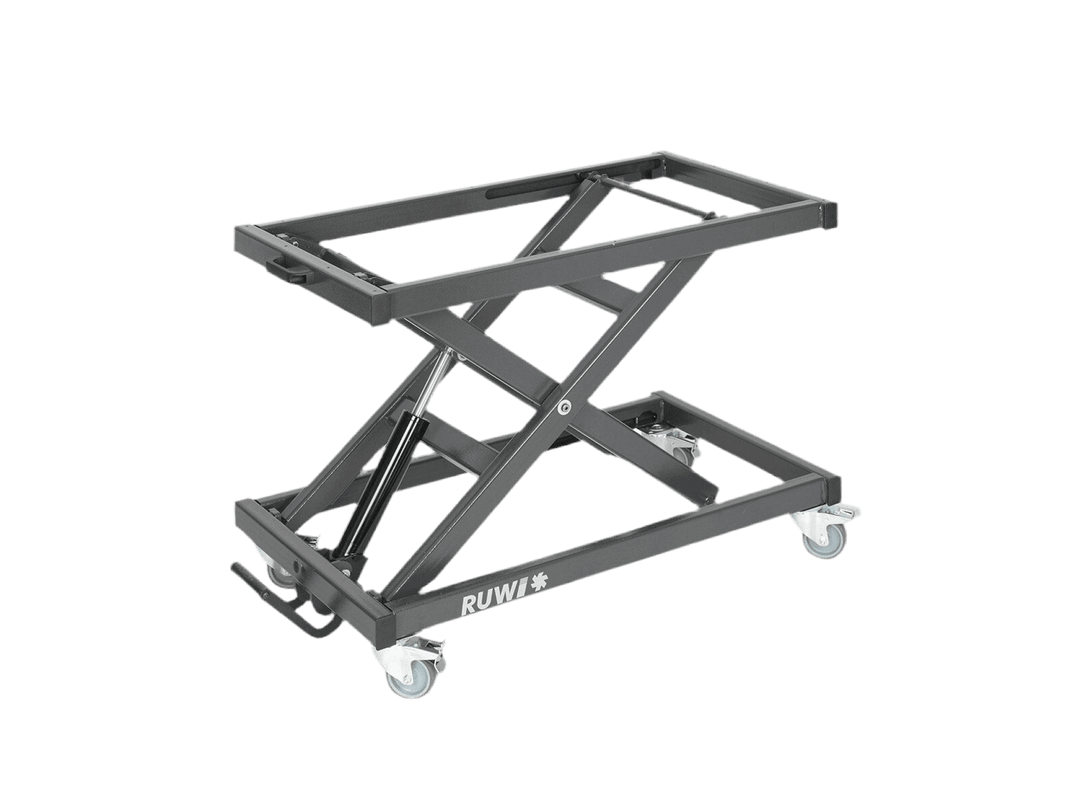
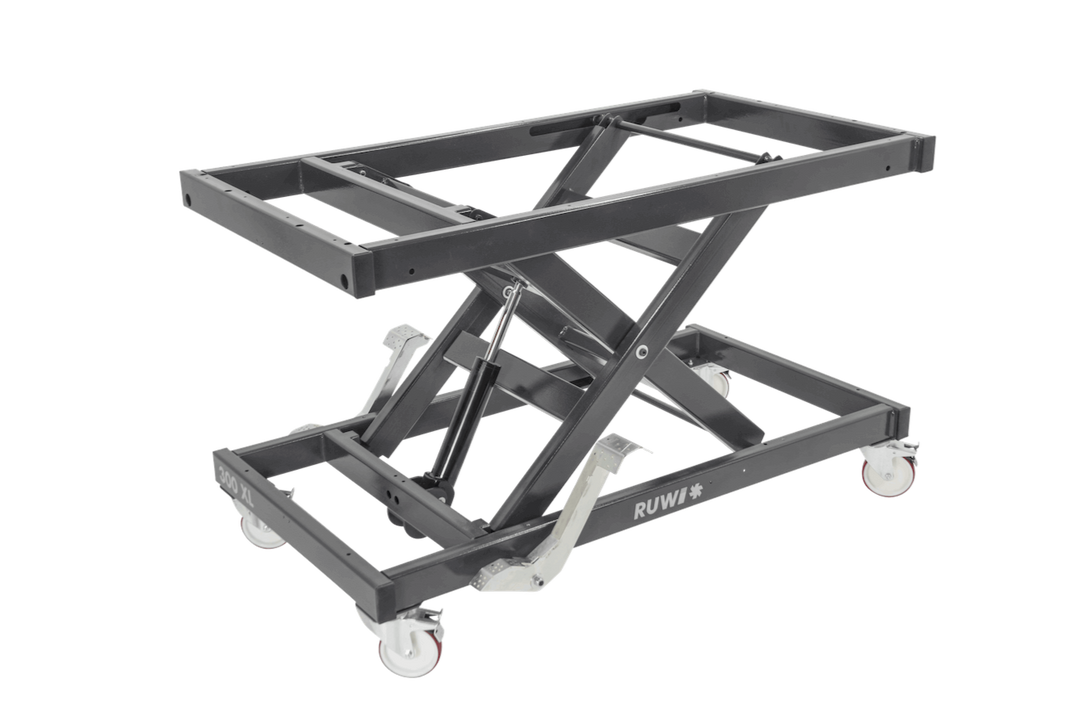
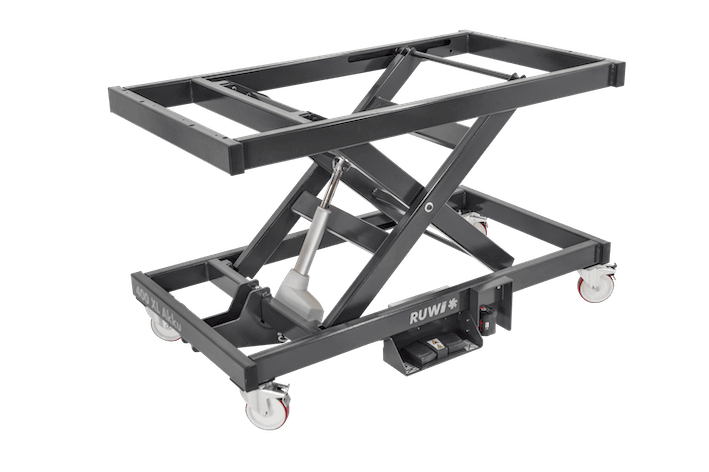
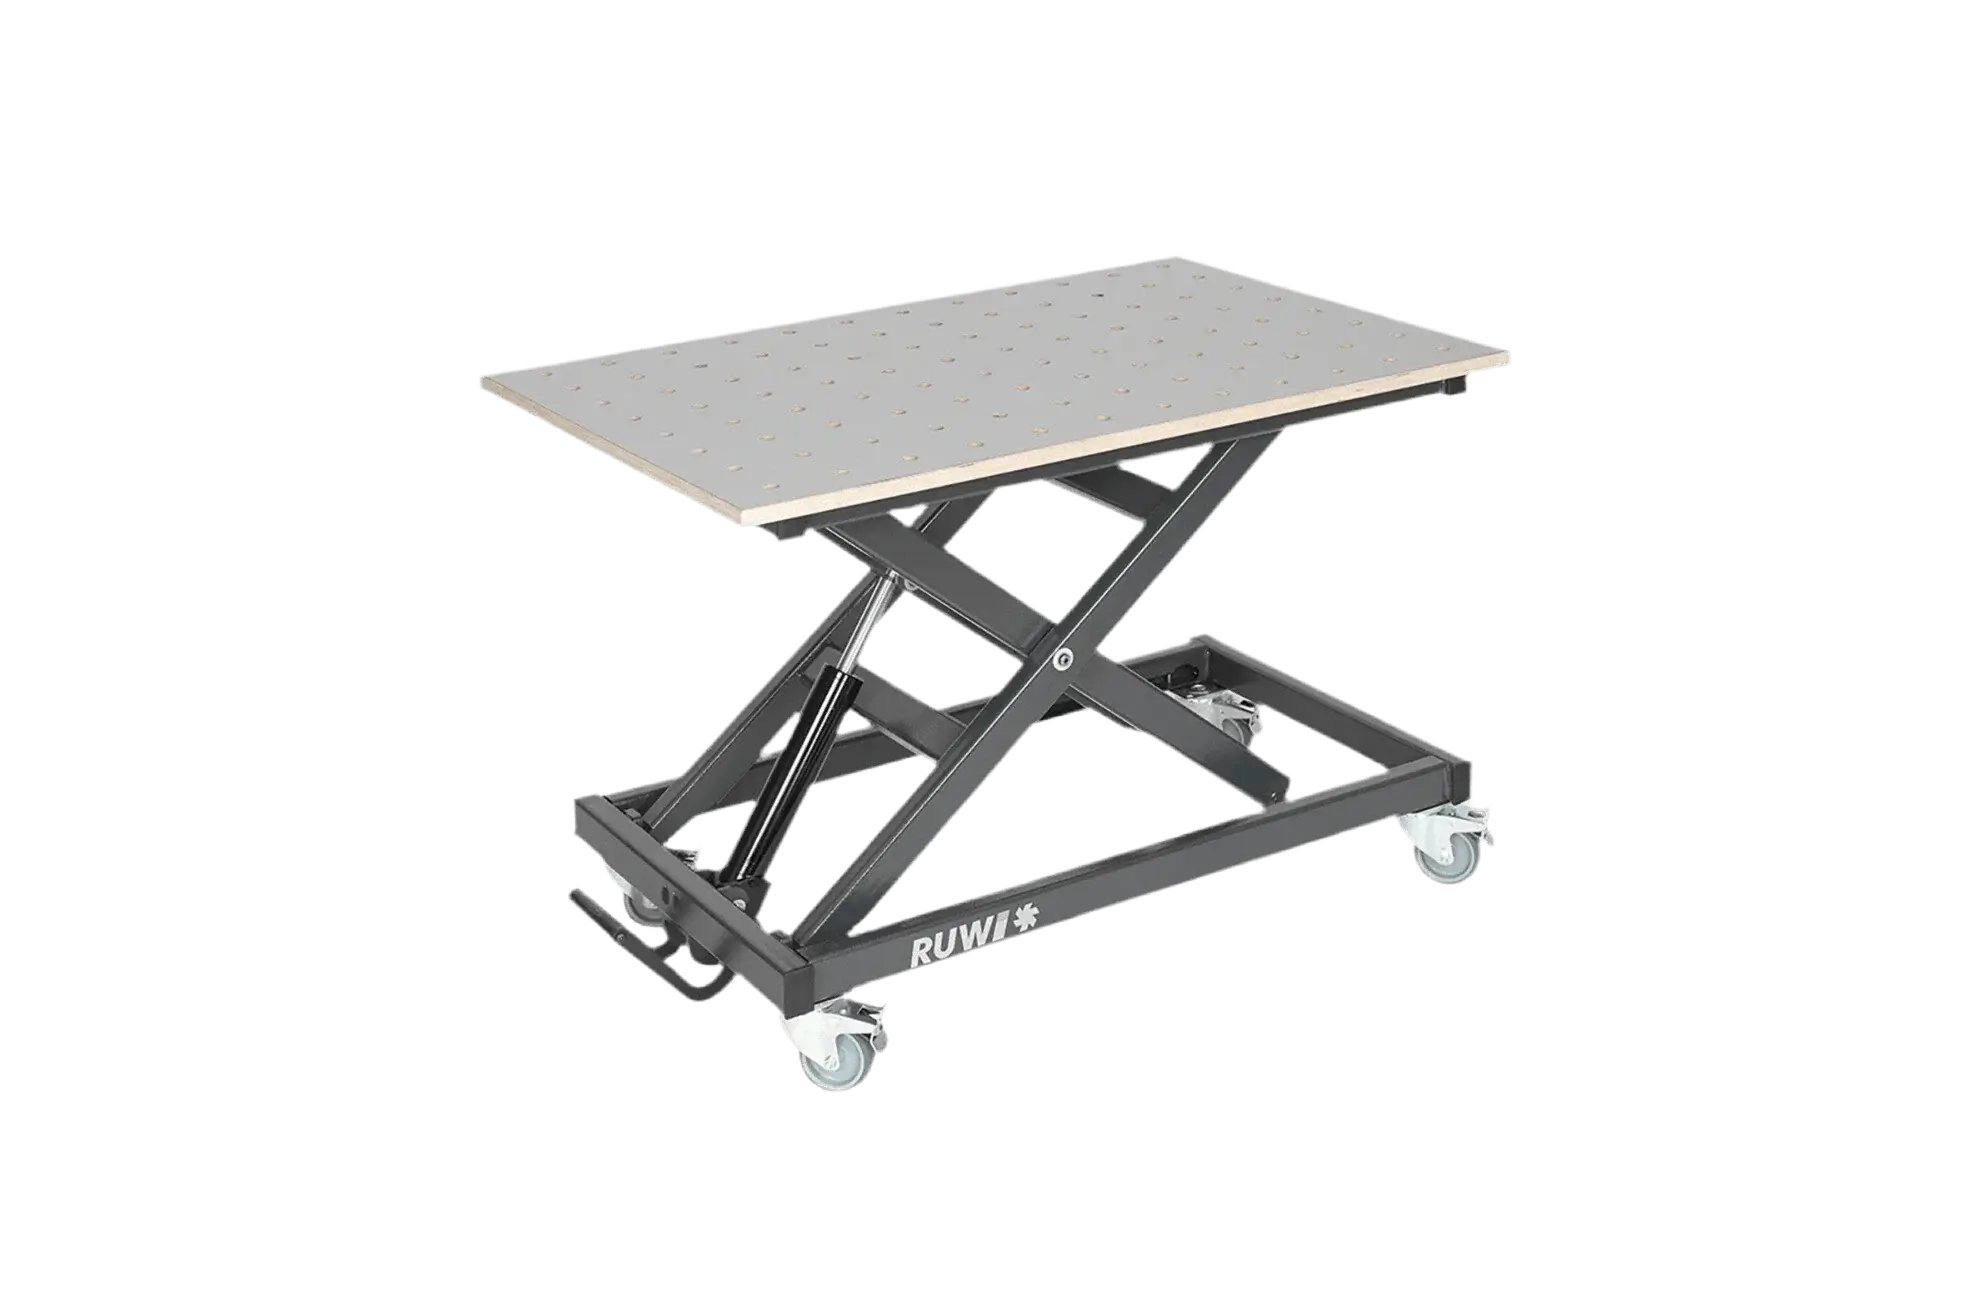
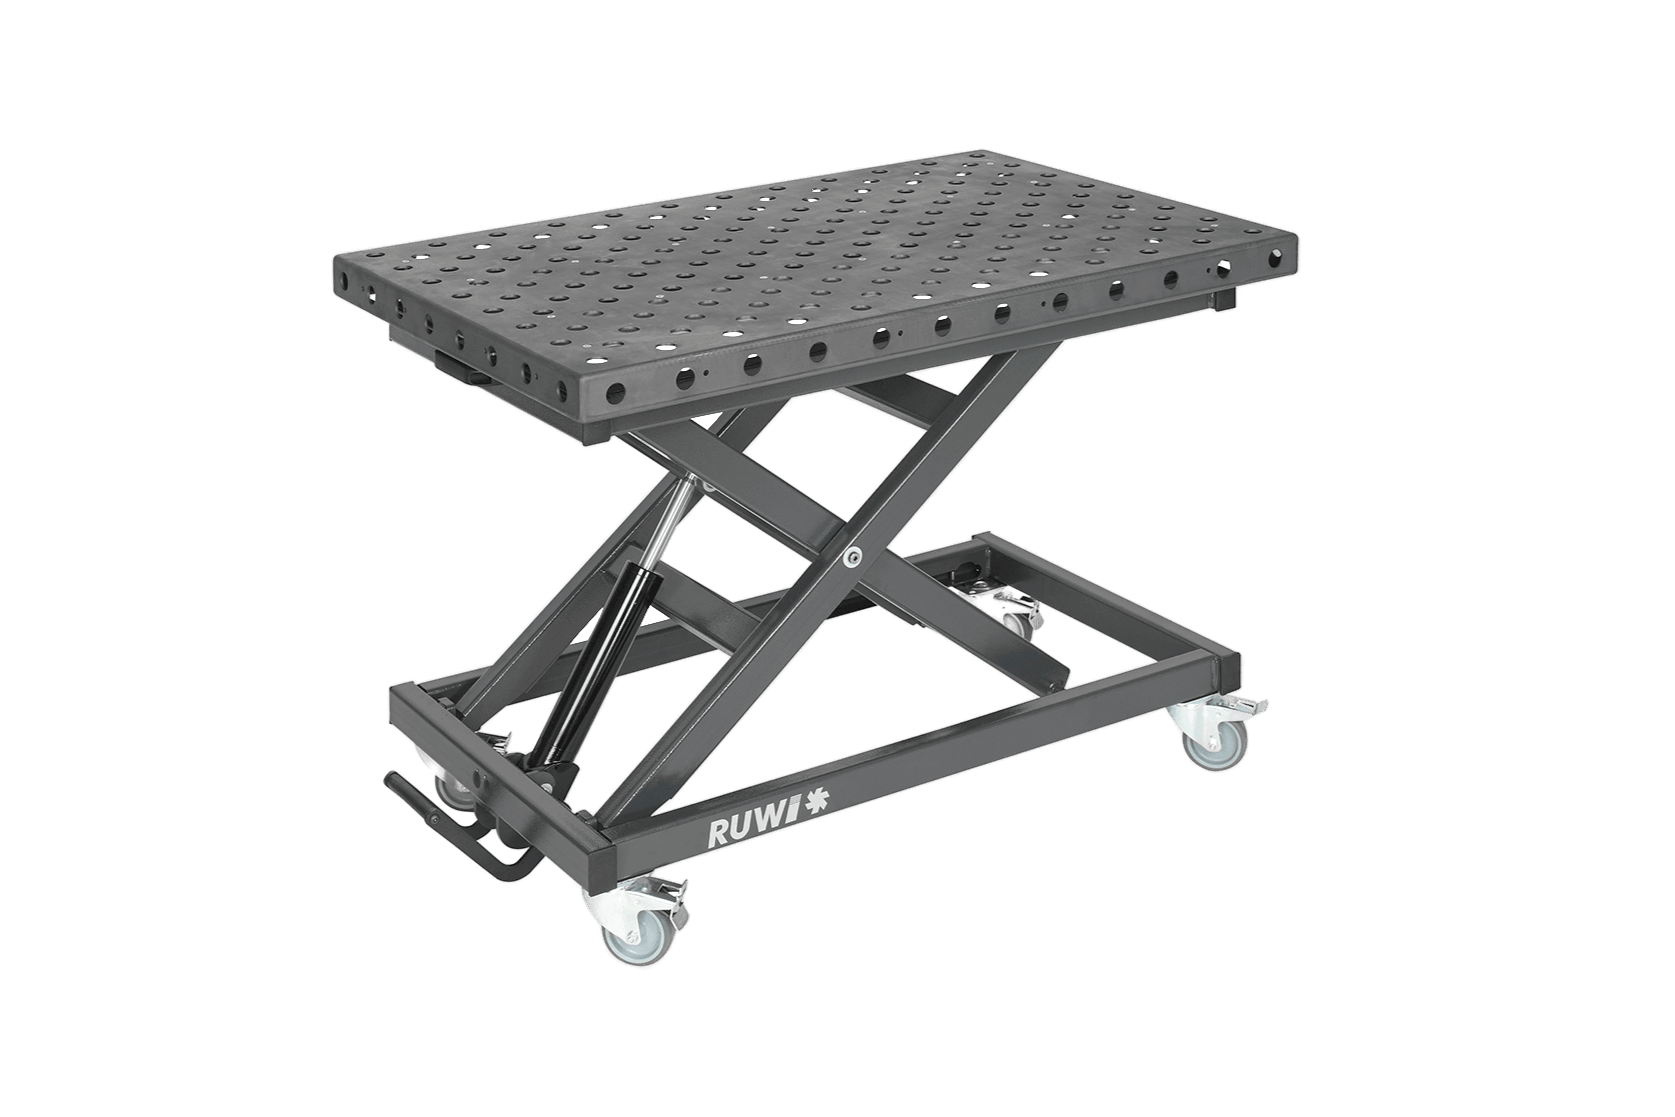
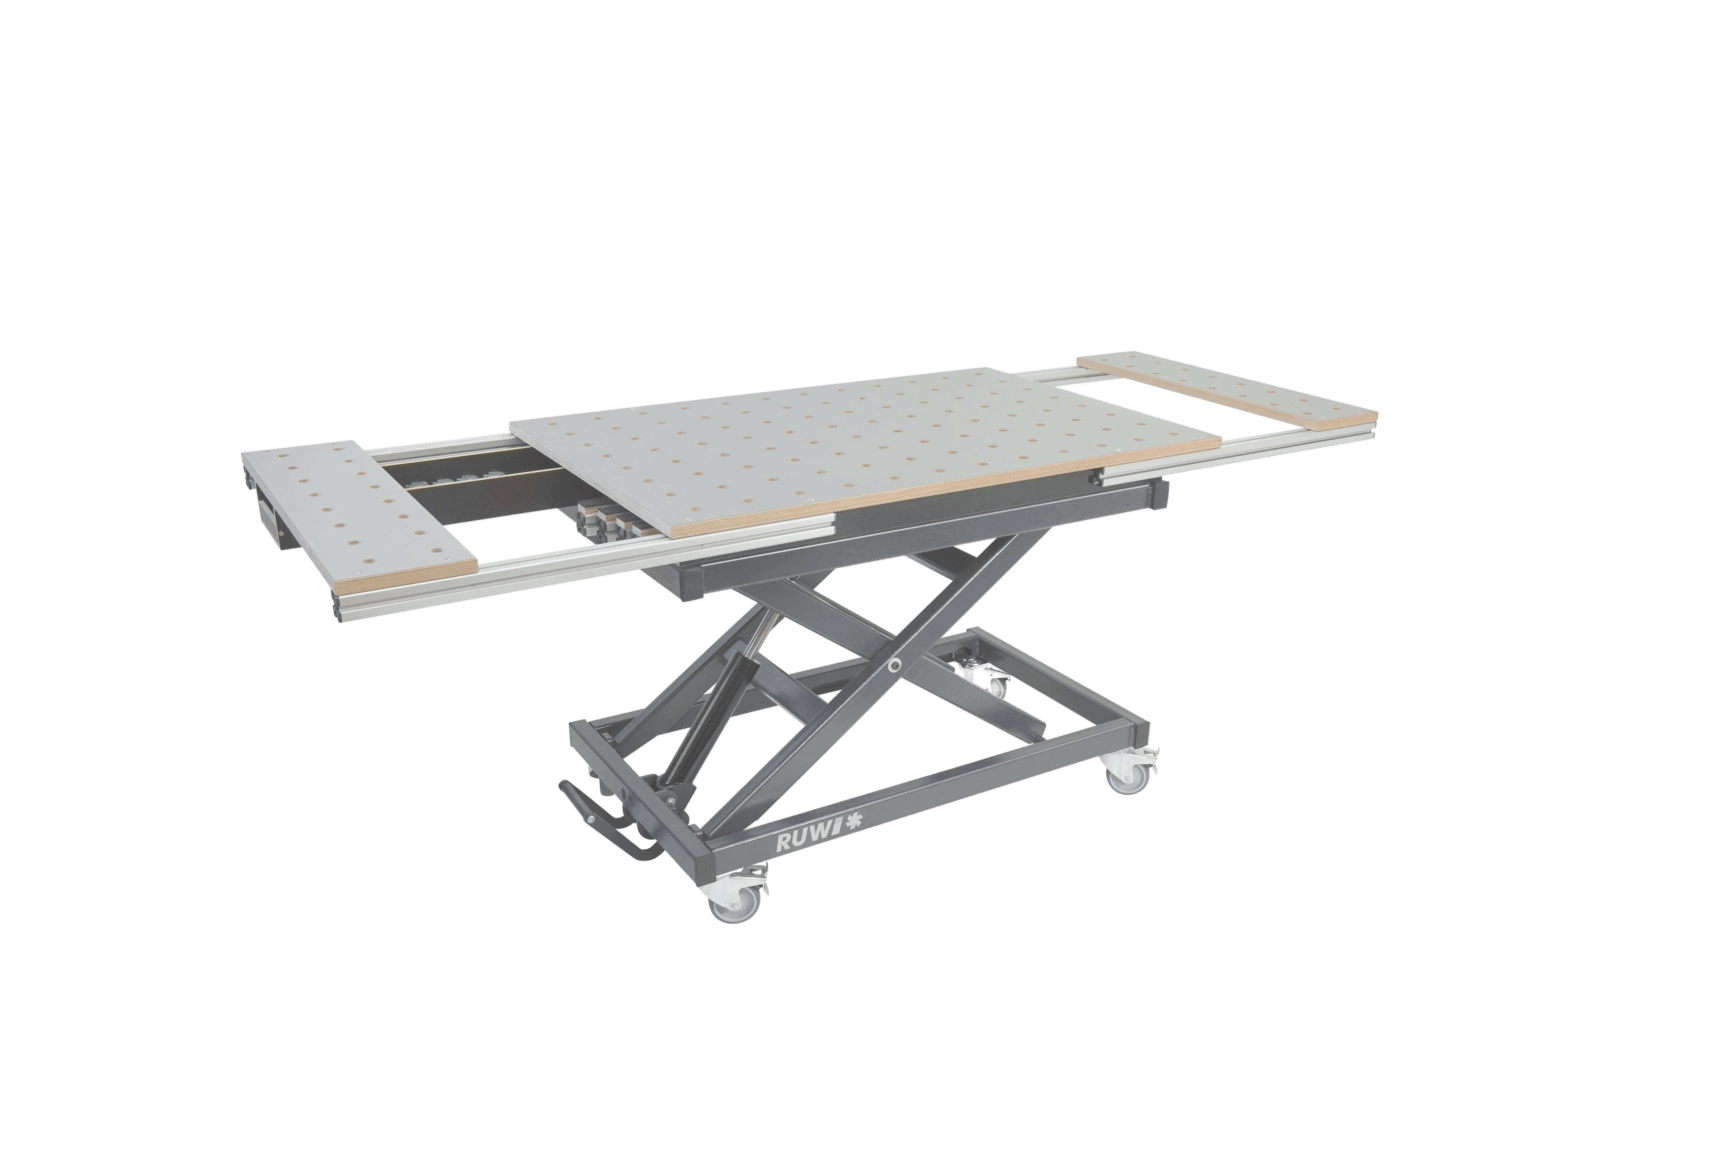
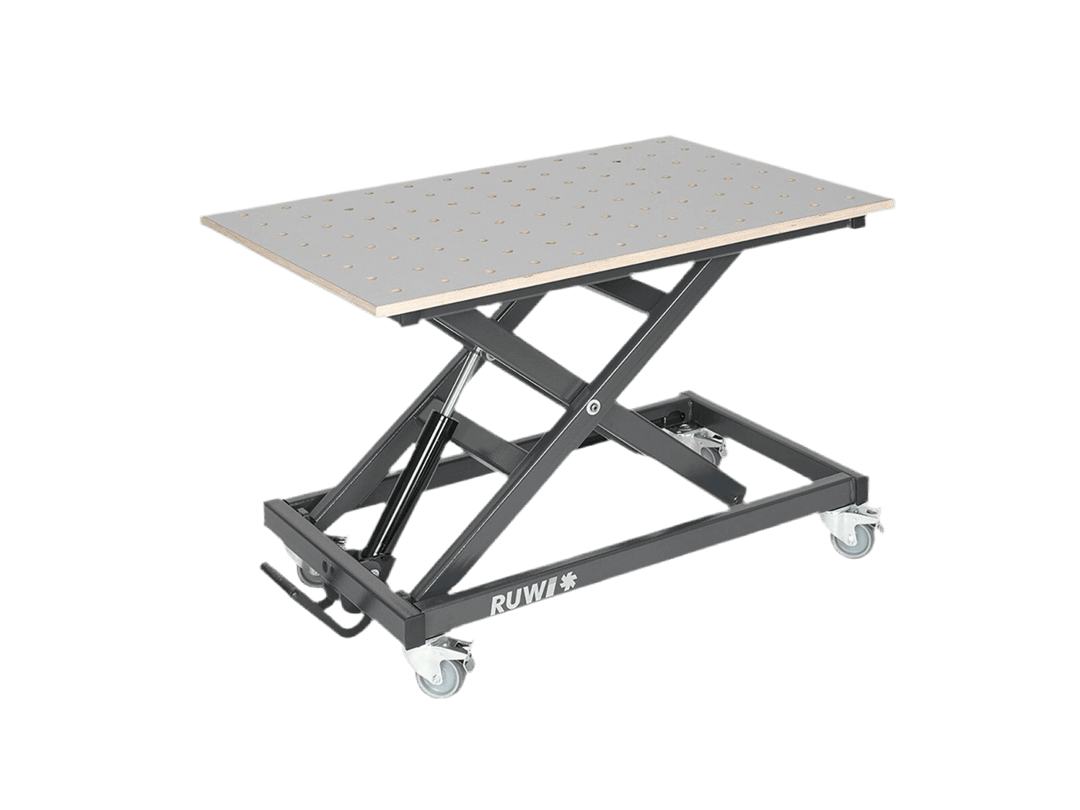
We’ve replaced our traditional workbenches with height-adjustable, mobile lifting tables . This allows us to tailor each task to our individual needs—the difference is clearly noticeable, and not just at the end of the day.
Add anti-fatigue mats to your workspace, place frequently used tools within easy reach, and always store heavy materials at hip height or transport them using a pallet jack to protect your back. Small adjustments like these save energy every day.
Light and Climate: Feeling Good Means Working Better
Lighting is crucial. Combine wide-area ceiling lights with task lights focused on specific work areas. Be sure to choose dust-proof lights with high color rendering (CRI) to accurately assess wood colors.
The temperature in your workshop should remain stable between 15 and 18 °C year-round to protect wood and machinery from damage. Brief bursts of ventilation improve air quality and promote good health. Natural light is beneficial.


Floors and Floor Coverings: Durable and Clean
A smooth, durable industrial floor—ideally sealed concrete with an epoxy resin coating—proves its worth over the long term. Alternatively, wood flooring offers comfortable underfoot feel, but must be sealed. Make sure there are no thresholds to facilitate the transport of materials.
Vacuum Systems and Dust Management: Health and Cleanliness
A high-performance exhaust system protects your health, keeps the workshop clean, and improves the quality of your work. Tip: Place the exhaust fan outside the workshop to reduce noise, and ensure there is an adequate supply of fresh air.
Portable air filters also help remove fine dust from the air. The closer you extract the dust to where it’s generated, the better it is for your health and the cleanliness of your workpieces.
Order and Organization
Order comes from clear systems: Every item needs a designated place, ideally close to where it’s used. Use modular systems such as labeled Systainers, small-parts bins, or rollable tower racks for flexibility and clarity.
Digital tools such as tablets with dust-proof mounts allow for quick access to plans and parts lists right at the workstation.
Workflow and Material Flow: From Planning to Implementation
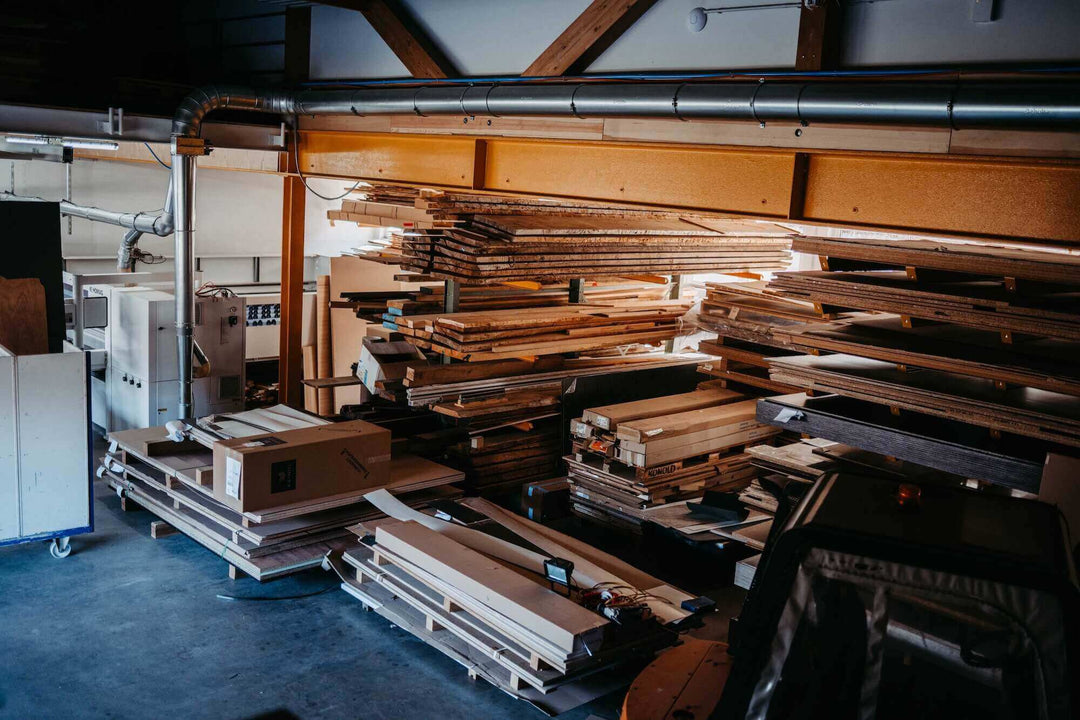
Organize your workshop so that raw materials move in as straight a line as possible from station to station—from cutting to surface finishing. Use carts or mobile pallets to avoid unnecessary handling and damage. By designating clear storage locations for each job, you’ll maintain a clear overview and reduce search times.
Conclusion: Your Workshop—Always on the Move
A carpenter's workspace is constantly evolving. Stay open-minded, experiment, and make improvements—that's how your perfect workshop grows organically through practical experience. Use these tips to keep your business healthy, safe, and efficient.