


Face Milling with a Router
Step-by-Step Guide to Face Milling Wood
Whether you’re a beginner or an experienced woodworker, every detail matters when face milling wood. With a router and a face milling attachment, you can level and smooth even large workpieces. In this guide, you’ll learn what options are available without a planer or jointer and how to tackle even challenging projects. We’ll show you which tools you need, walk you through the process step by step, and give you practical tips for achieving a clean, even finish.

Surfacing a timber beam with a router

Face Milling on thelifting table
Navigation
- How to surface plane with a router?
- Preparation
- Guide
- Machine selection
- Tool Selection
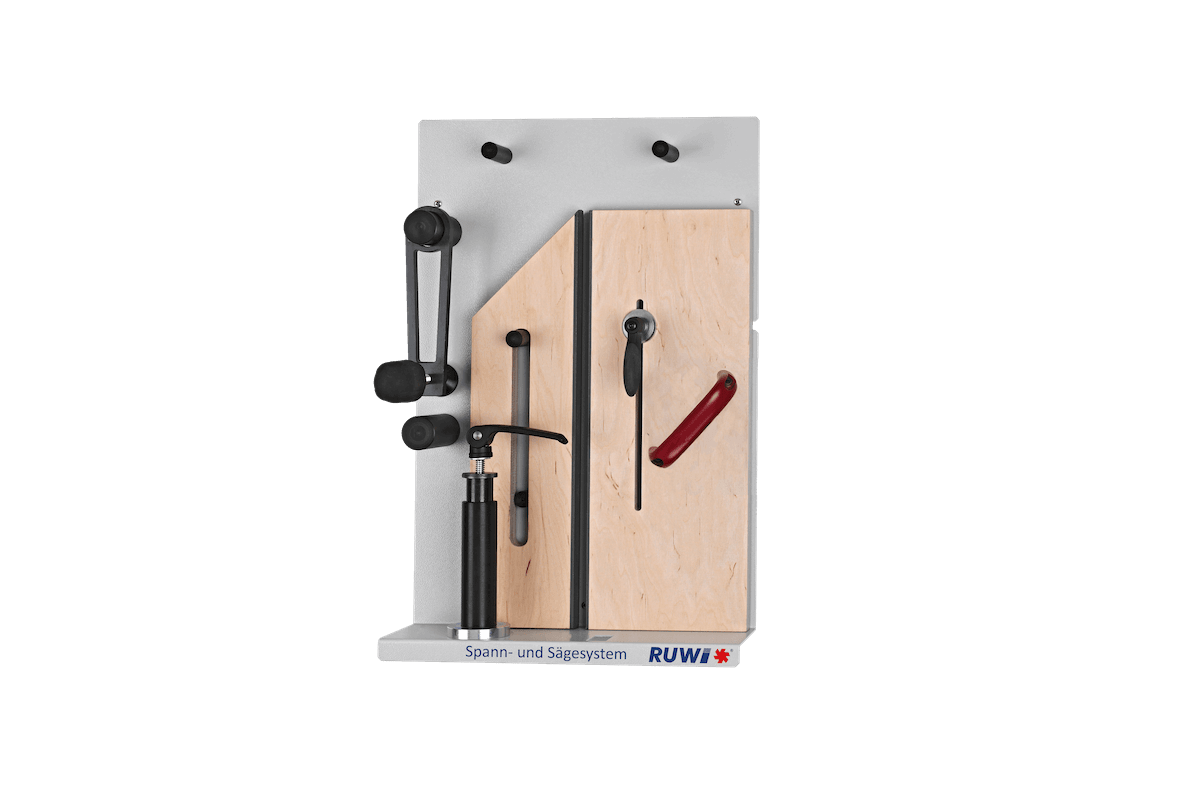
- Surface planing jigs
- FAQ
Key facts at a glance
- Choosing the right tools is crucial: Select the correct router bit and a compatible router, along with an effective dust extraction system.
- Preparation pays off: Thoroughly prepare the workpiece, the face milling fixture, and the safety precautions.
- Technical Notes: Pay attention to the milling direction and speed to minimize chipping and improve surface quality.
- Don't forget the finishing touches: Check the surface, sand it, and protect it if necessary (for example, with oil, wax, or varnish).
How can I surface plane with a router?
When surface planing, you use a router and a special surface planing tool to process the top surface of a wooden workpiece, making it smooth and flat. It's an alternative to using a jointer or planer, especially for larger workpieces like wood slabs, epoxy resin tables, or solid wood panels.

Finished workpiece after surfacing
Preparation: What do I need for surface planing?
For successful surface planing, you'll want to have the necessary materials and tools ready, along with some prep time. Here's a list to guide you:
Material list
- Workpiece (for example, a solid wood cutting board, wood slab, or epoxy resin table)
- Vacuum cleaner or dust extraction
- Dust mask and safety goggles
- Sturdy workbench or work table
Tools
- Hold-down clamps or fixing aids
- Surface planing router bit (appropriate diameter)
- Slab flattening jig
- Powerful handheld router or plunge router
Guide: Slab flattening with a router
Here, we'll show you step by step how to plane uneven solid wood workpieces. Using a router, the right bit, and a planing jig, you'll achieve precise results.
Step 1: Tool selection
Choose a router and a milling tool that suits your project and material. Commonly used surfacing bits have two or three cutting edges and a diameter between 30 mm and 40 mm. Larger ones (up to 50 mm) are also available, but they require very powerful routers. A professional surfacing jig we recommend is the SlabMatrix from sautershop.

Festool router in detail
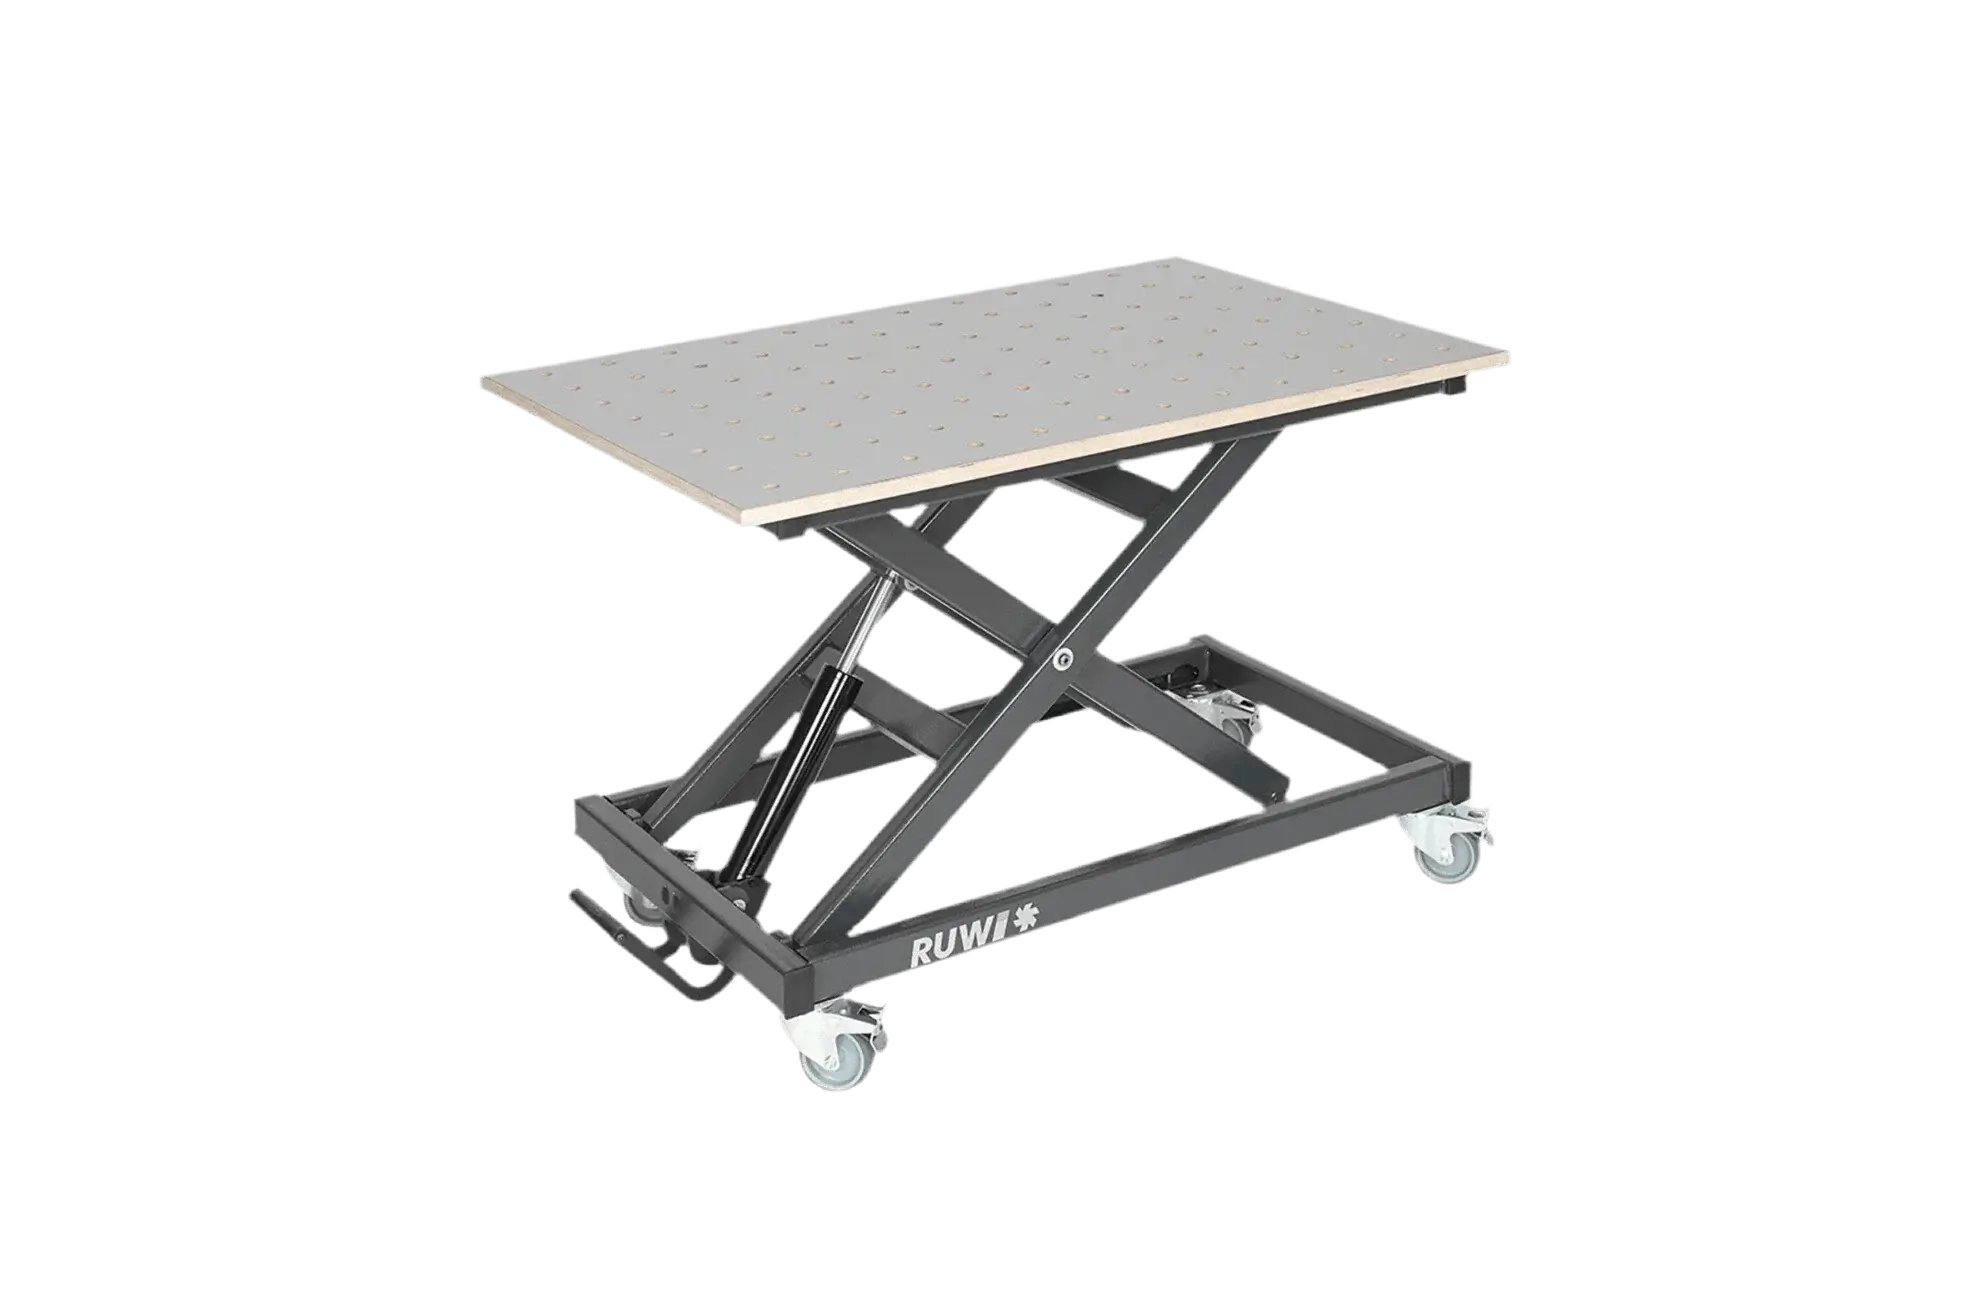
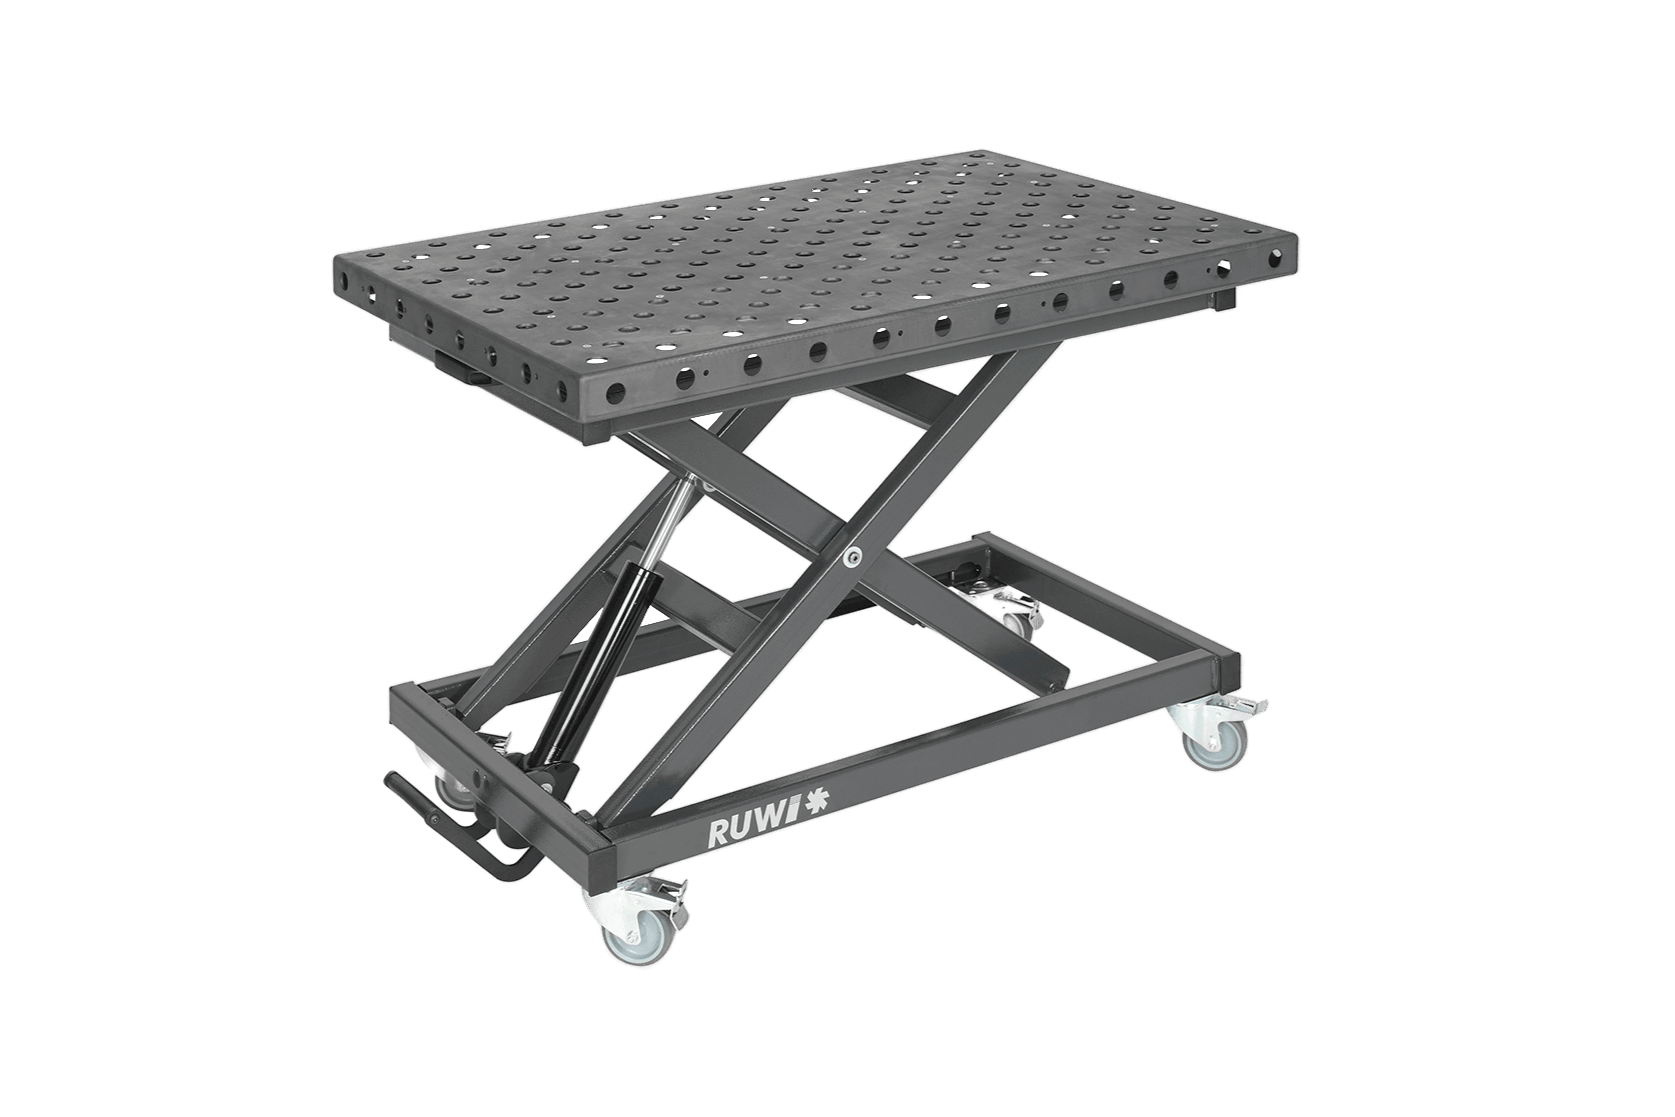
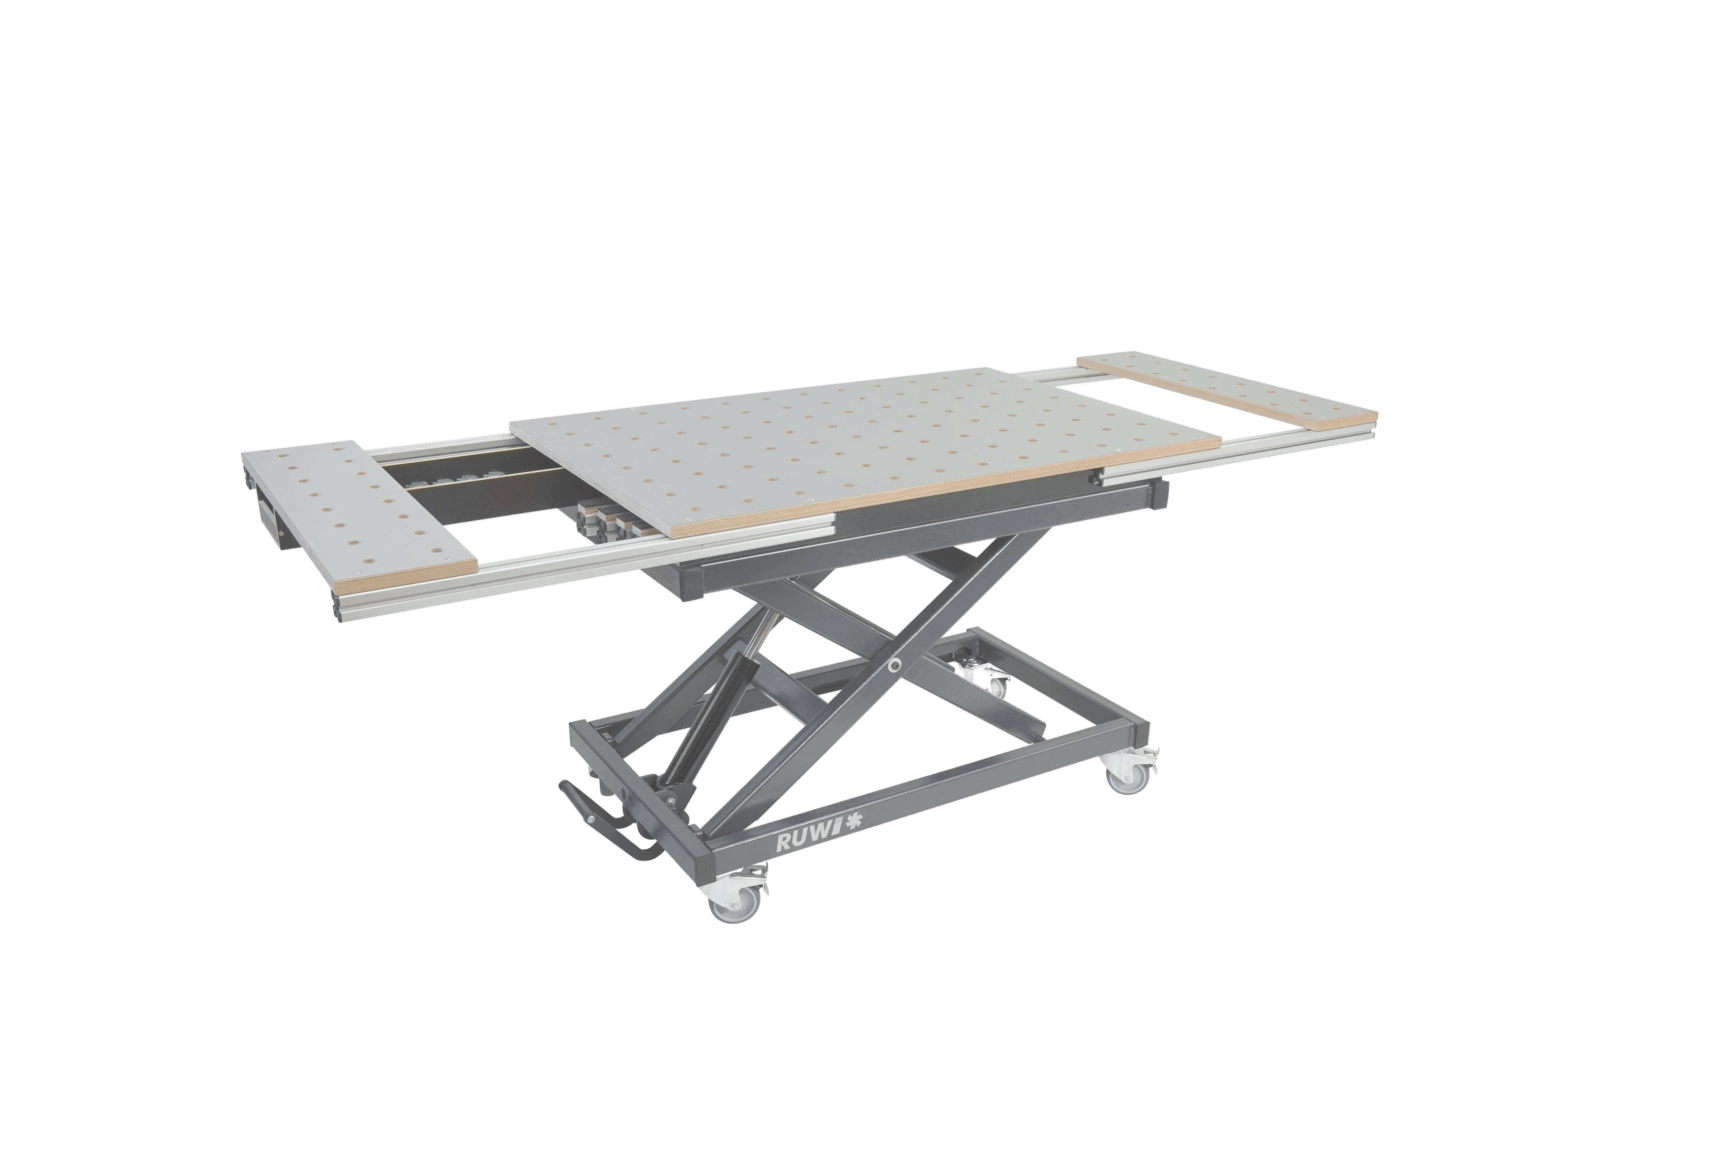
Are you looking for a sturdy, height-adjustable base for your face milling jig? The RUWI lifting tables fit underneath it.
Step 2: Prepare your machine and tool
Check the router and router bit for damage or wear. collet the face mill into the collet at least up to the mark and tighten it securely. Pay attention to the preset speed and make sure it never exceeds the router bit’s maximum speed. Then secure the machine to your face milling jig, if provided.
Note: Caution – sharp tool edges. Wear gloves when assembling, if necessary.
Step 3: Prepare your slab flattening jig
Make sure your slab flattening jig is securely mounted on the work surface. Check the height and alignment so that the router maintains the desired routing depth when gliding over the workpiece. Remove dust and dirt from the guides. If your jig is adjustable, adapt it to the size of the workpiece. A correctly set up jig prevents vibrations and ensures consistent results.

Surfacing a wood slab with clamping devices
Step 4: Prepare your workpiece
Use a stable workbench and a non-slip mat, if needed. Align the workpiece and shim it if it wobbles. Clamp it securely using clamps, hold-down clamps, or eccentric clamps. If you're working with reclaimed wood, check for nails, screws, or other foreign objects to prevent damage and safety risks.

Height adjustment of the router on the SlabMatrix
Step 5: Flattening the wood
Start at the highest point of your workpiece. Move the router in linear passes at a consistent pace. Preferably mill in conventional milling mode. Once a section is surfaced, you can lower the bit by 2 to 3 mm and continue until everything is flat. Don't remove too much material in one pass to avoid overloading the machine.

Effective dust extraction during surfacing
Tip: In the lexicon article on milling methods, you can learn more about climb milling and conventional milling.
Note: Slab flattening usually generates a lot of wood dust. Use dust extraction and wear a dust mask.
Step 6: Finishing the wood
Check the surface for milling marks and any irregularities. Then sand with grit 100 to 150, and then up to 220 or finer. Thoroughly remove sanding dust before treating the surface with oil, wax, lacquer, or glaze. This way, the workpiece gets the necessary protection and a nice finish.
Machine selection
Choosing the right machine is a crucial factor for precise slab flattening results. Common options:
- Handheld router: Suitable for a wide range of tasks. Models with variable speed can be adjusted for different materials. For many woodworkers, they cover most of their routing needs.
- Roller planers: Often sturdily built and powerful, designed for large wood panels or hardwoods. Height adjustment is typically controlled solely by the planer itself.

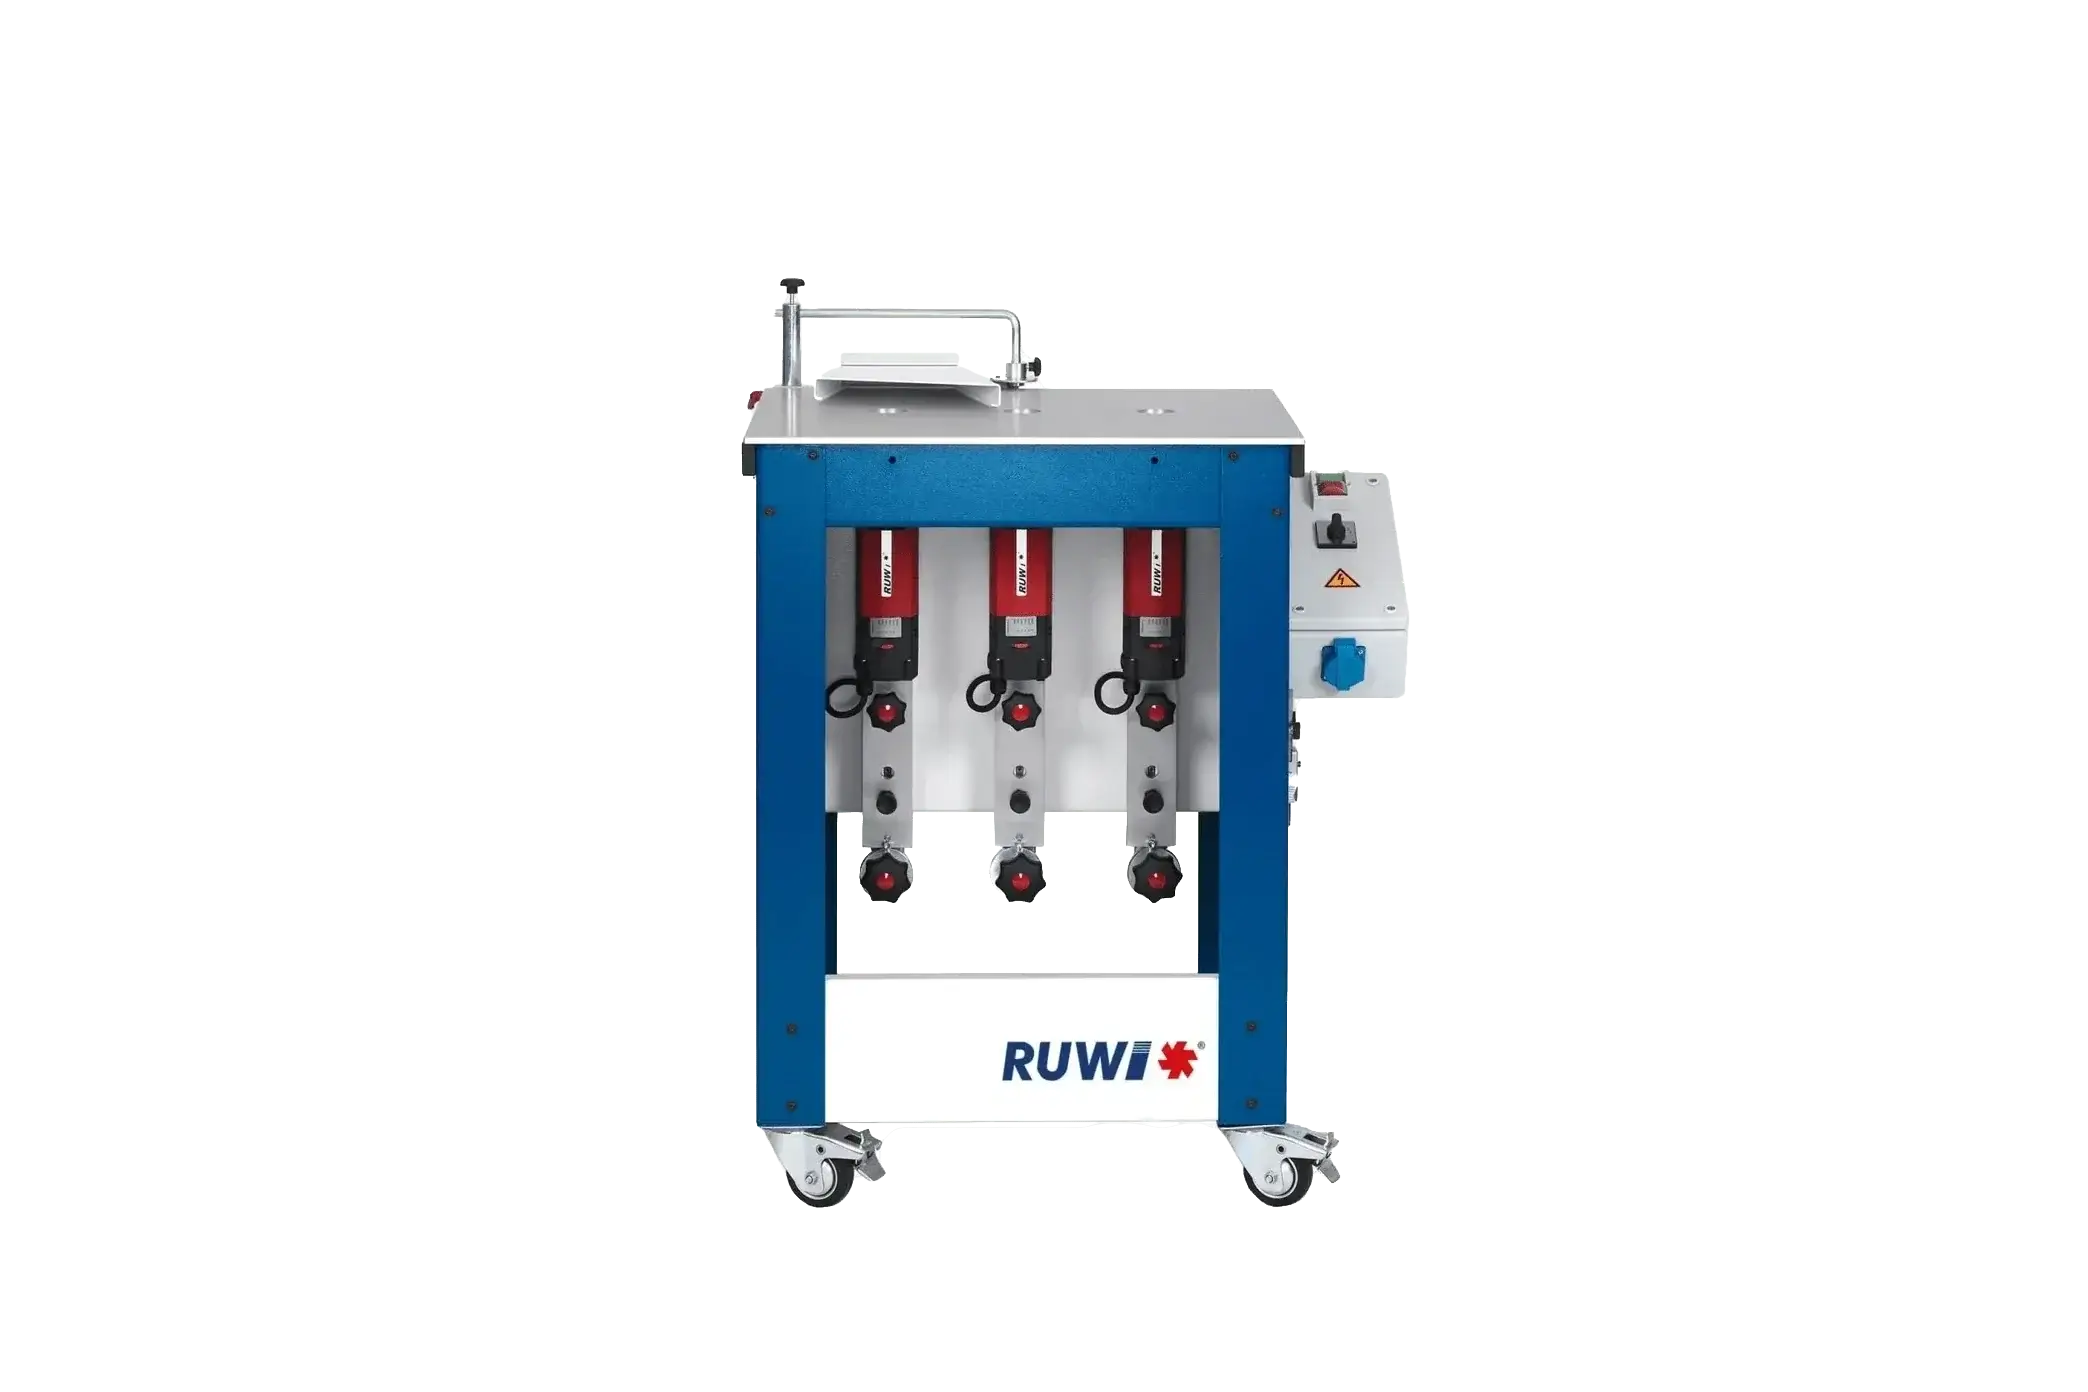
RUWI motor for the rod milling machine
Tool Selection
- Two or more cutting edges: Fewer cutting edges are suitable for moderate material removal, while more cutting edges are better for large surfaces and fast work.
- Fixed-edge cutters or indexable-insert cutters: Fixed carbide cutting edges often less expensive, but must be sent out for sharpening. Indexable-insert cutters allow for easy rotation or replacement of worn cutting edges.
- Shaft diameter: Common sizes are 8 mm, 10 mm, and 12 mm. Make sure it's compatible with your router.
- tool diameter: Face mills range from 25 mm to 50 mm. The larger the diameter, the more power and stability the milling cutter requires.
Always pick a routing tool that fits your project's scope and your machine's specs.
Surface planing jigs
Surfacing jigs are key for precise and uniform surfacing. There are different versions:
- Simple surface milling jigs: For DIYers or small projects. They provide basic guidance for the router but are usually only suitable for smaller workpieces.
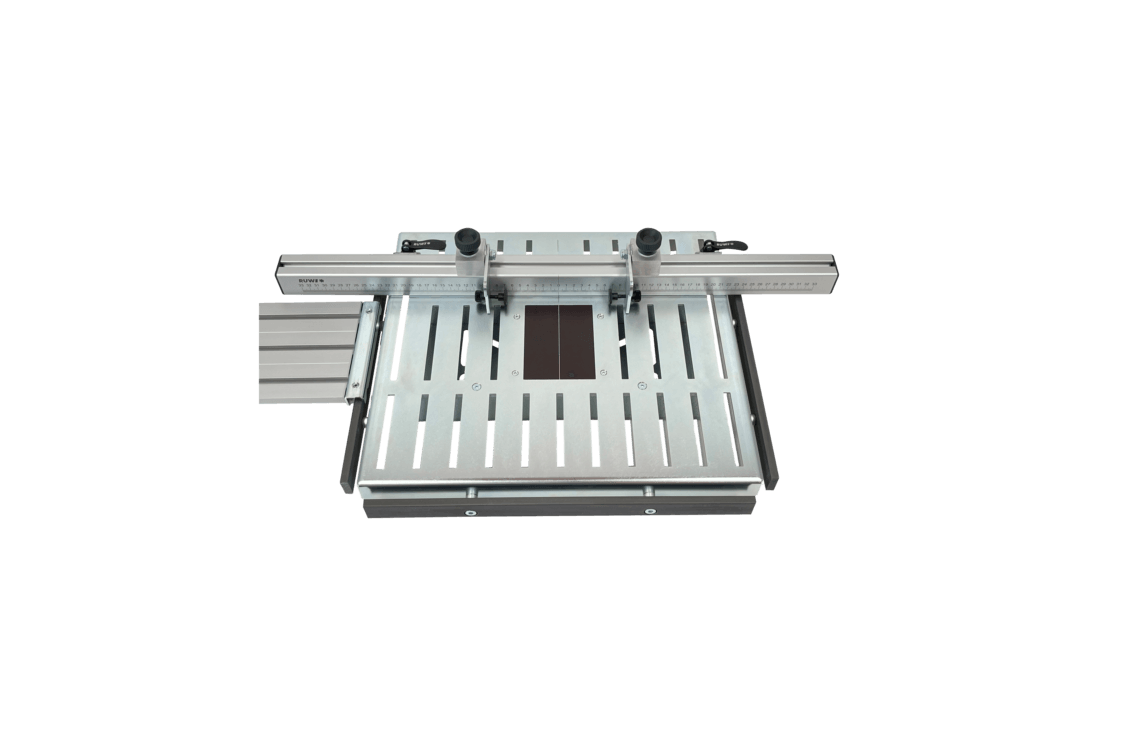
- Professional surface milling tables: For demanding or commercial applications. Sturdy construction, integrated dust extraction, precise height adjustment, and, where applicable, adjustable stops. Suitable for larger workpieces and highly precise surface milling.

SlabMatrix on thelifting table
The choice between a simple DIY solution and a professional router table for surfacing depends on your requirements, budget, and desired precision.
Learn more in the woodworking lexicon: Surfacing
FAQ
What is surfacing?
Surfacing is a woodworking technique where a router, a suitable surfacing bit, and a surfacing jig are used to mill the surface of wood pieces flat and smooth. This allows you to remove irregularities and achieve precise thicknesses.
Which router is suitable for surfacing?
A router suitable for surfacing should be powerful enough to drive larger surfacing bits and have precise depth adjustment. Variable speed is useful for adapting to different materials. Ergonomics and good dust extraction improve working comfort.
How do I avoid tear-out when surfacing?
Preferably rout along the wood grain, use a sharp bit, and adjust the speed accordingly. If needed, use a sacrificial block to support the exit edge. This keeps unsightly tear-out to a minimum.
Do I need a special surfacing jig?
Yes, a surfacing jig is essential for precisely controlling the routing depth and ensuring even material removal from your workpiece. It guarantees reliable results and helps prevent unwanted vibrations or misalignments.
Which surfacing router bit is best for my project?
That depends on the material, the desired surface quality, and how often you'll be using it. Router bits with indexable inserts are easier to replace when they wear out. Always pay close attention to the shank diameter, bit diameter, and the permissible speed of your router.


