





Face Milling
The tree slice is too wide for the plane, the glued tabletop is warped, and the end-grain cutting board probably shouldn’t even fit in the first place —that’s where face milling comes in: A guided router removes material in overlapping passes until the surface is flat. The process is slower than planing, but it works for workpieces that a jointer or thickness planer can’t handle.
This article explains the basics: when face milling is worthwhile and when a plane is still the better option, how a face milling jig is constructed, which cutters to use, and how surface finish and safety are affected. You can find the complete step-by-step instructions in the article “Face Milling with a Router”; the overview article explains how face milling fits into the broader range of milling techniques.

Flat Milling a Wooden Plank with a Router
Table of Contents
- Definition
- When to use a face mill—and when to use a plane?
- Technical Fundamentals of Face Milling
- The Process in Principle
- Which materials can be face-milled?
- Applications of Face Milling
- What Matters in Face Milling
- FAQ
Definition: What is face milling?
Face milling is the milling process used to create flat surfaces: A rotating tool removes material from an uneven, warped, or rough surface in overlapping passes until it is flat. It is one of the basic processes in the classification of milling methods—the face mill cuts primarily with its end face, and the machined surface is perpendicular to the axis of rotation.
When people in the workshop talk about a “face mill,” they usually aren’t referring to a single machine, but rather to a setup: a router that is guided over the workpiece using a fixture. The process remains the same—whether the guide is a homemade slide, a purchased rail system, or a CNC program.
When to use a face mill—and when to use a plane?
Surface planers and thickness planers remain the fastest way to achieve a flat surface: A board runs through in seconds, while a router requires many passes to achieve the same result. So face milling doesn’t replace the planer—it takes over where the planer can’t go any further:
- Too wide: glued-together tabletops and planks that extend beyond the planer's width.
- Non-flat reference surface: tree slices and severely warped boards. The thickness planer requires a flat underside as a reference—with the milling jig, the reference is provided by the rails, and the workpiece is simply wedged underneath.
- End grain: End-grain surfaces pose a risk when planing: The blades catch on the vertical fibers, the edge chips off at the exit, and if the depth of cut is too great, a glued end-grain panel can break under the impact of the blades. The face milling cutter removes the same surface in thin, controlled layers.
- Material mix: Epoxy resin fillers and acrylic can be tough on planer blades. They work well when milled—with a sharp cutting edge and a brisk feed rate, so that the resin chips away rather than smears.
The truth is: After milling, the surface shows fine transitions between passes; sanding is always part of the process. And if you just want to smooth finished slabs, sanding is the faster option.
Technical Fundamentals of Face Milling
A typical face mill consists of four components:
- Router
- appropriate replacement tool (face mill)
- Milling device with XY guide and plunge mechanism
- Workbench with clamping devices
The spectrum ranges from hobby-grade solutions with a detachable milling carriage to CNC-controlled machining centers—the principle is the same in all cases.
Machine
The basic setup consists of a router with speed control and a compatible collet —8, 10, and 12 mm shank sizes are standard. Speed control is not just a matter of convenience when face milling: The larger the cutter diameter, the lower the permissible speed—the maximum speed indicated on the tool is mandatory. And the feed rate must be adjusted accordingly: If a cutter runs at high speed with too little feed, the cutting edge rubs instead of cutting—resulting in burn marks instead of chips.
Tool
For face milling, use cutters with the widest possible cutting width: typical sizes range from Ø 30 to 40 mm with two or three carbide cutting edges. Tools up to Ø 50 mm are also available—but they should only be used with a powerful router equipped with a 12-mmcollet and a sturdy mount capable of handling the wide chips. Indexable-insert cutters offer two distinct advantages for planing: The cutting edges are not resharpened but rather rotated or replaced—and if the cutter does happen to hit an inclusion in a tree slice, the cost is just one indexable insert instead of the entire tool. Facing cutters are available from many manufacturers, such as ENT or Titman. Important for hand-held routers: The tool must be approved for manual feed, as indicated by the “MAN” marking in accordance with EN 847-1.
Milling Device
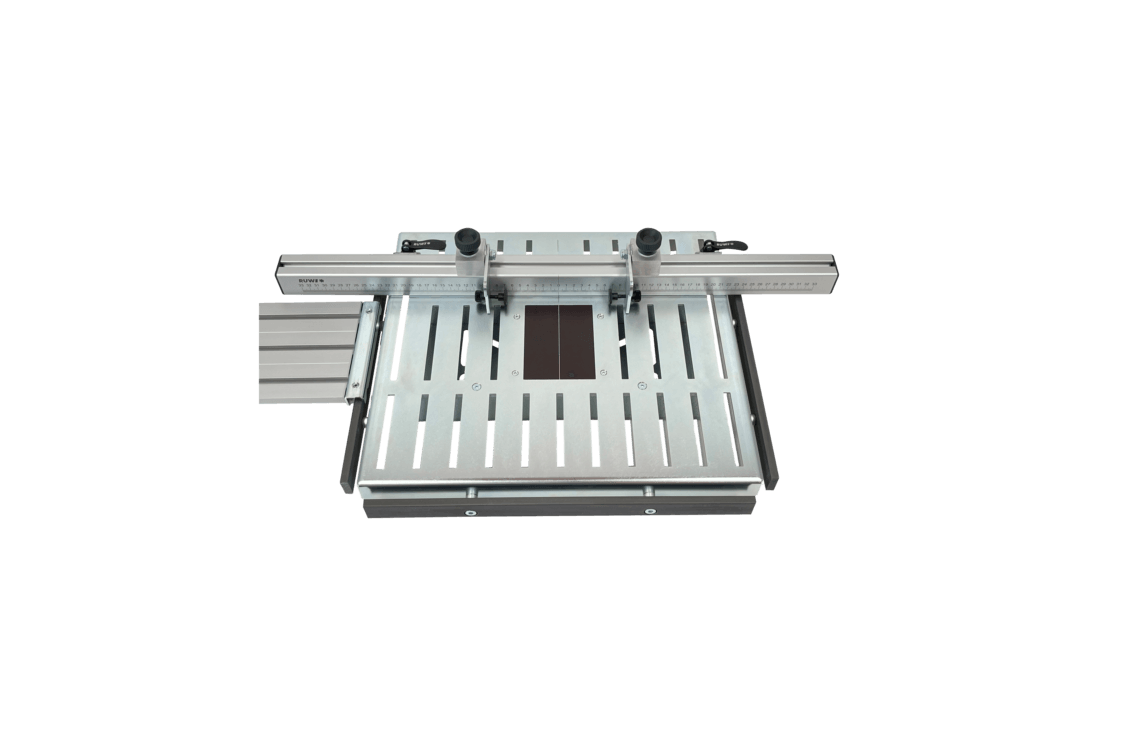
The device guides the machine: two pairs of rails serve as an XY guide, with a carriage featuring a plunge mechanism—in which the router is mounted—running along them. This allows you to move the router in a controlled manner along both axes—or lock one axis and route a straight edge along the stop. Options range from a homemade multiplex carriage to collapsible rail systems that can be hung on the wall to save space after use, all the way to jigs like the SlabMatrix from Sautershop—and at the high end, a CNC machine performs the same task via computer program.

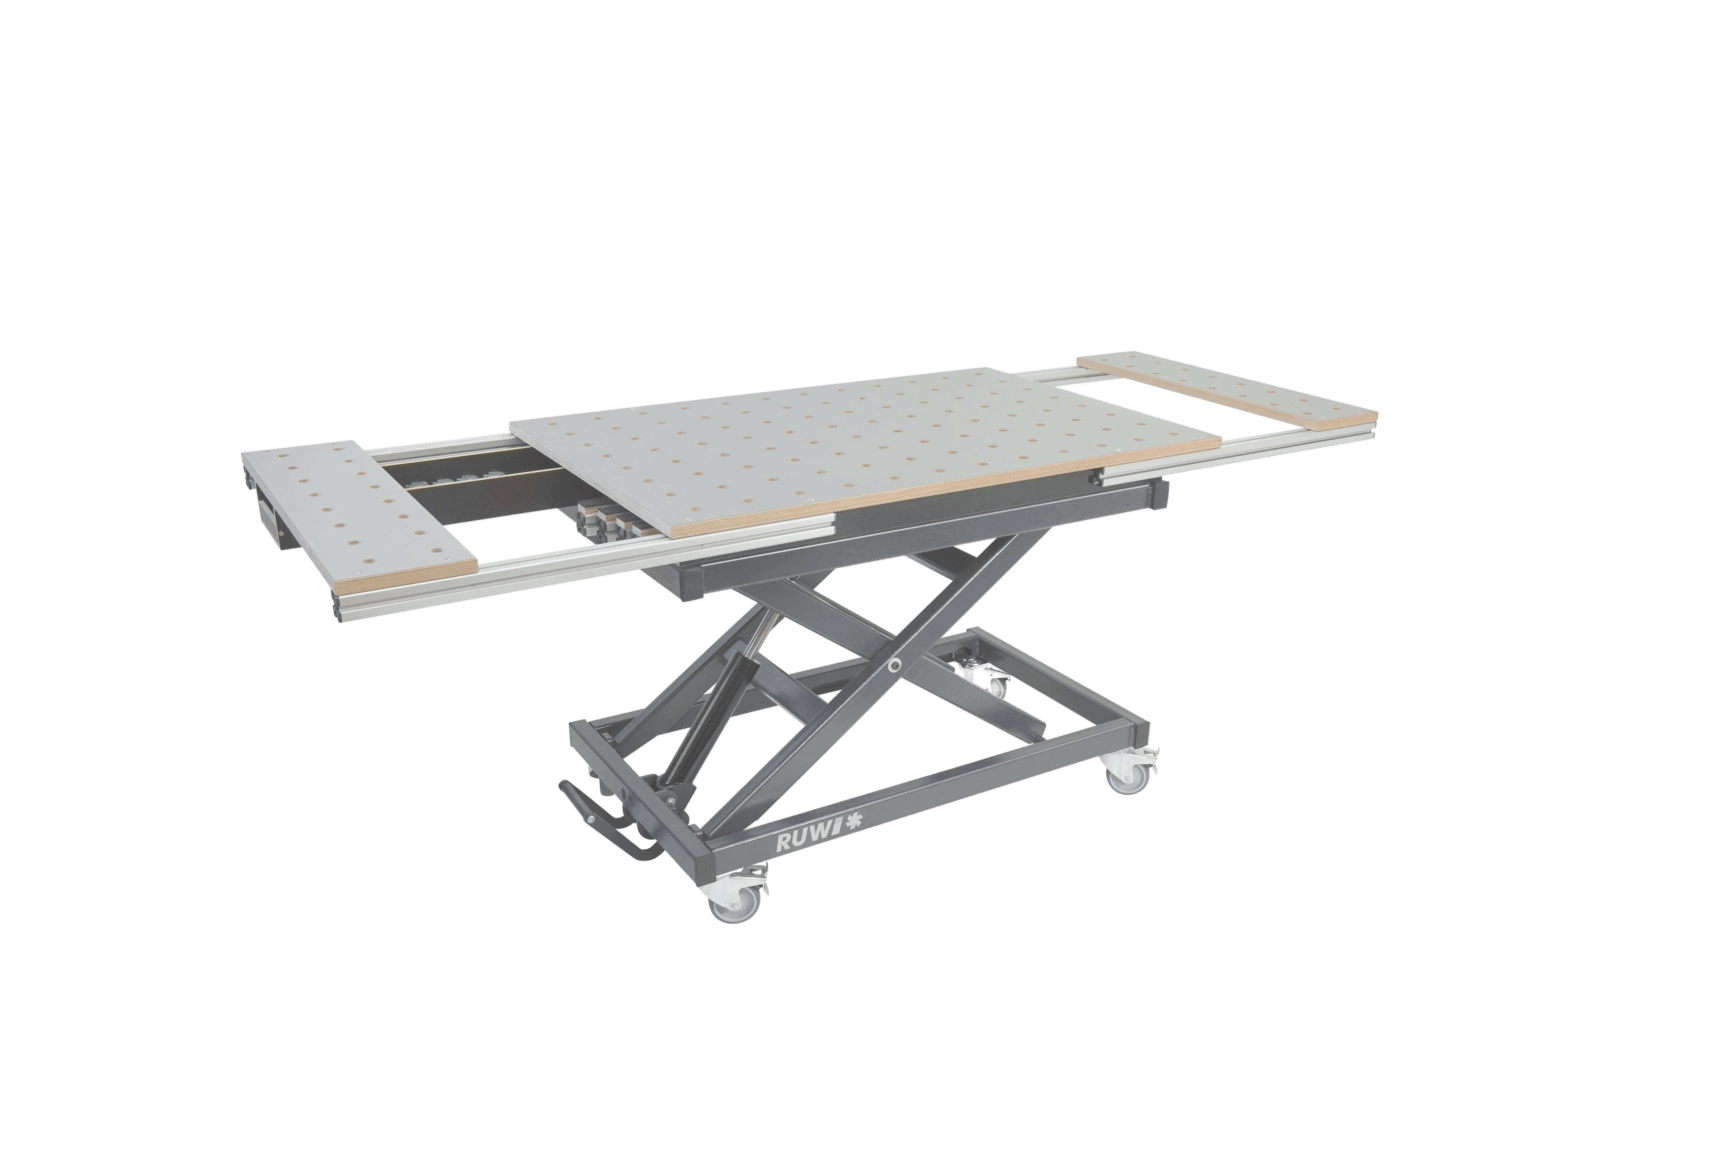
SlabMatrix milling unit on the RUWI lifting table
Work surface
Above all, you need a stable, level table: The workpiece must rest firmly on the table and must not wobble or shift during machining—clamps and stops hold it securely in place. It doesn’t have to be a store-bought table: A large joiner’s panel on trestles will do just as well, as long as it’s level and doesn’t flex. A height-adjustable work surface is easier on your back during long milling jobs, since you’ll be planing while bent over the workpiece.

Flat milling on a large joiner's table with trestles
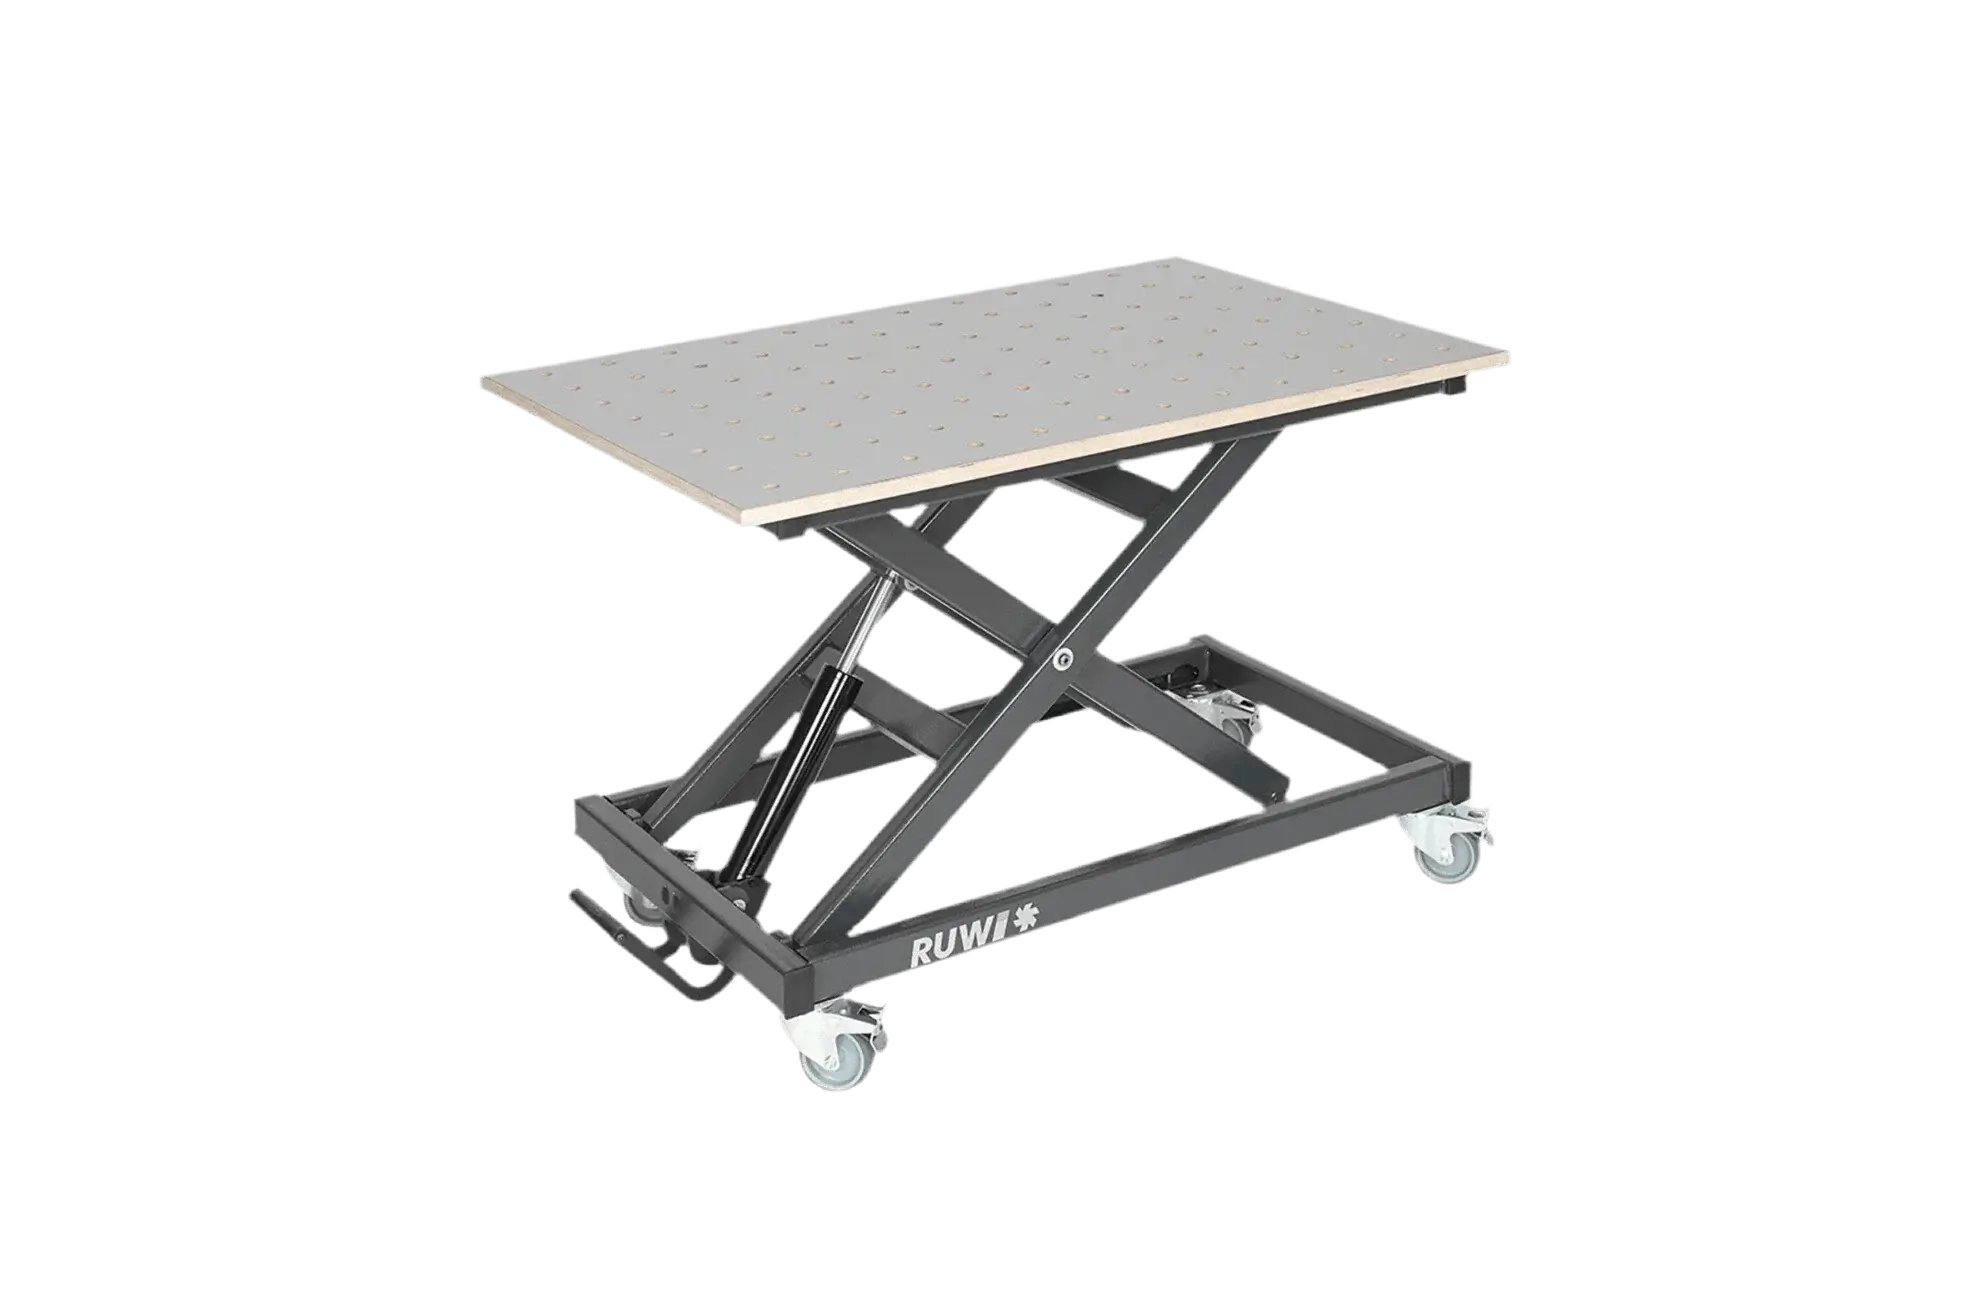
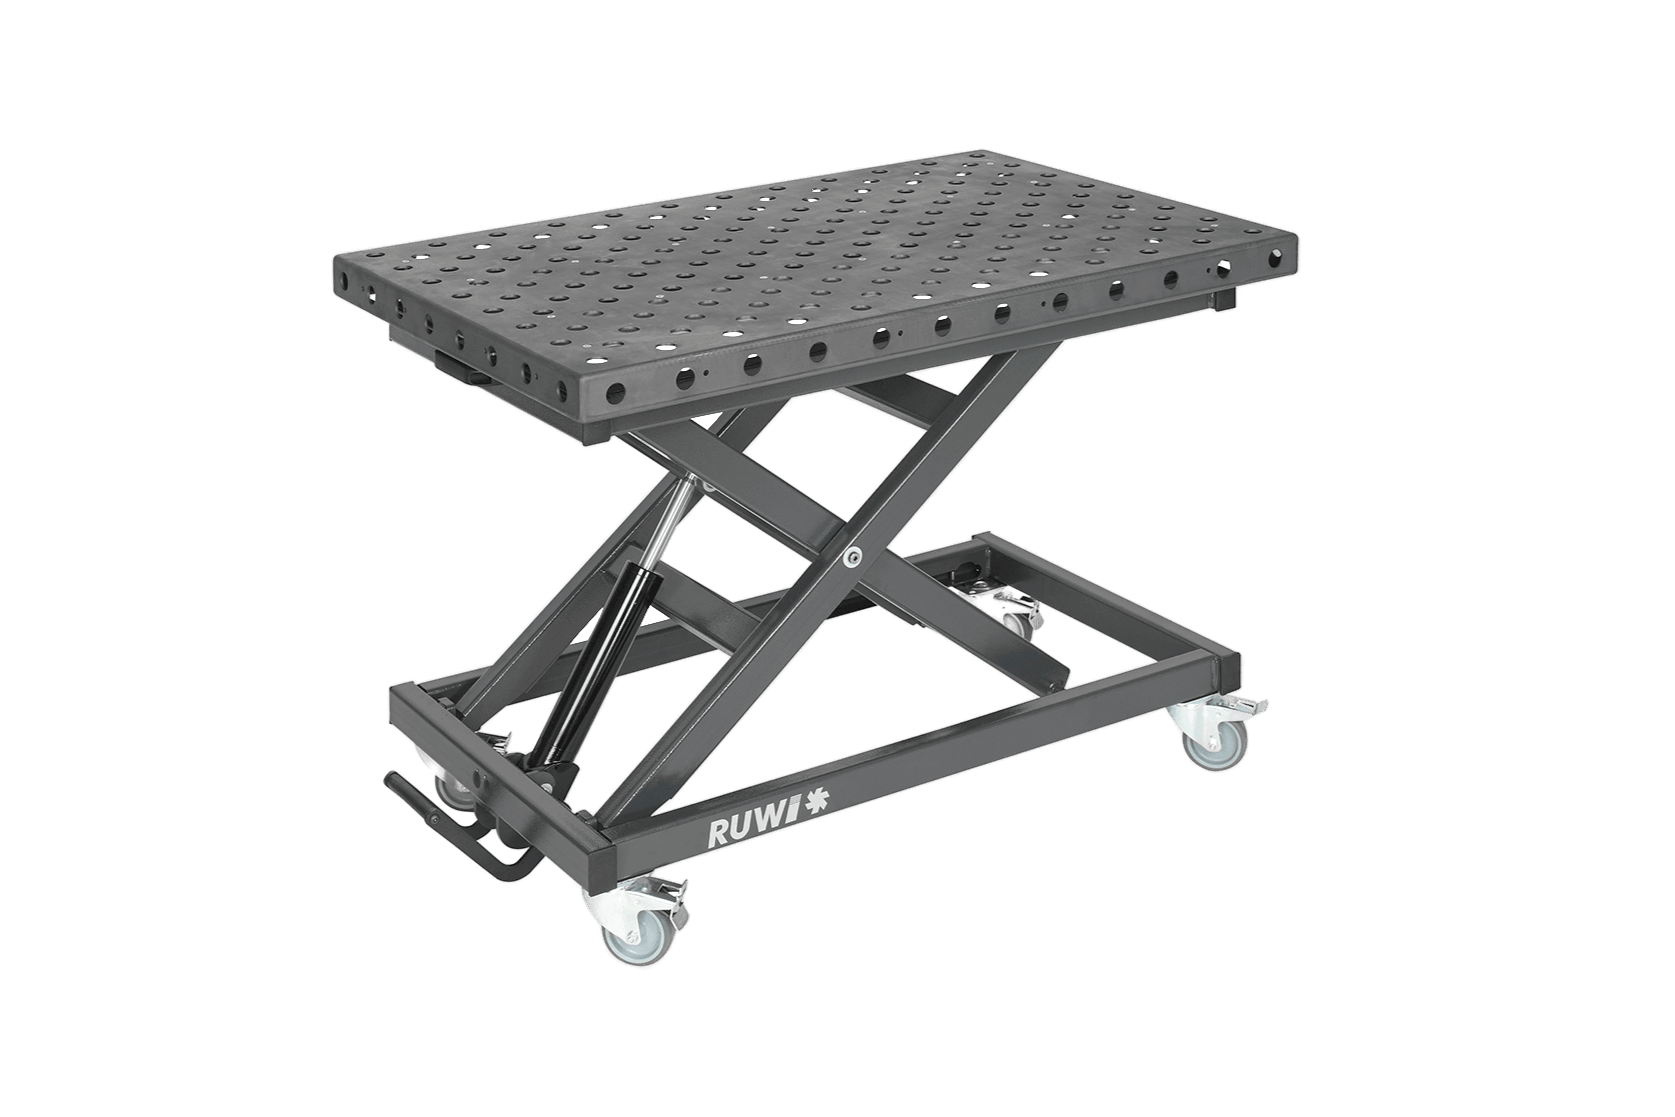
Tip: The RUWI lifting table can support up to 400 kg and positions the workpiece at working height —a stable base for both the workpiece and the milling fixture.
The Process in Principle
The article “Facing with a Router” shows the complete process with all the steps—here’s a brief overview of the principle: The workpiece is aligned and wedged in place until it no longer wobbles, then clamped to prevent slipping. When working with tree slices and reclaimed wood, it’s a good idea to use a metal detector first—otherwise, embedded nails and wire remnants will damage the cutting edges. Mill with a shallow depth of cut in clearly overlapping passes and at a steady feed rate; finish with a thin finishing pass. Then turn the workpiece over and mill the second side parallel to the first—finish with sanding.
Which materials can be face-milled?
The main application is solid wood: planks, boards, laminated panels, tree slices, and end-grain surfaces. Panel materials such as particleboard or plywood come straight from the factory—in those cases, sanding is sufficient, and the router stays in the cabinet. Composite materials made of wood mixed with epoxy resin or acrylic can be planed, but they require sharp cutting edges and a rapid feed rate: if the resin gets warm, it will smear instead of forming chips. And once again, be mindful of inclusions: metal in the wood will damage any cutting edge—always check old wood and tree slices beforehand.

Flat-milling a tree slice made of solid wood
Applications of Face Milling
You can use a face mill in many situations:
- Creating Flat Surfaces: Preparing solid wood boards, planks, and blocks into semi-finished products when planing is not an option.
- Level out unevenness and protrusions: After applying the adhesive, remove any misaligned joints and excess adhesive beads across the entire surface.
- Pockets, recesses, and cutouts: Milling openings into the surface for glass panels, hardware, or lights—strictly speaking, this is no longer face milling, but it’s done with the same setup: The depth stop limits the depth of the pocket, and the guide defines its outline.
- Formatting Edges: Mill a straight reference edge with a locked axis. If you want to give the edge a profile, profile milling is the appropriate method.
- Tree slices and end-grain cutting boards: the realm of face milling—planing end-grain remains risky, whereas milling it in thin layers ensures a controlled, even finish.

Milling pockets, recesses, and notches in a surface
What Matters in Face Milling
Surface milling produces a lot of chips and fine dust in a short time—and even more so when using epoxy fillers. A dust extraction system rated for dust class M is therefore required for the machine, along with safety goggles and hearing protection. The speed depends on the cutter diameter; the specification on the tool is binding—and only cutters marked “MAN” should be used in the hand-held router. The most common quality defect is taking too much material at once: If you keep the depth of cut small and overlap the passes neatly, you’ll end up with a surface that’s flat after sanding. If you rush the job, you’ll end up with waviness, gouges, and burn marks. The introductory article on milling processes explains why sharpness, speed, and feed rate are so closely related.
FAQ
Face Milling or Jointing—Which Is Better in Which Situation?
If the workpiece can be run through a surface planer and thickness planer, the planer is faster and produces the finished surface right away. Face milling is used when the workpiece is too wide, too irregular, or made of end grain—or contains resin pockets that can damage the planer blades.
Can I run end-grain boards through the thickness planer?
Risky. In end grain, the fibers run perpendicular to the surface—the blades snag on them, the edge chips off at the end of the panel, and if the depth of cut is too great, the impact of the blade shaft can cause a glued panel to break. If you do it anyway, use freshly sharpened blades, a cutting depth of just a few tenths of a millimeter, and glued-on sacrificial strips along the exit edges; spiral cutter shafts are more forgiving than strip cutters in this regard. You can avoid this risk by using a face mill or a sander.
What speed does a face mill require?
The larger the diameter, the lower the speed—what matters at the cutting edge is the peripheral speed. The maximum speed specified on the tool is binding; for face mills with a diameter of 30 mm or greater, this generally means reducing the speed on the router.
Do I need to sand after face milling?
Yes. Even with precise routing, fine transitions between the milled lines remain visible. Sanding with progressively finer grit creates the finished surface—but by then, the bulk of the material has already been removed.
You might also be interested in these posts:
You can find step-by-step instructions under “Face Milling with a Router.” The overview “Milling Methods in Woodworking” explains how face milling differs from profile milling, shape milling, and round milling—and covers related tasks such as profile milling, milling “slot ” patterns into wood, and CNC milling.


